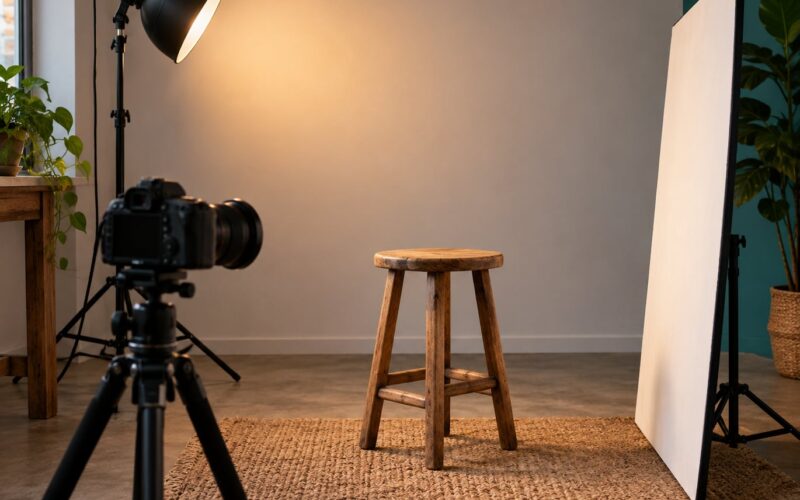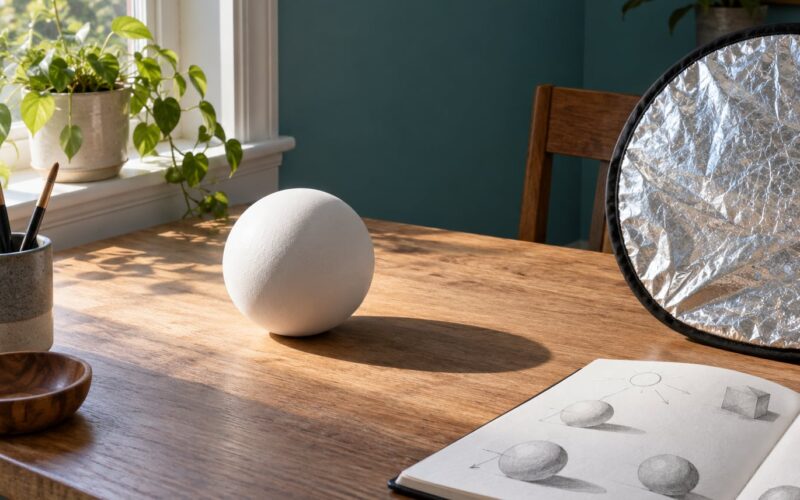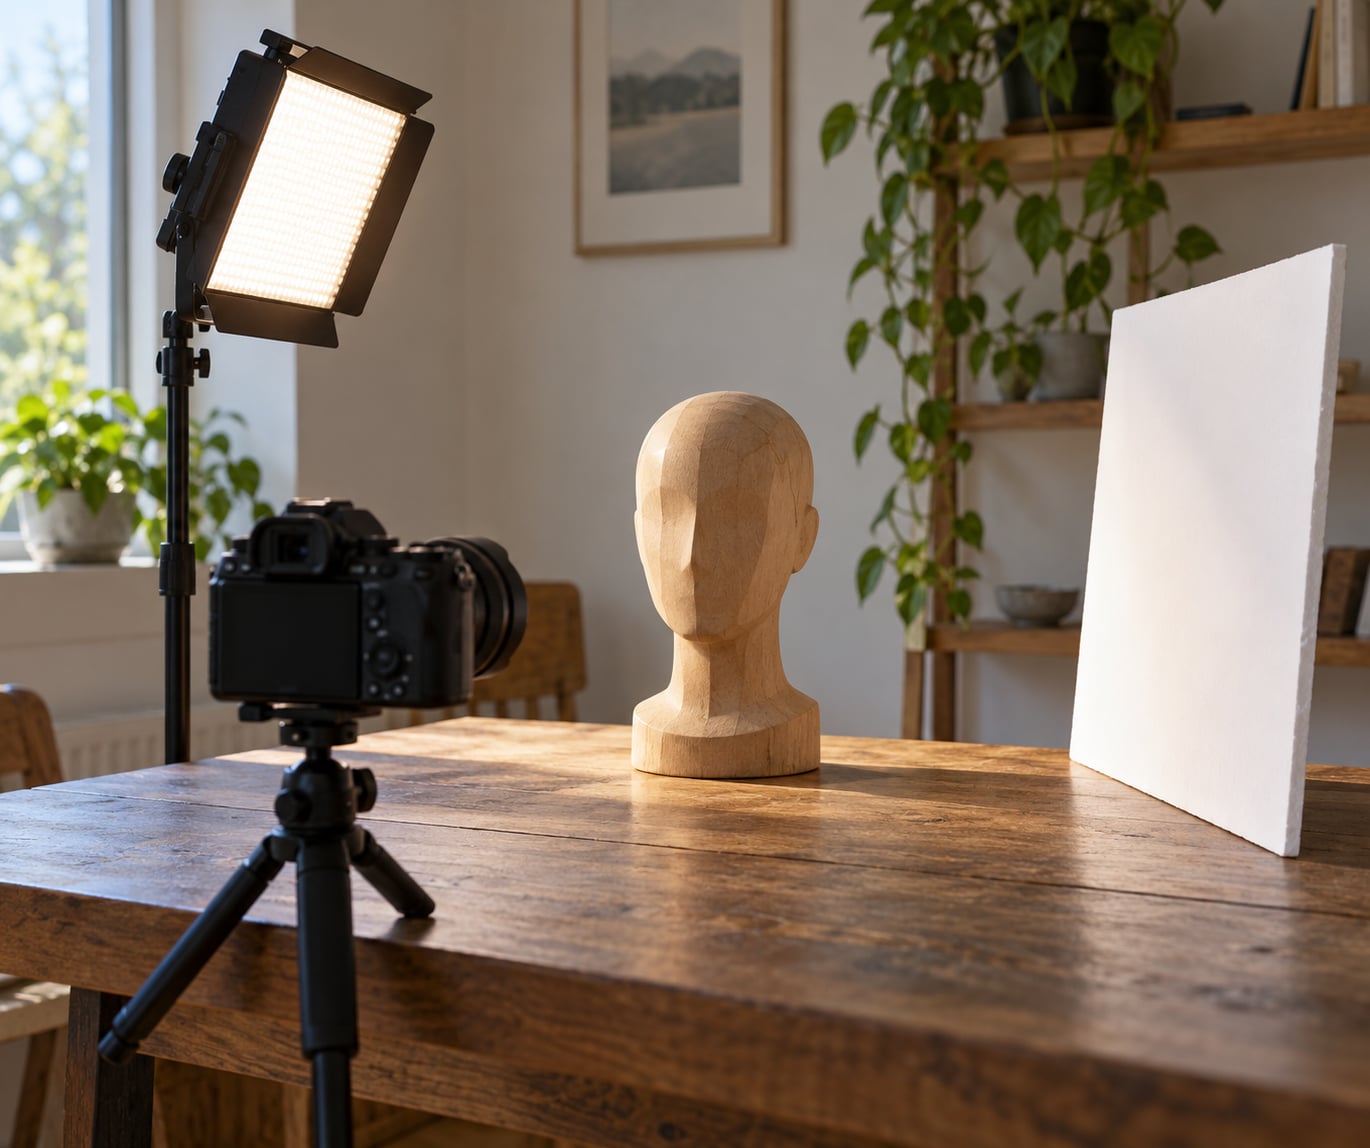
You can practice portrait lighting without a model by putting a stand-in where the face goes, moving one light through a set of angles, and repeating the same setup until the shadows land where you want them. A hair styling head, a foam ball, a bottle of shampoo or even a lampshade will teach you light direction, shadow density and modifier behaviour — the same things a real face teaches you, minus the pressure.
That pressure is the reason most people stall. A friend on a sofa, a niece who has already said yes twice, a client on the clock. Nobody wants to spend twenty minutes watching you walk a light three inches forward. Practicing alone removes all of that, and it costs nothing but an evening and a table.
What you can’t learn from a foam ball is skin. Catchlights look different on a plastic scalp, and expressions change how light falls across a cheek. So treat the stand-in as pattern practice, then bring in a person for the final pass. Here’s how to do both in the right order.
Table of Contents
- What You Need
- Step-by-Step: How to Practice Portrait Lighting Without a Model
- Common Mistakes
- Frequently Asked Questions
- What can I use instead of a person to practice portrait lighting?
- Can I practice portrait lighting with a mannequin or stuffed toy?
- What household objects work as portrait lighting modifiers?
- How do I learn the direction of light without a model?
- What camera settings should I use when practicing portrait lighting?
- When should I practice portrait lighting with a real person instead?
What You Need
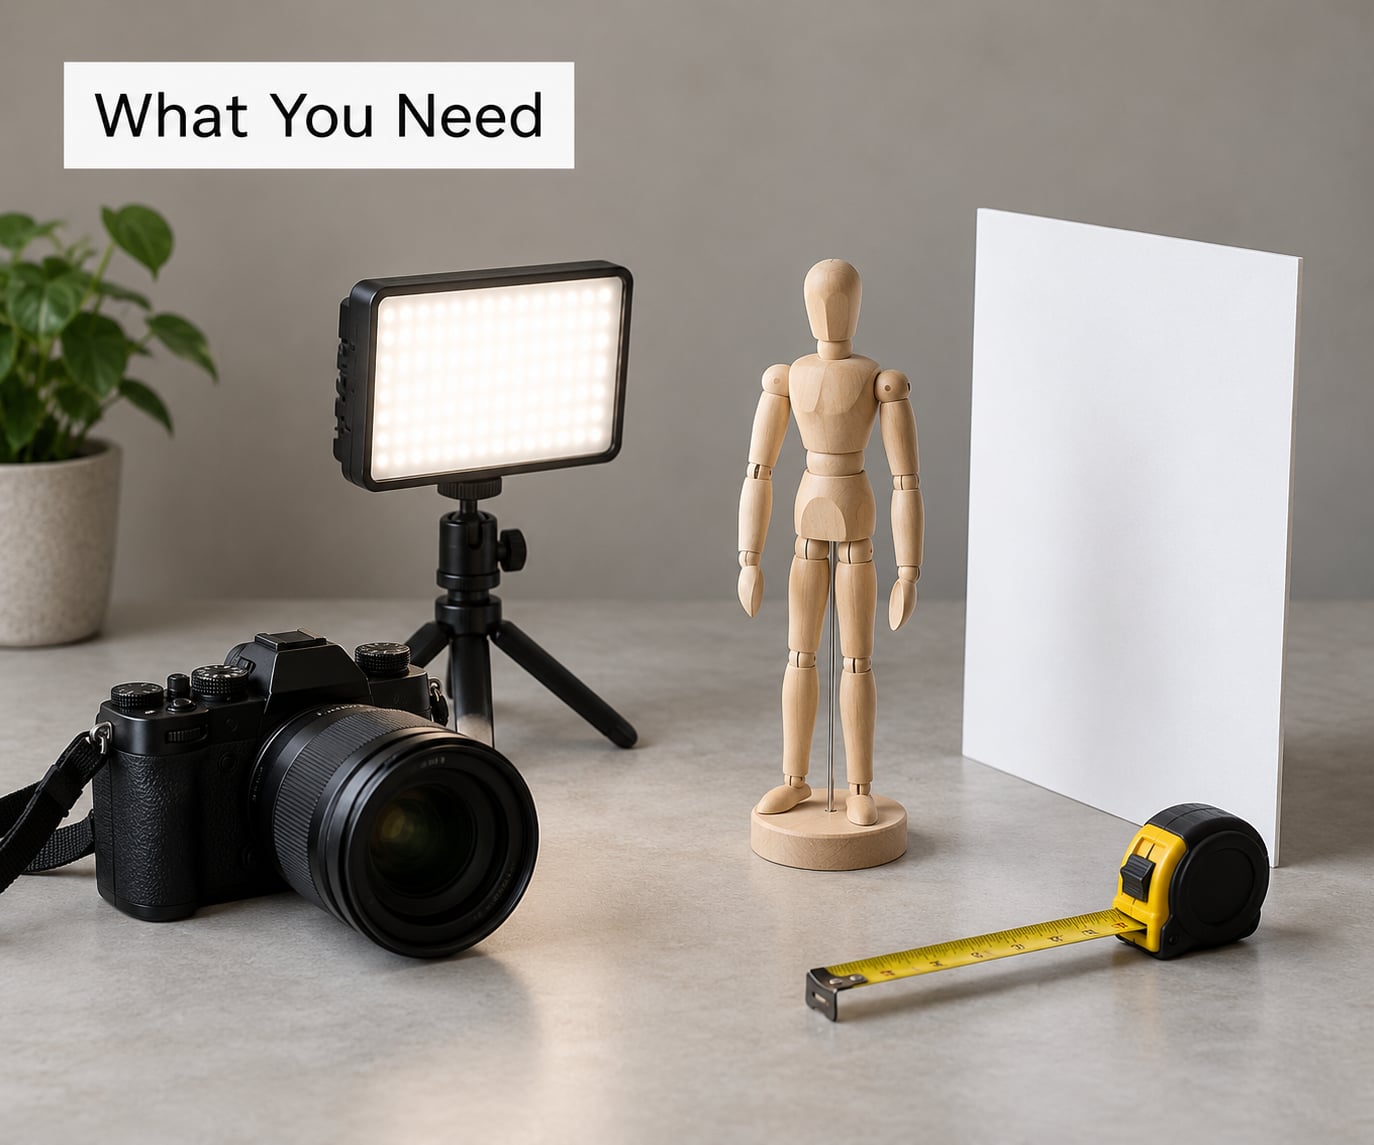
Almost nothing. If you have a camera and one movable light source, you can run every exercise in this guide tonight.
- A camera you can lock down. A tripod, a stack of books, or a clamped desk arm all work. Manual focus and manual exposure matter more than sensor size here.
- A stand-in. A hair styling head on a small stand is the most useful version because it sits at face height. A foam ball on a broom handle, a polystyrene craft head, a soft toy stuffed into a sock, or a bare light bulb on a stick all behave similarly.
- One light you can move. A continuous LED panel is the easiest to learn on because you can see the effect while you adjust. A speedlight or a small strobe works too, but you only get to see the result after each shot.
- Something to bounce light. A piece of white foam board, a sheet of card, or a clean white towel held at arm’s length does the job of a reflector.
- Diffusion material. A white bedsheet, a shower curtain, a net curtain, and a sheet of baking parchment. These turn hard light soft.
- A hard modifier. A baking tray, a large book, a cereal box side panel, or a piece of cardboard. Metal and white plastic bounce, flat matte card blocks.
- A tape measure. Distance is the variable people forget. Measure from the light to the stand-in every time and write it down.
- A clamp or sandbag. For anything taller than a table, plus gaffer tape to keep cables where nobody trips.
One safety note, because improvised stands are the only genuinely risky part of this. Hot lamps go on a stable surface with air around them, never on paper or bedding. Sandbag any stand taller than about a metre, run cables along a wall rather than across the walking path, and keep your stand-in away from draughts.
Step-by-Step: How to Practice Portrait Lighting Without a Model
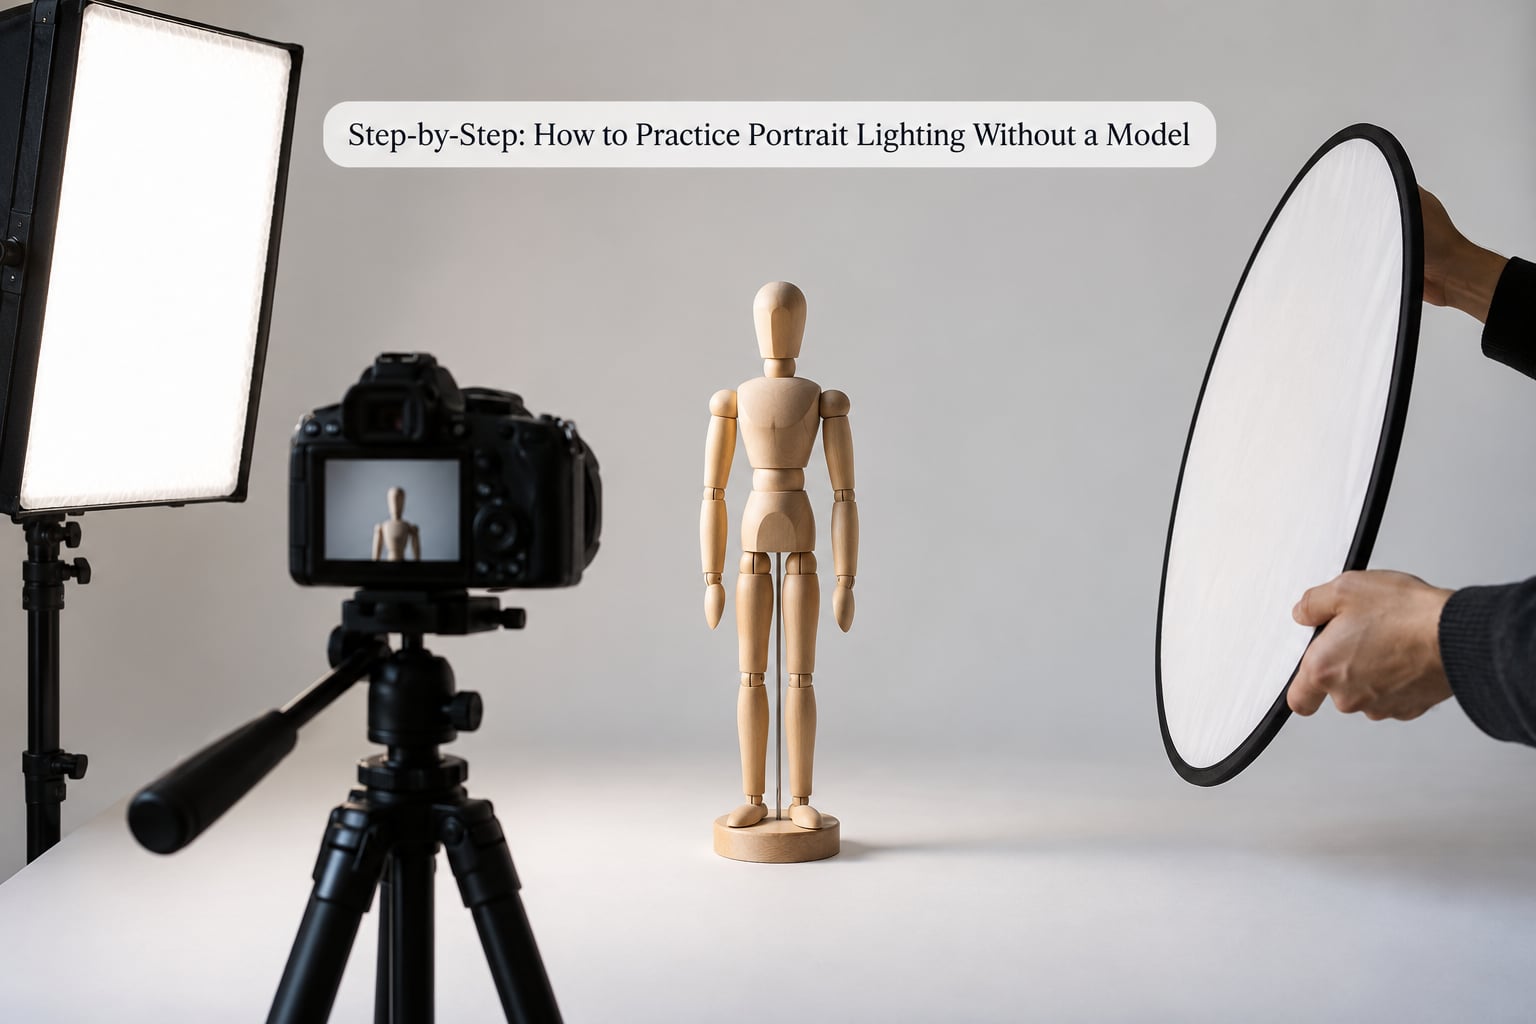
Seven exercises, in order. Each one has a clear goal and a clear test for whether it worked, so you know when to move on instead of fiddling for an hour.
Set Up a Safe Practice Station
Clear a table or a corner of the floor. A sheet of black card or a plain wall behind the stand-in gives you a clean background to judge highlights against, and it stops you reading stray room light as a lighting mistake.
Put a mark on the floor with tape for the stand-in and a second mark for the camera. Set the camera first, lock focus on the stand-in’s eye line, and leave everything else alone. The value of this exercise is entirely in repeating the same position.
It worked when you can step away for an hour, come back, and reproduce the exact same frame. If you have to re-find the subject each time, the station isn’t repeatable yet.
Learn Directional Light and Shadow Control
Turn off every other light in the room. Set the light level so the lit side of the stand-in is a comfortable mid-grey, then put the camera into manual mode and stop touching exposure.
Now walk the light through six positions at arm’s length from the subject: directly in front, front and high, front and low, 45 degrees to one side, hard to one side, and directly behind. Shoot at each one and note three things: which way the catchlight points, how dark the shadow side gets, and where the shadow edge falls.
A cheat sheet helps once you’ve got the feel:
| Light position | Shadow pattern | Shape of the nose shadow |
|---|---|---|
| High and in front | Butterfly | Small triangle pointing down, under the nose |
| About 45 degrees, slightly above eye line | Loop | Loops gently to one side and meets the cheek shadow |
| About 45 degrees, higher and further round | Rembrandt | Triangle on the cheek, with light under one eye on the shadow side |
| Hard to one side | Split | Runs straight down the centre of the face |
| Directly in front | Flat or fill | No distinct nose shadow |
| Behind and above | Rim or hair | Face mostly dark, edge lit |
It worked when you can name the pattern from the shadow alone, before you look at anything else.
Test Key-to-Fill Ratios
Keep the key light where it is. Now decide how much shadow you want. For a flat look, put a reflector close on the shadow side. For moderate modeling, move it further away or angle it away. For high contrast, remove it and let the shadow side fall away into black.
The mistake here is changing exposure along with light. If your camera is on automatic anything, the camera will compensate for the fill you just removed and the frame will look identical every time. Fix the aperture, shutter and ISO first, then move light only.
A cheap way to feel the ratio is to spot-meter the lit cheek, lock that as your base exposure, then look at how many stops darker the shadow side is. Two stops is a gentle portrait look. Four or more stops is dramatic. It worked when you can predict the shadow depth before you shoot.
Practice Modifier Placement
Softness comes from one thing: the size of the light source relative to your subject, and how far away it is. Move the same lamp twice as close and it gets twice as soft. Nothing else changes that.
- Hard. Bare LED or speedlight. Crisp shadow edges, nose shadow clearly defined. Good for learning shape.
- Semi-soft. Put a baking tray or a piece of white card a few centimetres in front of the source, edge on, so it covers part of the beam. You get a gradient across the face — the sharpest part stays near the axis, the outer edge softens.
- Soft. Hang a white bedsheet between light and subject, or staple a shower curtain to a frame. Wrinkles in the fabric create variation; smooth it out and the falloff evens up.
Feathering is the same idea turned sideways. Instead of aiming the broad face of the source at your subject, turn it so only its edge reaches them. The light falls off gently across the face and the far side keeps some of the shadow. It worked when you can predict which side of the face will be brighter before you shoot.
Build a Simple Three-Light Portrait Setup
Three lights is plenty for a first home studio. The key does the modelling. The fill or reflector controls how much shadow survives. The rim separates the subject from the background.
Standard placement: key about 45 degrees to one side and slightly above eye level, reflector opposite and close, rim light behind the subject and high, aimed down at the back of the head or shoulder. Add a fourth only if you need the background separated — a small light aimed at the backdrop, well behind the subject so it doesn’t spill forward.
Power matters more than angle once positions are set. Balance the rim at roughly one to two stops above the key so it draws an edge without blowing out. Keep the background light low enough that the backdrop stays a shade darker than the subject. It worked when each light has one job and you can name which one to reach for when a shadow looks wrong.
Repeat the Exercise in Different Looks
Now rebuild the setup three different ways, changing exactly one variable per run so you know what caused the result.
Soft beauty. Large diffused source high and in front, reflector close below, gentle ratio. Watch how the skin transitions flatten.
Dramatic side light. Bare light hard to one side, no fill, one reflector edge behind for separation. Watch the shadow side go dense and the texture come up.
High-contrast documentary. One source behind and above, a small reflector or card catching the eyes, backdrop falling to black. Watch what happens when the eyes are the only lit thing.
It worked when you can predict a look from its description rather than finding it by accident.
Review Your Results and Keep a Lighting Log
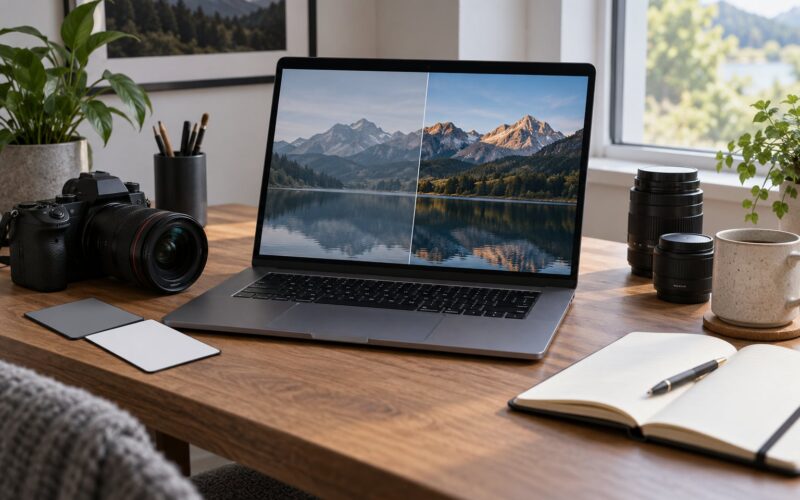
Compare the frames side by side at full size, not on the camera’s rear screen, which flatters everything. Check the highlight on the brightest cheek, the detail left in the shadow side, and whether the catchlight is where you meant it.
Write down four numbers for every setup: light-to-subject distance, light height relative to the eyes, horizontal angle, and modifier. Add the resulting pattern name. After a dozen rows you’ll see the pattern in your own handwriting — usually that your favourite look was never the one you expected.
It worked when you can rebuild your best frame from the log alone, on a different day, in a different room.
Common Mistakes
Moving the light without resetting exposure. Automatic exposure silently undoes every lighting change you make. Fix aperture, shutter and ISO before you touch the light, or use manual flash power and a fixed ISO instead.
Treating a reflector as a fill light. A white card returns light from one direction at a fraction of the power and adds no catchlight of its own. That’s fine for lifting shadows, but if you want a second catchlight you need an actual second source with enough power to register on the subject.
Judging from the camera’s rear screen. It brightens shadows and clips highlights. Take one exposure at -1 or -2 EV as a check, or work in black and white while you’re learning the shapes.
Changing five variables at once. Moving the light, swapping the modifier, changing power and changing the background in one take tells you nothing. One variable per frame, and label it.
Improvising supports. Stacked boxes, a light balanced on a chair, a broom handle under a foam ball. Fine on the floor at low height, not fine at face height. Clamp or sandbag anything that could fall.
Two habits worth building from the start. Practise for a fixed time rather than a fixed goal — thirty minutes, three setups, then stop while you’re still curious. And keep the bad frames; comparing your week-one Rembrandt attempt to your week-three one is the fastest motivation available.
Frequently Asked Questions
What can I use instead of a person to practice portrait lighting?
A hair styling head on a small stand is the most useful option, because it holds a face at eye level and shows nose and cheek shadows clearly. A foam ball on a stick, a polystyrene craft head, a soft toy, or a bare bulb all work nearly as well for shadow work. Kitchen objects — a bottle, a tin can, a jug — teach falloff and reflection well. The closer the substitute sits to face height and the smoother its surface, the more the result transfers to a real portrait.
Can I practice portrait lighting with a mannequin or stuffed toy?
Yes, with one honest caveat: a mannequin teaches you geometry, not skin. Nose shadows, cheek shadows, the Rembrandt triangle and catchlight placement all read correctly on a mannequin head, and those are exactly the skills people struggle with. What it cannot show you is how skin texture breaks up highlights, how translucent ears glow, or how an expression reshapes the planes of a face. Practise your patterns and ratios on the head, then repeat them on yourself or a friend.
What household objects work as portrait lighting modifiers?
For diffusion: a white bedsheet, a shower curtain, a net curtain, a frosted shower door, or a sheet of baking parchment stretched over a frame. For shaping the beam: a baking tray, a large book held upright, a cereal box with one side removed, or cardboard cut to a slot. For bouncing: white foam board, a mirror for harder and brighter returns, or aluminium tape. The bigger the surface relative to your subject, the softer the light gets.
How do I learn the direction of light without a model?
Put a single light at a fixed level, set manual exposure, and walk it through six positions around your stand-in — in front, high, low, three-quarter, side, and behind. Shoot at each one. Then note where the catchlight sits, how dark the shadow side falls, and where the shadow edge lands. After two rounds of this you will be able to identify a lighting pattern from its shadow alone, which is the skill that matters on a real shoot.
What camera settings should I use when practicing portrait lighting?
Manual exposure, manual focus, RAW. A practical starting point on full frame is f/4, 1/125 second, ISO 200, adjusted to your light. Shoot the frame at f/8 as well so you can see whether the whole face is in focus. Turn off automatic white balance too — mixed household light will shift colour between runs and make comparisons unreliable. The specific numbers matter far less than never changing them mid-exercise.
When should I practice portrait lighting with a real person instead?
Once you can hit a named pattern on a stand-in without guessing, and you have logged the distances and angles that produced it. That is the point where you are rehearsing direction and expression rather than mechanics. Until then, more stand-in time will teach you more. A good middle step is a tethered self-portrait, which gives you real skin and real expressions while keeping the pressure of someone watching low.
Start tomorrow with one light, one stand-in, and the six-position sweep. Set your exposure, walk the light around, name each pattern, and write down the numbers that worked. That first session is the whole method in miniature, and it takes half an hour.