To pose plus size subjects flatteringly, turn the body 30 to 45 degrees away from the camera, put the weight on the back leg, keep a hand clear of the widest part of the hip, and shoot from a few steps back with an 85 to 135mm lens at chest height. Add one small movement, take the frame, and you have a portrait that looks relaxed rather than staged.
The reason a standard setup so often works against a fuller figure is optical, not personal. A camera holds a three-dimensional body on a flat plane, and it exaggerates whatever is closest to the lens. Stand close with a wide lens at waist height and the torso becomes the biggest thing in frame, which is exactly the “20 pounds heavier” feeling people describe.
This guide is written for the person behind the camera, whether that is a studio portrait, a boudoir set, a wedding, a maternity session, or a headshot for a LinkedIn profile. The same handful of adjustments work for every fuller-figured subject, and they take about ten minutes to learn.
Table of Contents
- What You Need
- Step-by-Step: How to Pose Plus Size Subjects Flatteringly
- Common Mistakes
- Frequently Asked Questions
- Should a plus size subject face the camera straight on when posing?
- What are comfortable posing options for a seated plus size portrait?
- How can a photographer avoid making a subject look larger with camera angle?
- What should I do if my subject feels uncomfortable or self-conscious?
- Are there flattering poses that work across different plus size body types?
- How do I direct plus size subjects without making the session feel awkward?
- Conclusion
What You Need
You do not need special gear. You need a lens long enough to keep you off the subject, something for them to lean or sit on, and a conversation before you lift the camera.
- A camera with a normal-to-short telephoto lens. An 85mm or 135mm equivalent is the working range. On a crop body, a 70 to 200mm covers it. If all you have is a kit zoom, set the long end and step further back rather than filling the frame from where you stand.
- A tripod or a stable stance. Stepping back three metres four times in a session is where a tripod quietly pays for itself.
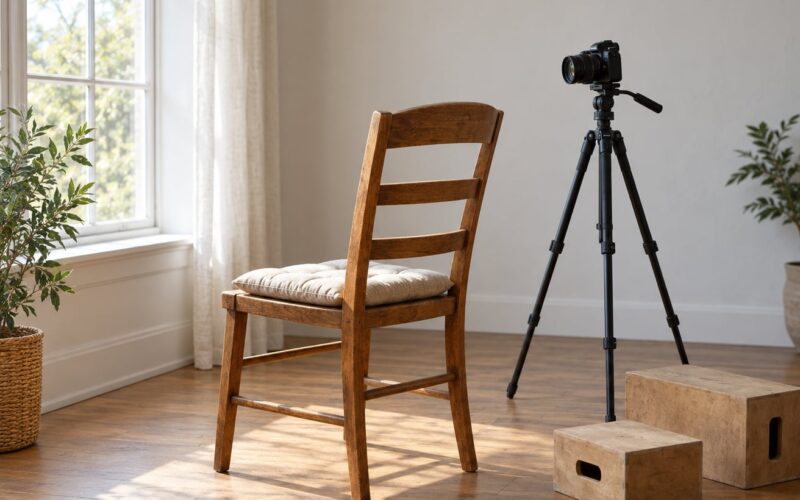
- A posing stool, ottoman, or small step. Height matters. A seat that is too low fights the camera angle; a seat that lifts the hips changes the whole silhouette in one move.
- A plain wall or backdrop and one piece of stretch fabric for leaning. Leaning takes weight off the standing leg and gives shoulders somewhere to go.
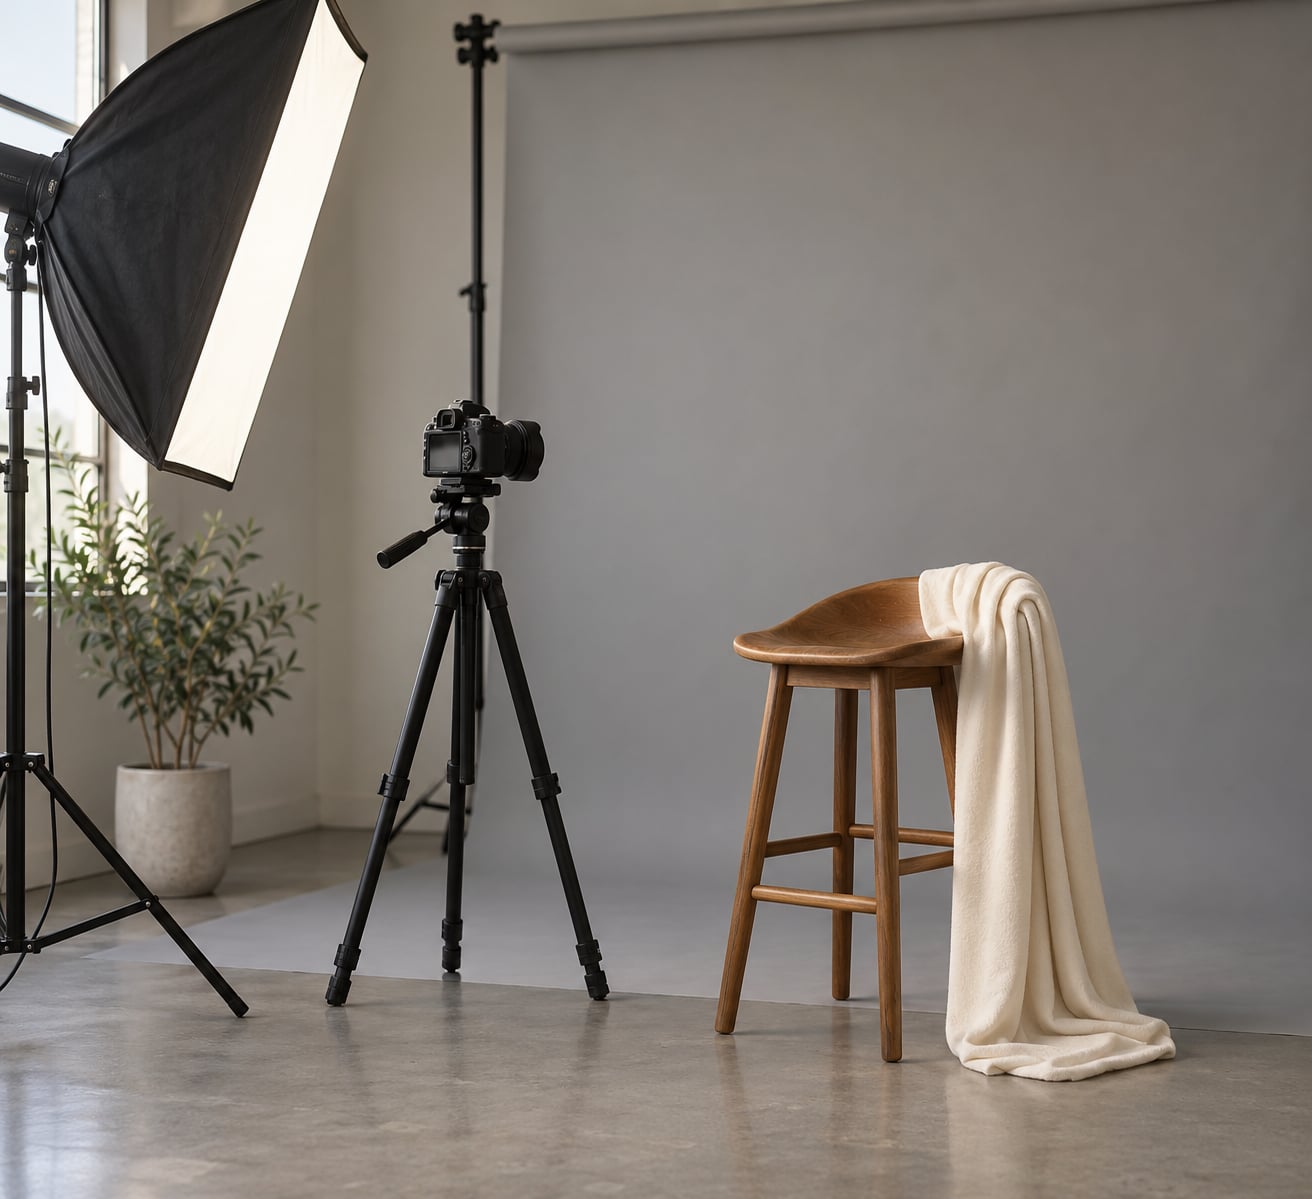
- A soft light source you can move plus a flag or dark panel for negative fill. Light coming from one side defines a curve that flat frontal light flattens away.
- A short conversation, first. Ask what the subject wants to see emphasised and what they would rather avoid, and ask about anything that hurts. A subject with joint or back pain cannot hold the pose, no matter how well it would photograph.
Step-by-Step: How to Pose Plus Size Subjects Flatteringly
Step 1: Choose a Comfortable Base Position
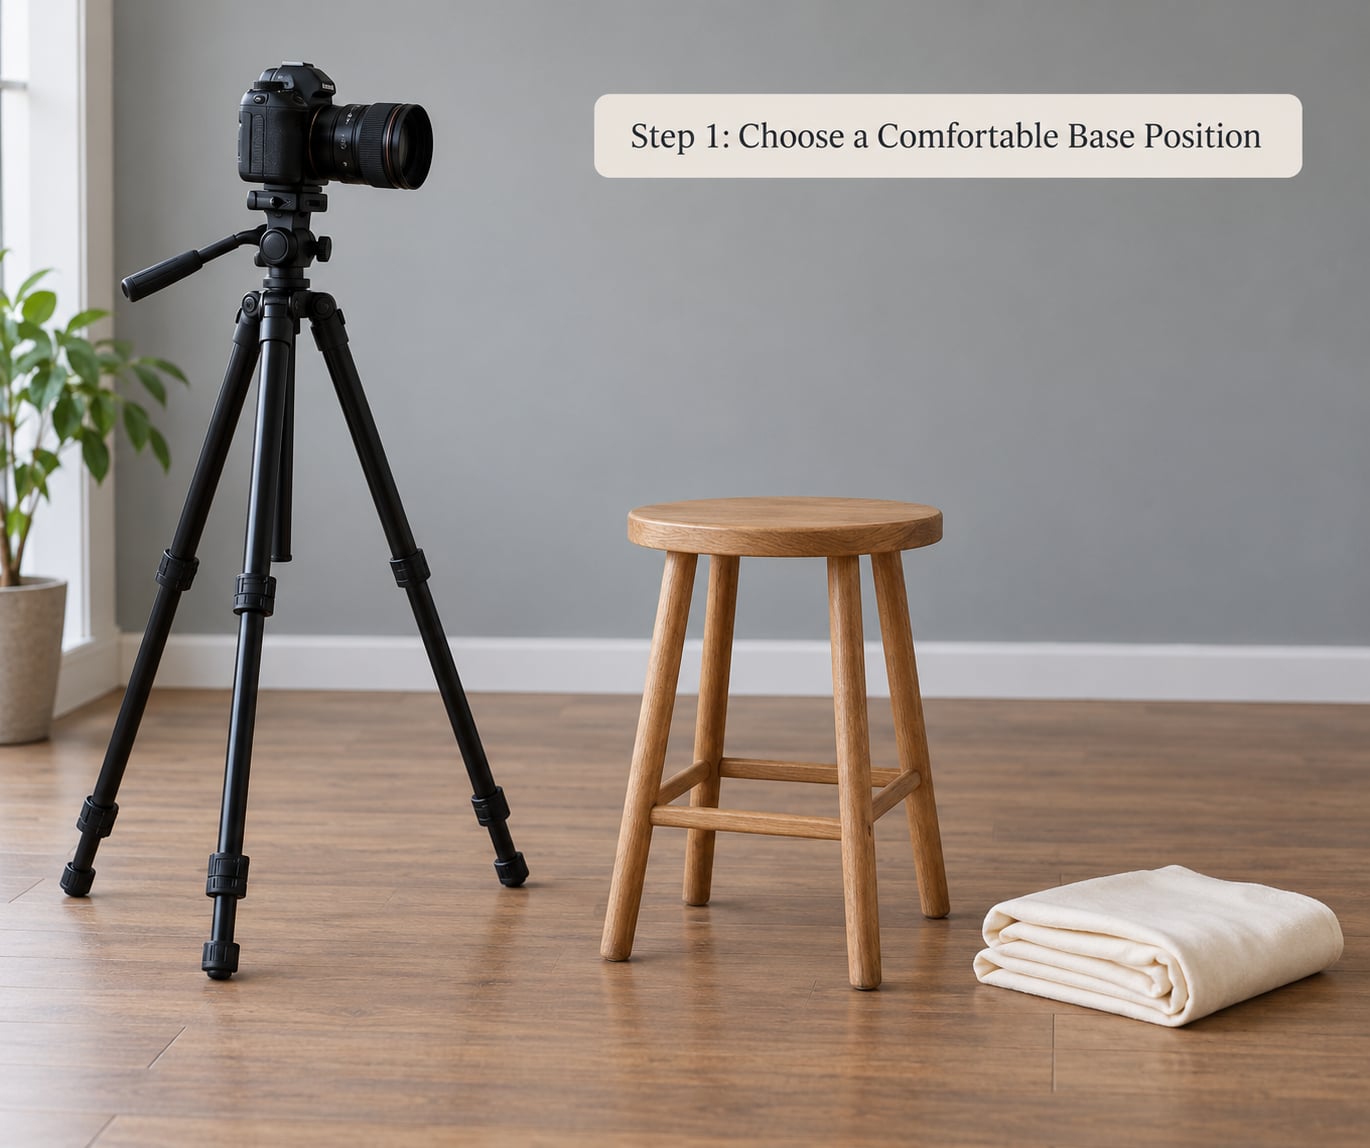
Start every pose from a position the subject can hold for a full minute without thinking about it. Weight even across both feet, spine long, shoulders down and back, chin level.
For a standing base, tell the subject to bring one foot slightly forward of the other and settle most of their weight into the back heel. That single shift drops the hip on the standing side and starts an S-curve through the torso.
For a seated base, have them sit forward rather than back, feet flat and roughly hip-width apart, and hands resting rather than gripping. Slouching back into a chair flattens the chest and compresses the neck; sitting on the front edge keeps the spine long.
Side-angled standing works best in three-quarter view: the subject turns the feet about 30 degrees, then the shoulders come a little further than the hips. You know it is working when the outline of the figure shows a waist and a shoulder rather than one straight line.
Step 2: Create Space and Shape with the Arms
Arms pressed flat against the torso make the whole body look wider, because the eye reads one solid block. The fix is a hand that has somewhere to go.
Good defaults: one hand resting on the front thigh, one hand at the back of the neck with the elbow out, or a hand lightly holding the opposite wrist in front of the body. Loosened elbows with the hands separated from the hip also break the outline without any dramatic instruction.
Direct it physically once. If your subject does not copy your demonstration immediately, walk over and adjust their wrist yourself, then ask them to hold the new shape. Doing it for them once is faster than describing it three times, and it removes the awkwardness of guessing.
Step 3: Turn the Body to Pose Plus Size Subjects Flatteringly
The 45-degree angle is the single most useful adjustment in plus-size posing, and it is the one most often skipped. A head-on stance squares the shoulders and hips to the lens, which is the flattest possible read of any figure. Turn the body and the light falls across curves instead of flattening them.
Keep the head last. Have the subject turn the torso, then the hips, then bring the head back toward the camera last. That last turn keeps the connection in the portrait without squaring the body off again.
Offer choices rather than a prescription. Two or three angles, each held for a few seconds, and the subject picks the one they recognise in the preview. A pose they chose will survive a two-hour wedding day; one you imposed will not.
Step 4: Find a Relaxed Expression and Connection
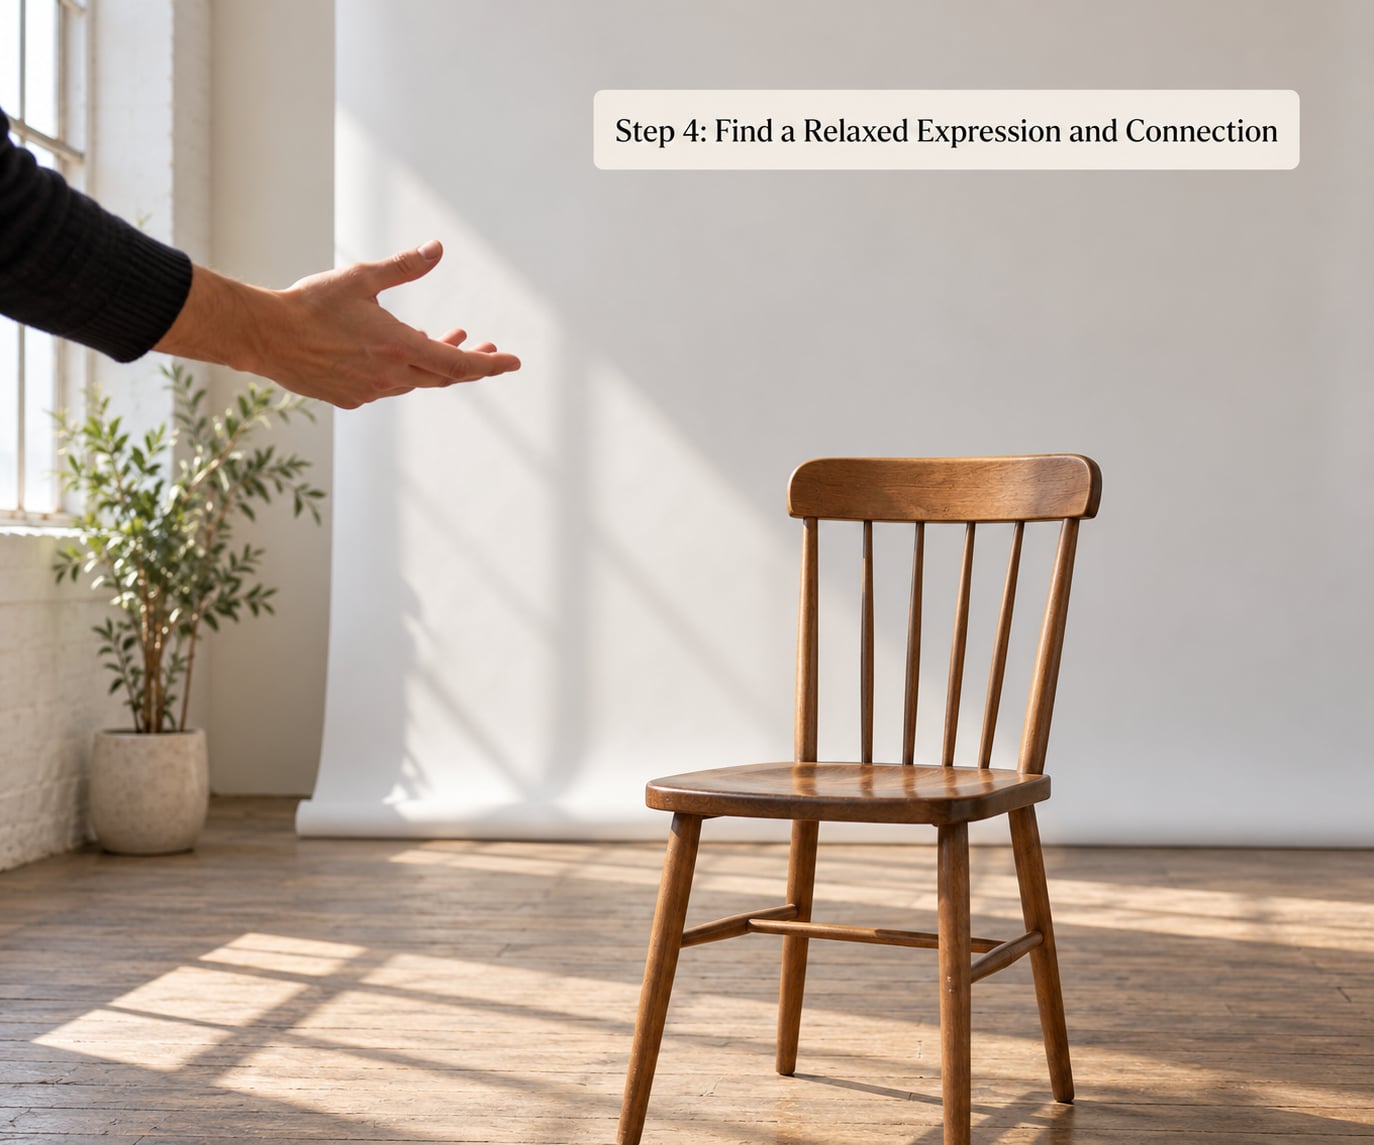
Most “awkward” photos are not posing problems. They are jaw and eye problems. A clenched jaw, a half-smile held too long, or a subject staring straight into the lens with no thought behind it will undo good posture.
Prompts that reliably work: have them think of someone they love, look at a spot just past your shoulder, or breathe out and let the shoulders drop on the exhale. The exhale cue is the one I use most, because it fixes the shoulders and the face at the same time.
Ask for a movement, not a pose. Weight shift, a small step, a head turn, a hand lifting to the hair. Shoot a short burst during the movement so the frame with the most life has a decent chance of landing. Then let them look at two frames and tell you which one is them.
Step 5: Frame and Light the Pose
Camera position does more work than any pose cue. A lens close to the subject magnifies the nearest part of the body, so distance and focal length together control how much weight appears in frame.
| Camera height | What it does to the figure |
|---|---|
| Below the waist, looking up | Legs read longer, torso foreshortens. Effective for a confident three-quarter shot, but go no lower than the subject’s eye line or the frame tips into distortion. |
| Waist height, level | Neutral and natural. A safe default when the subject is standing still and you are not adjusting anything. |
| Chest height, level | The best all-purpose height for standing portraits. Levels the torso, keeps the face open, works at any focal length. |
| Eye level or above | Emphasises the face and shoulders, and shortens the lower body. Fine for head and shoulders, less useful full length. |
Keep the lens somewhere between 85 and 135mm equivalent. Wide angles are not forbidden, but they must stay far from the subject or they will stretch whatever is closest, usually the torso or the near hand.
Crop above and below the widest part of the body. A frame that cuts at the hips and thighs adds back everything you removed; a frame that ends at the widest point of the curve reinforces it. Three-quarter and head-and-shoulders framings are legitimate choices, not hiding places, and they are often the stronger portrait.
Put the key light about 45 degrees off the axis and slightly above. A black flag or dark panel on the shadow side is negative fill, and it does more to reveal a waist than any amount of retouching. If the light is flat and frontal, the shape disappears.
Step 6: Check the Result and Refine
Look at the frame back the way a stranger would, not the way you do. Check balance, expression, and whether the pose still looks like the person standing in front of you.
Then run one quick diagnostic: are joints cropped at an awkward point, is an arm merging into the torso, is there a tangency where a limb meets the body, is a crease of fabric pulling the eye, or is there a harsh shadow under the arm or chin? Fix one thing at a time, and reshoot only that frame.
End every posing block with the same three-shot sequence so you have coverage no matter what happened in between: a wide view for context, a medium view at the waist, and a close portrait. Save those three first, then experiment.
Common Mistakes
Six errors come up repeatedly in portrait sessions with fuller-figured subjects, and every one of them has a straightforward fix.
- Pulling on the arms and hands. Force in a wrist reads as force in the photo. Move the subject’s hand for them once, then let them hold it.
- Forcing a straight-on stance. A squared body is the flattest read of any figure. Turn the torso 30 to 45 degrees and keep the face turned back toward the lens.
- Putting the camera too low with a wide lens. This is the combination that makes people say they look heavier than they are. Step back, zoom in, and raise the camera to chest height.
- Holding one position for the whole session. Poses fatigue fast and the frame shows it. Rotate through standing, seated, and leaning positions every few minutes.
- Assuming one body type needs one treatment. Fuller figures are not one shape, and the pose that flatters a tall hourglass subject will not suit a shorter, broader one. Show options and let the subject choose.
- Promising an angle will change how someone looks. Do not say a pose or lens will take weight off. Say it will show posture and light well. The subject notices the difference, and the promise sets up disappointment.
One more worth naming: asking for a full-length pose when the subject would rather not have one. Offer the three-quarter framing as a choice, not a fallback, and let the decision sit with them. Most of what people call bad posing photos come down to a direction the subject never agreed to.
Frequently Asked Questions
Should a plus size subject face the camera straight on when posing?
Not usually. A body squared to the lens is the flattest read of any figure, because the shoulders, hips, and waist line up in one plane. Turn the torso 30 to 45 degrees, angle the hips slightly further than the shoulders, then bring the head back toward the camera last. You keep the eye contact and connection while the light falls across the shape of the body instead of flattening it.
What are comfortable posing options for a seated plus size portrait?
Have the subject sit forward on the edge of the seat rather than back into it, with feet flat about hip-width apart and hands resting instead of gripping. Angling both knees slightly to one side creates a line through the hip, and leaning a shoulder toward the camera adds depth. Elevating the seat a few inches with a box or ottoman also makes the whole frame read longer.
How can a photographer avoid making a subject look larger with camera angle?
Step back and use a longer lens, then raise the camera to chest height. A wide lens close to the subject magnifies whatever is nearest it, usually the torso and the near hand, and a low position foreshortens the upper body. An 85 to 135mm lens from several metres away compresses those proportions so the figure reads narrower and longer without any retouching.
What should I do if my subject feels uncomfortable or self-conscious?
Stop shooting and ask what specifically feels wrong rather than guessing. Discomfort is usually a physical issue, such as back or joint pain from holding a position, and the fix is a different pose rather than reassurance. If the discomfort is about the image rather than the pose, show them the frames so far and let them decide what stays. Posing is collaborative, not corrective.
Are there flattering poses that work across different plus size body types?
The principles transfer even though the poses do not. Turning the body at an angle, putting weight on the back leg, keeping hands clear of the widest point, and using an environment to lean against all work across fuller body types and heights. The execution has to vary, because a short broad figure and a tall curvy one need different framing and different camera heights. Show three options and let the subject pick.
How do I direct plus size subjects without making the session feel awkward?
Give directions that describe the shape, not the body. Say turn your shoulders slightly toward the light, or rest your hand on your thigh, rather than saying anything about size or weight. Demonstrate once, then let the subject copy you, and build in movement so there is always something to do between frames. The first five to ten minutes of talking usually do more for a session than any pose cue.
Conclusion
Start with comfort, not with a pose. Get the subject into a position they can hold, give the arms somewhere to go, angle the body and face separately, then refine the frame with camera position, crop, and side light.
The method is how to pose plus size subjects flatteringly without turning the session into a correction: choose one of the three base positions, change one thing at a time, and let the subject pick the frame that looks like them.
The best of these portraits are the ones that still look like the person when they see them on a screen. That comes from listening first and adjusting second, and it is what separates a flattering portrait from a flattering trick.