Open shade is a shaded spot that sits right beside a sunlit area, so your subject stands out of the direct sun while facing a wide, empty patch of sky. The sky then works like a very large softbox, giving you soft light with a gentle direction, natural catchlights in the eyes and skin tones that stay even through the harshest part of the day.
Getting how to use open shade for portraits right is the cheapest lighting upgrade there is. It takes about ten minutes to set up and costs nothing. The whole method comes down to three things: find shade with open sky beyond it, stand your subject just inside the shade line with the face turned toward the brightness, and adjust exposure only after you have looked at what the light is actually doing.
People get this wrong in a predictable way. They walk under a big tree, expect studio light, and end up with dark eye sockets and blotchy patches across the cheeks. That is closed shade, not open shade, and the difference is everything.
Table of Contents
- What You Need to Use Open Shade for Portraits
- How to Use Open Shade for Portraits: Step-by-Step
- 1. How to Use Open Shade for Portraits: Find Shade With Open Sky
- 2. Position the Subject Near the Edge of the Shade
- 3. Keep the Shade Directly Above the Subject
- 4. Turn the Face Toward the Brighter Side
- 5. Control Contrast with a Reflector or Fill Card
- 6. Choose a Simple Background
- 7. Check Focus, Skin Tones, and the Exposure
- Common Mistakes
- Frequently Asked Questions
- Conclusion
What You Need to Use Open Shade for Portraits
The gear list is short because the light does the work. Most people shoot open shade portraits with a camera and a normal lens and nothing else at all.
- A subject. One person is easiest. Groups need a wider frame and a plan for the shade line you will cover (more on that below).
- A camera and any lens you have. An 85mm or 135mm gives the compression people associate with studio work. A 35mm or 50mm lets you back up and include more of the bright area, which is useful when the space is tight.
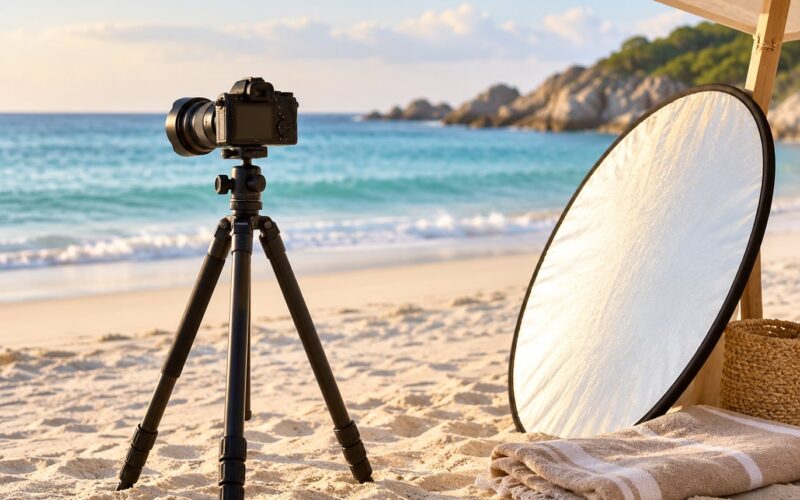
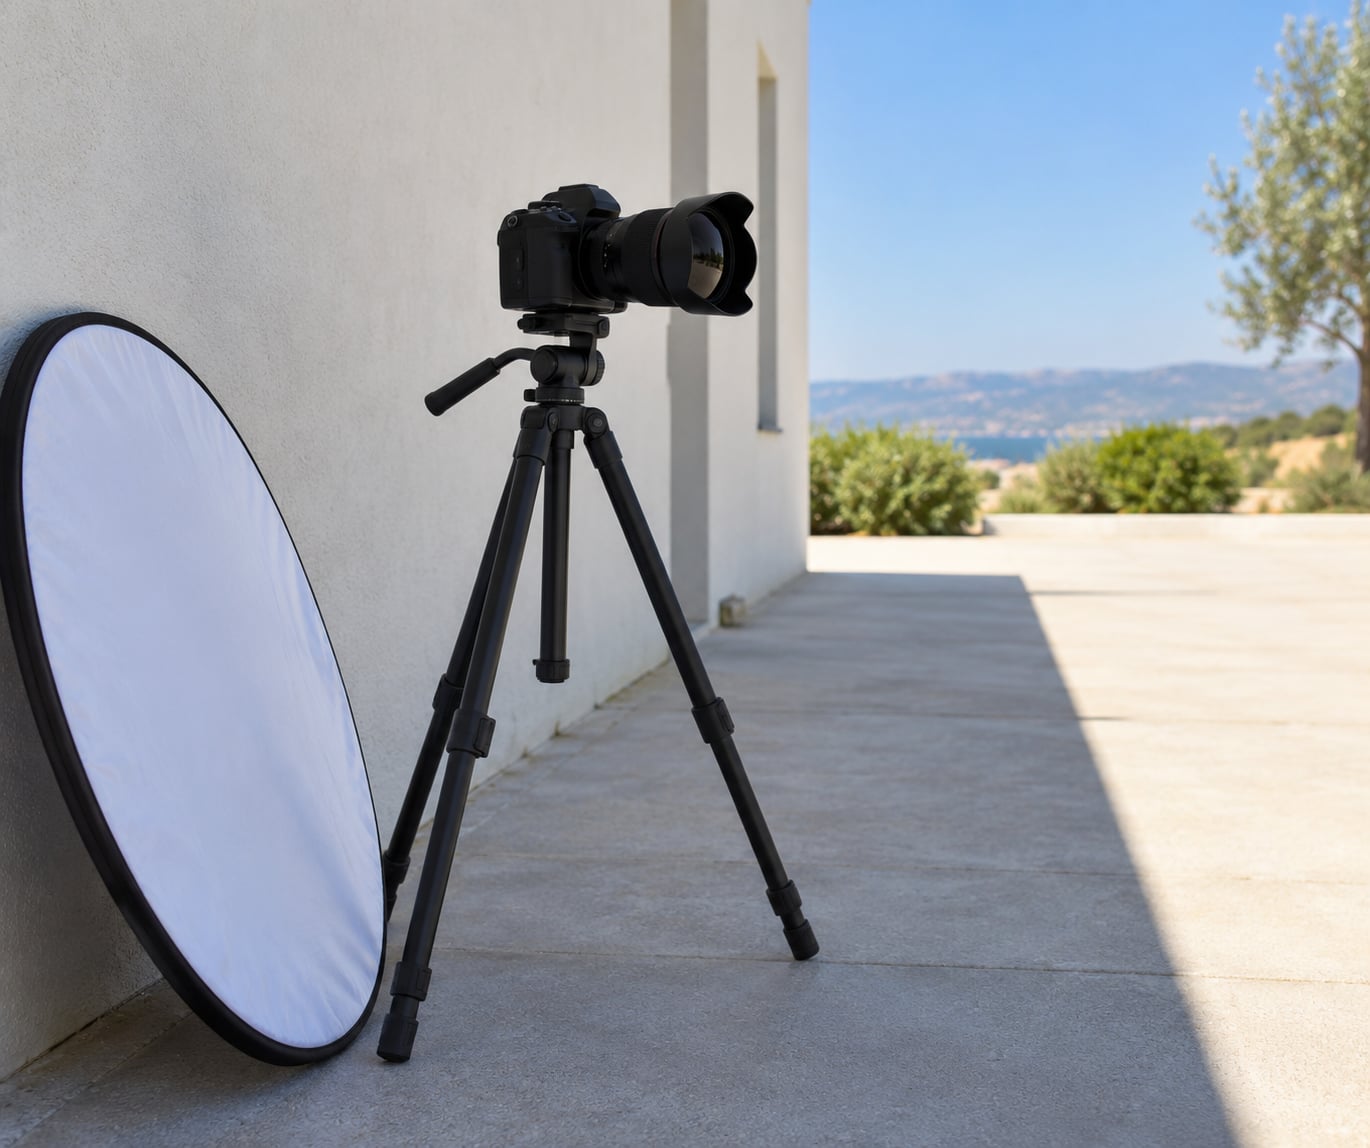
- An optional reflector, white card or pale fabric. A 5-in-1 reflector or a sheet of foam board is plenty. It fills the shadow side, it does not light the whole face.
- An optional small flash with a diffuser. Worth carrying only if you shoot headshots regularly. It gives you repeatable fill when the sky goes flat.
- A location with open sky in view. This is the one requirement that cannot be improvised. Shade under a tree, beside a building, under an awning or inside an archway all work, as long as the subject can see open sky and the photographer is not standing in a second layer of shadow.
One more thing worth bringing: a black cloth or a dark jacket. Wrapping it around a frame or holding it low blocks upward bounce from bright grass, which is the fastest way to kill the green cast that shade portraits usually suffer from.
How to Use Open Shade for Portraits: Step-by-Step
Here is the full workflow, from scouting the location to checking the finished exposure. Each step names the action, why it matters and the visible sign that it worked.
1. How to Use Open Shade for Portraits: Find Shade With Open Sky
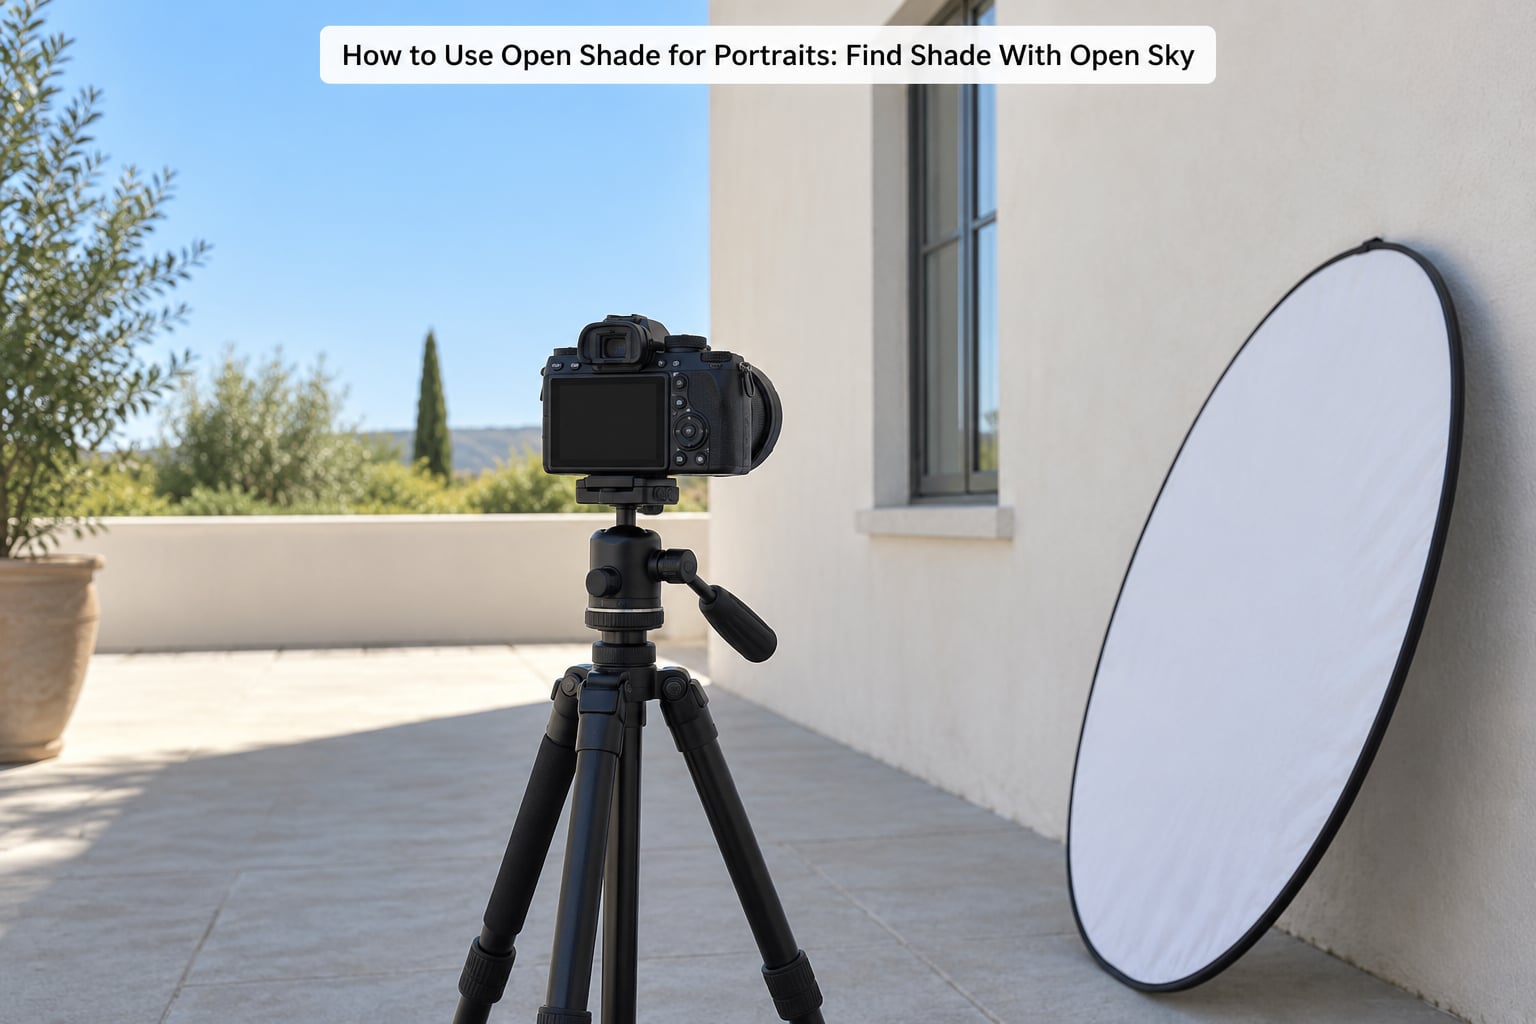
Stand in the shadow and look at what the subject will be facing. If the view is filled with sky, you are in the right place. If the view is a hedge, a chain-link fence or a second building, the light reaching the face will be flat and slightly dull, because it has bounced off a small dark surface instead of the sky.
Look for shade beside a building, at the outer edge of a tree canopy, under an awning, inside a doorway or archway, or beneath a portable canopy you brought yourself. The shaded area needs an open, sunlit space somewhere in front of the subject. That bright space is the light source, and it needs some size to it.
The sign it worked: you can see a clear band of bright ground or sky in front of where the subject will stand, and the shaded floor under your feet is evenly lit rather than patchy.
2. Position the Subject Near the Edge of the Shade
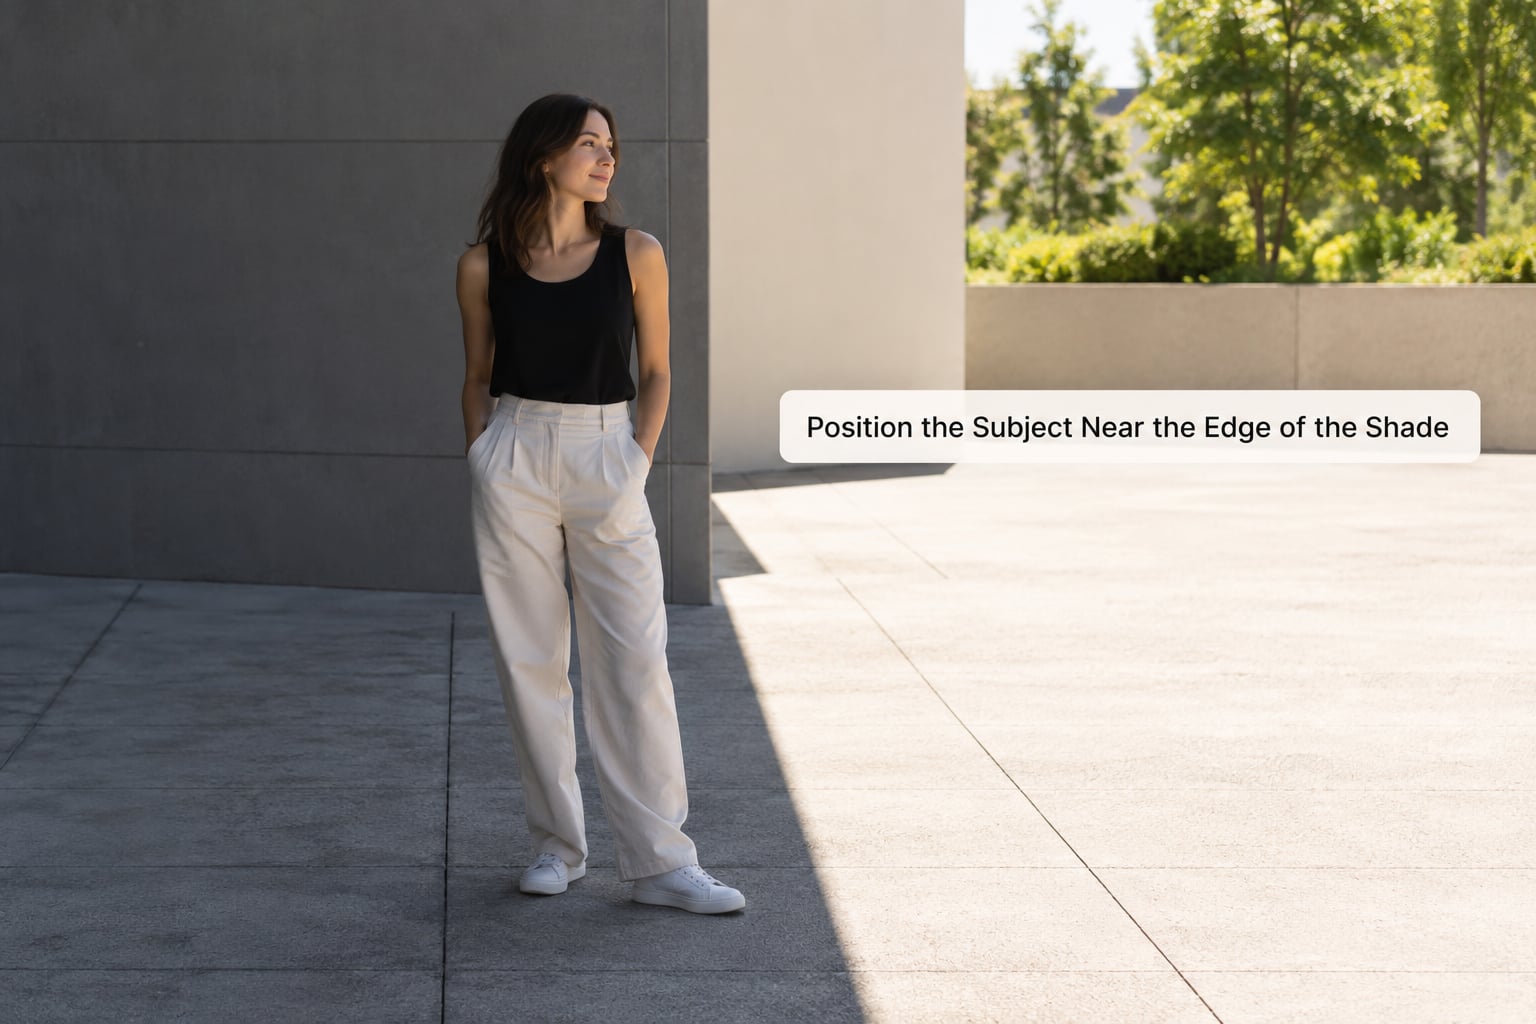
The shade line is the boundary on the ground where sunlight ends and shade begins, and it is the most useful piece of real estate in the whole location. Light at that edge is softer than direct sun because it has just travelled through the shaded area, but it still has direction.
Place the subject’s face a foot or two inside the shade line, not deep in the shadow. As you move them deeper, the sky becomes the only light and the face flattens out. As you push them out into the sun, the forehead and cheekbone blow out while the far side of the face goes black.
The sign it worked: you can see a clear difference in brightness across the face, with one side a little brighter than the other, and the skin still holds detail from the lit side into the shadow side.
3. Keep the Shade Directly Above the Subject
Open shade and a narrow strip of shadow are not the same thing. A strip of shade under a fence or a parked car gives you very little sky and very little light. You want an area of shade wide enough that the subject is not clipped by a hard edge falling across the face, and deep enough that the sun does not cut back in mid-session.
Overhead shade also produces top light, which is the most common complaint about this technique. It puts shadow in the eye sockets and a shadow under the nose. You cannot move the sky, so fix it with position: turn the face three-quarters toward the brightest part of the open area and keep the eyes just above the level of the shade edge where possible.
If a wall or a dense canopy takes away too much sky, walk the subject further out until more of it opens up, or shoot at a different hour when the shade line has moved and the space underneath is clearer.
The sign it worked: no hard-edged shadow crosses the cheekbones or the mouth, and the darkest part of the face still has visible detail.
4. Turn the Face Toward the Brighter Side
Direction does more work in open shade than most people expect. You do not need the face pointed straight at the brightest area. Turning the head three-quarters toward it puts a soft gradient across the forehead, cheek and jaw that reads as shape rather than flatness.
A quick check before you press the shutter: squint at the face and see which side is brighter. Then look at the shadow edge on the shadow side. If that edge is hard and dark, the light is too contrasty and you need fill. If it is barely there, the face will look washed out and you should rotate the subject back toward the darker part of the shade.
The sign it worked: a visible tonal gradient runs across the face from the brighter side to the darker side, and the eyes sit in shadow without being black holes.
5. Control Contrast with a Reflector or Fill Card
Open shade does not need much fill. It needs just enough to lift the shadow side of the face so it lands within about one stop of the lit side. Overfilling is the classic mistake: the face goes grey and lifeless, and you have thrown away the whole reason for shooting outside.
Hold a reflector or pale card close to the shadow side, roughly level with the subject’s chest, angled so it throws light back into the darker half of the face. Move it closer for softer, broader fill and further away for a more directional, contrasty result. White bedsheets and pale fabric work too, and so does the underside of a white patio umbrella.
Leave the highlights alone. The lit side of the face should stay exactly as bright as it came out of the sky.
The sign it worked: the shadow side of the face is lighter than it was, but still clearly darker than the lit side, and the skin still has a bit of colour in it rather than reading as grey.
6. Choose a Simple Background
Anything brighter than the subject pulls the eye to the background, so aim for a background one to two stops darker than the face, or push it well behind with distance and a wider aperture. A plain shaded wall works, a distant hedge in shade works, and so does a dark doorway behind the subject.
A pale wall close behind the subject is useful for headshots but easy to overuse. It reflects light back into the face, which flattens the contrast you just worked to create, and it leaves a hard boundary line behind the head unless you move far enough away or shoot wide enough to lose it.
Check the frame edges, not just the middle. Bright gaps between leaves, a slice of sky between two buildings, a white car half in frame: these read as distractions because the eye finds the brightest thing first. Step left or right, or change the height of the camera, before you change anything else.
The sign it worked: the brightest thing in the frame is the face, and nothing in the background competes with it.
7. Check Focus, Skin Tones, and the Exposure
Shade meters darker than sunlight, and a camera that was set up in the sun will underexpose the portrait by one to two stops. This is the most common reason shade portraits look dull. Switch to aperture priority or manual and dial in the exposure properly, or add positive exposure compensation of roughly +0.7 to +1.3 EV if you are shooting in evaluative metering.
Shoot one test frame and look at the histogram. You want the histogram to reach toward the right without a solid block clipped against the edge, because clipped skin tones cannot be recovered later. Open the image at full size and check the face first, then the brightest background areas.
Skin tone accuracy comes next. Shade sits in the blue end of the spectrum, so the camera often pushes warmth into the frame and overcorrects into a pink or orange face. Green grass and foliage bounce the other way. Set a custom white balance from a grey card or a neutral wall if you have one, or correct the cast later with the temperature slider set by eye against the face.
For focus, put the focus point on the nearest eye, use a single autofocus point rather than a wide area, and shoot wide open or one stop down so the background falls away. Check the frame at 100 percent before you call it done.
The sign it worked: skin tones look like skin tones, the face is not clipped, and the background is darker than the face.
Common Mistakes
Almost every bad open shade portrait comes down to one of six problems. Each has a quick fix you can apply without moving location.
Shade with no sky. Standing under a dense canopy or in a narrow alley gives you closed shade: flat, slightly green, and lacking catchlights. Turn the subject toward the brightest opening and fill from that direction. If no opening exists, move.
Dappled light across the face. Half in shade and half in broken sun creates blotches that no amount of editing fixes cleanly. Use the drip line rule: stay outside the line where the foliage ends and the sky begins, and step the subject back until every part of the face is evenly shaded.
An overly dark face. Almost always an exposure problem, not a light problem. Add a stop or two of exposure compensation, or raise the ISO until the histogram lands where you want it. Also check that the photographer’s own shadow is not falling on the subject, which is easy to do at the wrong hour and hard to see in the moment.
Dark eye sockets from top light. Open shade light comes from overhead, so it hollows the eyes. Turn the face three-quarters toward the open sky, lift the chin a little, and place a reflector low so it bounces light up into the sockets.
A distracting background. Bright patches behind the subject pull attention away from the face. Reposition rather than zoom, and use a wider aperture to soften whatever remains.
Too much fill. A reflector held too close to the subject, or held too square to the lens, flattens the face into grey. Turn the reflector slightly away from the camera and pull it back until the shadow side is one stop darker than the lit side.
One scheduling habit worth building: the usable window in shade is short. The shade line moves several feet over an hour, so arrive early, scout with the sun in mind, and be ready to shift the subject rather than the plan.
Frequently Asked Questions
What is the best open shade for portraits?
The best open shade for portraits is an evenly shaded area beside a large, sunlit space, with the subject standing just inside the shade line and facing that bright area. A shaded wall beside an open lawn works well, and so does the outer edge of a tree canopy. Avoid deep shade under dense foliage, narrow alleys, and any spot where the view in front of the subject is blocked by a wall or hedge instead of sky.
Is open shade better than direct sunlight or overcast light?
Open shade sits between the two. Direct sun creates hard shadows under the brow and nose, and makes subjects squint. Overcast light is soft but comes from everywhere, so it flattens the face. Open shade is soft and still directional, which is why it gives shape and catchlights without the harsh lines. On a bright overcast day, treat the whole scene as one giant open shade source and just watch the background.
Do I need a reflector when shooting portraits in open shade?
Most of the time you do not, but it helps when the face turns away from the bright area and the shadow side gets heavy. A reflector or white card placed close and low lifts that side by about a stop without touching the highlights. The mistake to avoid is overfilling: if the shadow side matches the lit side, the face looks flat and grey. Hold the reflector at an angle rather than square to the lens.
How do I keep the background from distracting in open shade?
Choose a background one to two stops darker than the face, then check the whole frame for bright holes before you shoot. Stand further back and open the aperture to soften whatever is left behind. A shaded wall or dark doorway close behind the subject gives clean separation, though it may bounce too much light back into the face, so step away from it if the contrast disappears.
Can open shade portraits still have too much contrast?
Yes, when the light comes from a narrow source rather than a wide one. Shade beside a bright wall or under the edge of a canopy can put the lit side two or three stops above the shadow side. Turn the face three-quarters toward the bright area, or add fill from low down with a reflector or card. If the contrast stays harsh, the location is more closed shade than open shade and it is worth moving.
Conclusion
If you only remember one thing about how to use open shade for portraits, remember the edge. Find a shaded area with clear sky and a bright open space in front of it, then put the subject’s face just inside the shade line facing that brightness. Everything else is adjustment: fill for contrast, exposure for brightness, white balance for colour.
Give yourself ten minutes of scouting, bring a reflector you may only half use, and check the histogram before you call the session done. Open shade is the most dependable free portrait light outside a studio, and it works on the brightest days of the year, which is exactly when you need it.