To edit phone portraits like a pro, work in a fixed order: crop, set exposure and white balance, dodge and burn the light, retouch skin conservatively, grade colour, add restrained detail, then export at full quality. Apple Photos, Lightroom Mobile and Snapseed all give you every control you need, free.
Almost every amateur-looking portrait I get sent has the same problem, and it is never the app. Somebody opened a filter first, pushed saturation until the skin turned orange, and never corrected the white balance. That is a fixable mistake, and fixing it takes about eight minutes once you know the order.
This guide covers both platforms, with menu names for iOS and Android side by side and starting slider values you can actually type in. Menus shift between app versions, so I have noted which release the paths match. Updated for October 2026.
Table of Contents
- What You Need to Edit Phone Portraits Like a Pro
- Step-by-Step
- Common Mistakes
- Frequently Asked Questions
- Conclusion
What You Need to Edit Phone Portraits Like a Pro
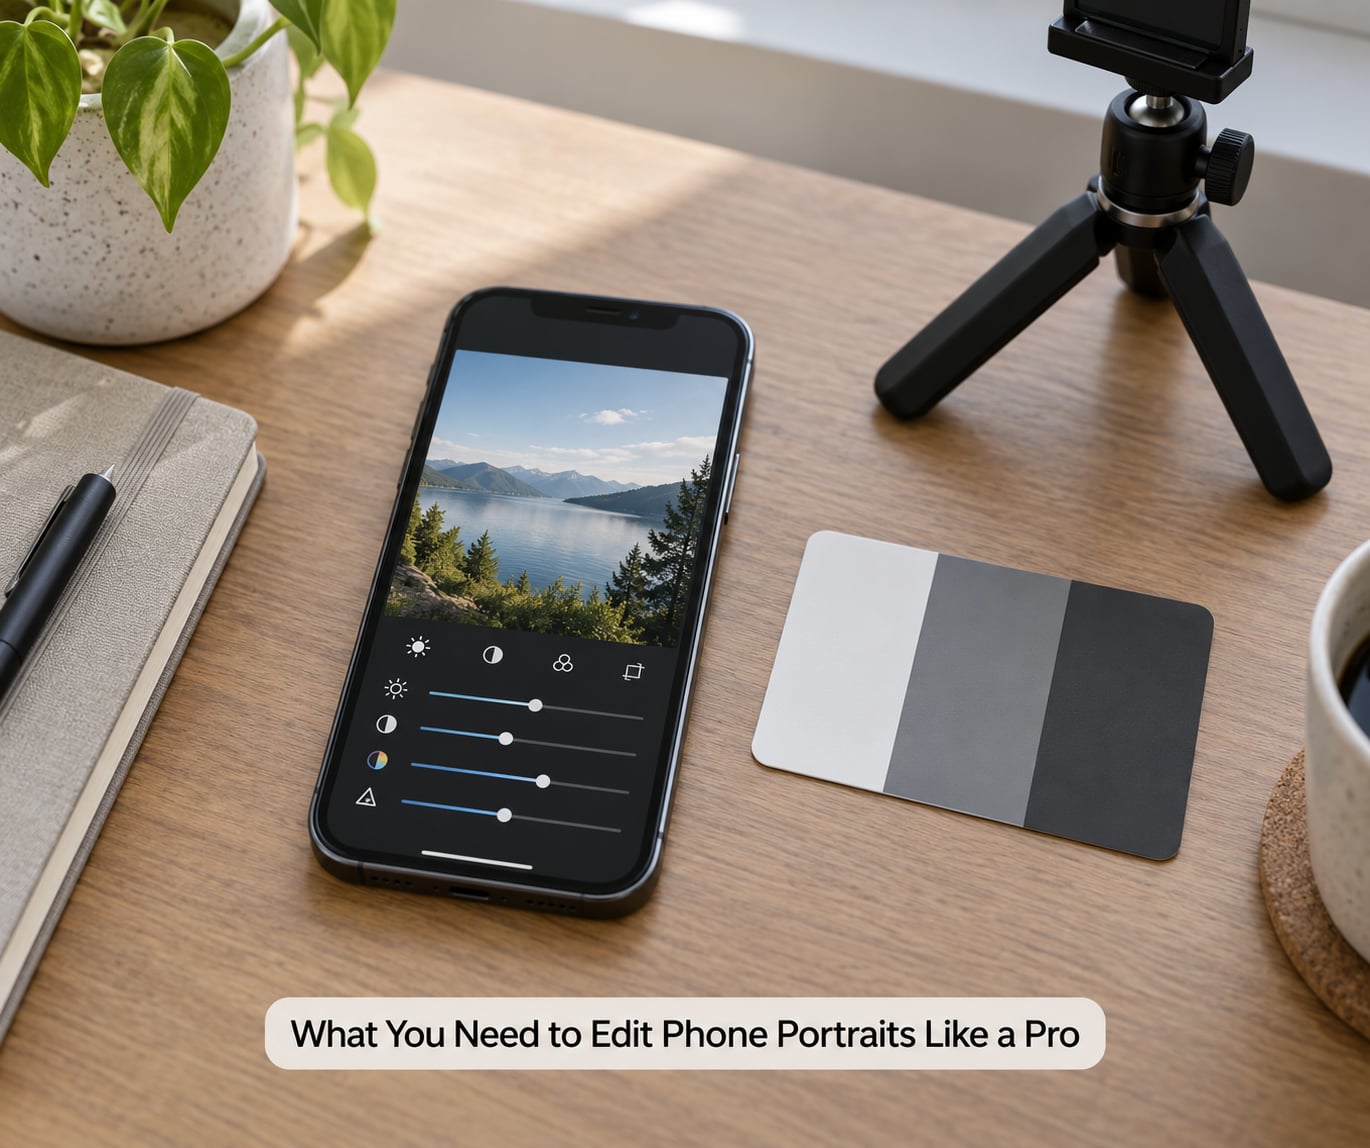
You need four things, and none of them cost money.
A photo worth editing
Shoot in RAW or DNG if your phone offers it. On iPhone, that means the Pro, Pro Max or newer models, set to ProRAW or a lossless DNG in the Camera app’s formats menu. On Android, look for Pro mode or RAW in the camera settings. RAW captures far more tonal information, which is what makes shadow recovery and highlight rescue possible later.
An editor
There are three good answers here, and which one you pick depends on how you shoot rather than which is best.
- Apple Photos or Google Photos — free, already installed, and genuinely capable. Best when you shoot in JPEG, edit one or two photos at a time, and want Photographic Styles, tone curves and local adjustments without an account.
- Snapseed — free, no account, no paywall, and the strongest Selective tool of the three for painting local changes with your thumb. Its gesture grammar takes five minutes to learn: swipe up or down to change tool, left or right to change strength.
- Lightroom Mobile — the pick for RAW, batch consistency and anyone retouching a whole shoot. The free tier covers the Light, Color, Detail and Masking tools that matter for portraits.
Snapseed has no noise reduction anywhere in the app. That is its one real gap, and it matters if you shoot indoors at night. For low light, Lightroom Mobile or Apple Photos handle a noisy file better.
A neutral reference
A grey card, or just a plain off-white wall in shade, tells you whether your white balance is honest. Set temperature and tint against a neutral surface, not against your memory of how the room looks.
A save-as-a-copy habit
Decide this before you touch anything. Never edit the only copy. Export a new file, keep the original untouched. Every mobile editor worth using is non-destructive, so this costs you one tap.
Step-by-Step
How to Edit Phone Portraits Like a Pro: Start with a Clean Baseline
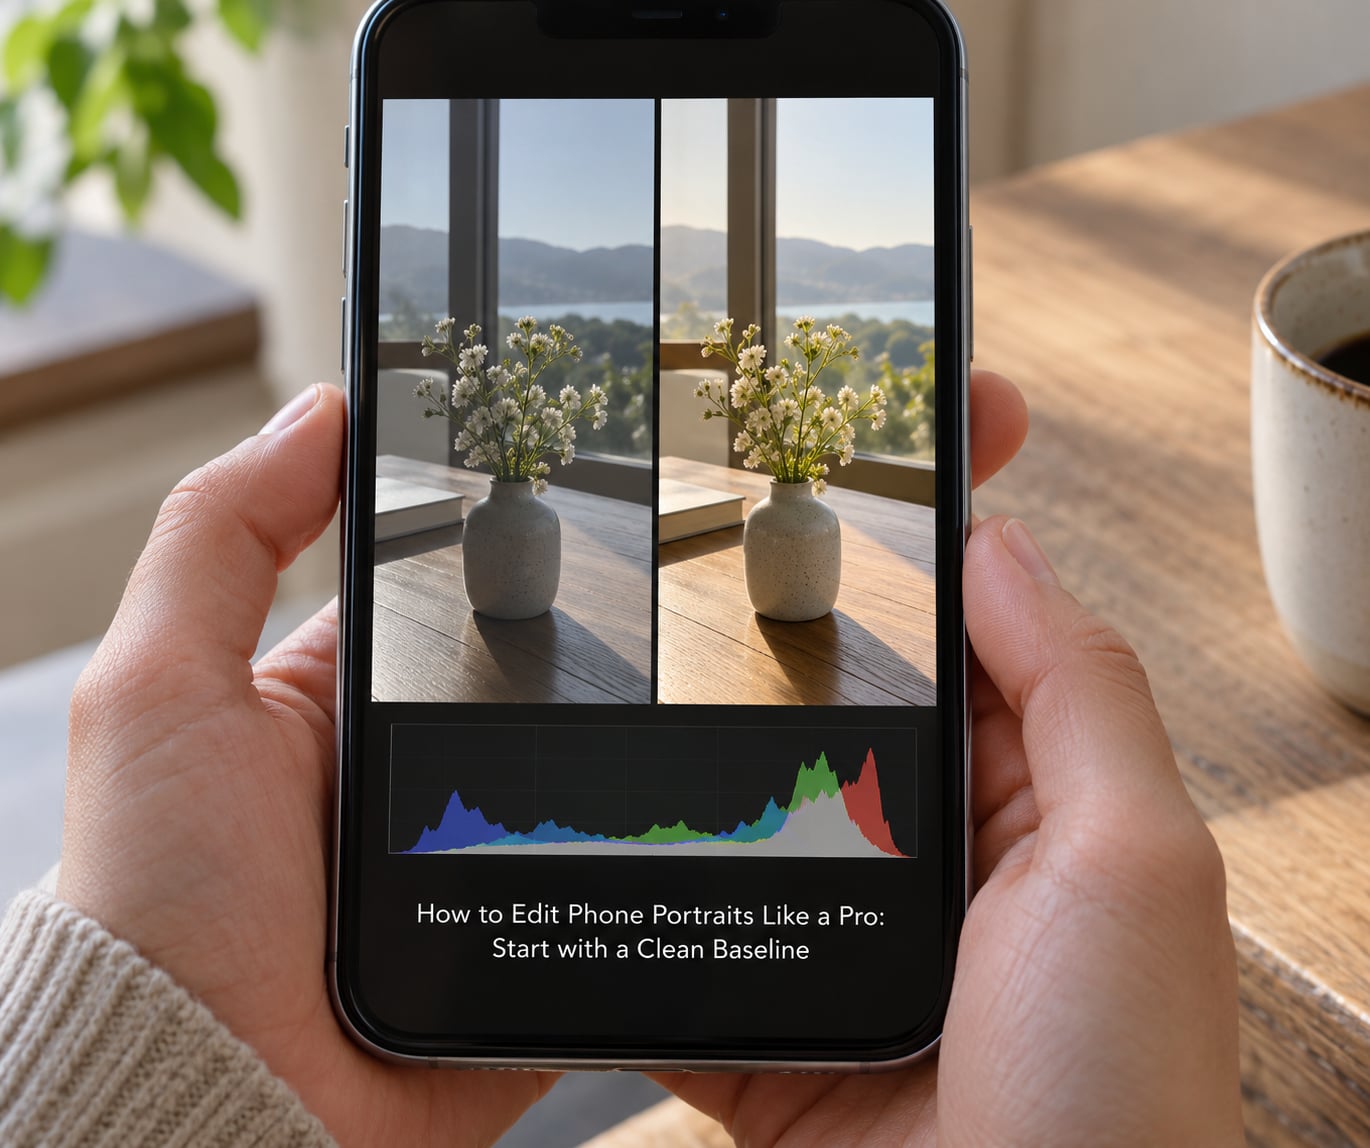
Before anything creative, get the image to look neutral. If the baseline is wrong, every later slider makes it worse instead of better.
1. Pick the right frame
Open the burst or the live Photo if your phone shot one, and choose the frame where the eyes are open and the mouth is relaxed. On iPhone, tap the Live Photo in your library, then tap the Live Photo icon at the top left to reach the individual frames. Export the frame as a still before you start.
2. Crop and straighten
Crop for the platform you are posting to: 4:5 for an Instagram feed, 1:1 for a profile grid or headshot, 9:16 for stories. In Apple Photos, Edit, then Crop, drag to a ratio. In Lightroom Mobile, Crop below the histogram. In Snapseed, Tools, then Crop, and swipe the aspect ratio at the bottom.
For headshots, put the eyes on the upper third and leave a little room above the head. Straighten verticals by eye, not by level. Then zoom in on the edges to check for a tilt you would not have noticed at arm’s length.
3. Fix perspective and lens distortion
Shot close up, a phone wide-angle lens stretches whatever is nearest the lens, usually the nose. Step back and use the 2x or 3x lens instead of moving closer. If you have no choice, Lightroom Mobile and Snapseed both have a Perspective tool (Snapseed: Tools, then Perspective) that pulls verticals back and can shrink the distortion.
4. Set exposure with the histogram
Turn on the histogram in Lightroom Mobile under the Edit menu. Aim for skin tones in the middle, whites just under the right edge, and blacks just above the left edge. Highlights that touch the far right are clipped, and clipped highlights cannot be recovered, so pull exposure down until they separate from the edge.
Black-and-white clipping is recoverable, but only in RAW. That is the whole argument for shooting DNG.
5. Set white balance from the subject
Muddy skin almost always traces back to skipped white balance. Tap the subject’s cheek in Apple Photos or use the eyedropper in Lightroom Mobile and Snapseed, then nudge warmth and tint until skin looks like skin, not orange or grey.
Judge it at normal viewing size, with the photo filling about a third of your screen. Any bigger and you will over-correct to compensate for the small image.
6. Normalize before you judge
Compare against the unedited original at the same size. At this point the photo should look slightly flat and slightly lifeless. That is correct. Contrast and texture come last.
How to Edit Phone Portraits Like a Pro: Refine Light and Color
This is the step that separates a snapshot from a portrait, and it is the one most people skip.
7. Dodge and burn with local masks
Light on a face is shaped by the room, and no global slider can fix that. In Lightroom Mobile, tap the Light icon, then use the Masking tool: choose a linear gradient or brush over the face, then raise exposure by 0.3 to 0.6 to lift the subject off the background. Lower exposure slightly on the edges of the frame instead of darkening the whole image.
In Apple Photos, Edit, then the Add Adjustment button, then choose a mask type from the three icons at the bottom. In Snapseed, use Selective with a pinch-shaped control point, then swipe up to Exposure.
8. Recover highlights, then lift shadows
Pull highlights down first. Highlights feed the eye, and recovering them keeps bright skin from looking shiny and synthetic. Then raise shadows by 10 to 25. Deep lifted shadows look grey, so stop before the background starts to look flat.
9. Correct skin tone without smoothing it away
There is a right way and a wrong way to retouch skin on a phone. The wrong way is a global smoothing slider; it flattens pores, hair and texture into a wax mask, and no amount of texture added afterwards brings the detail back honestly.
The right way on mobile is dodge and burn at low opacity. Zoom in, pick out the spot with the healing brush (Snapseed: Tools, Healing; Apple Photos and Lightroom both have Spot Removal and a Healing Brush), then use a small brush to darken a blemish slightly or lighten a highlight on the cheekbone by a fraction. Work at 30 to 40 percent opacity and go twice over rather than once at full strength. Skin should still show pores at 100 percent zoom.
If you want to remove texture temporarily to work on shape, mask it with a heavy grain layer rather than smoothing it, then mask that layer away. That is the mobile equivalent of frequency separation: separate color from texture, work on each, put them back.
10. Grade the colour
Vibrance before saturation, always. Vibrance protects skin tones and lifts what is flat; saturation pushes everything, including what you did not want. Keep saturation changes under 10, vibrance up to about 20.
Warmth up a few degrees for golden hour and indoor tungsten, down slightly for window light with blue sky. Tint green toward magenta if skin looks sallow, magenta toward green if it looks pink and bruised. Warm plus green is the classic recipe for skin.
11. Add selective colour where it helps
A masked saturation bump on the background, or on a shirt, separates the subject without touching skin. Keep it to 10 or less, or the separation reads as a cut-out.
How to Edit Phone Portraits Like a Pro: Finish with Intentional Contrast
Everything here is subtle by design. If you can see the effect at normal size, it is too strong.
12. Add restrained contrast
Contrast between 5 and 15. If the background is busy and the face is pale, add contrast to the background through a mask rather than to the whole image. Black and white portraits can take more, roughly 20 to 30, plus a small drop to the black point.
13. Use texture and clarity with a cap
Texture adds micro-contrast and holds pores. Clarity adds midtone contrast on a larger scale and is what makes a flat phone image look like it has depth, but it is also what creates crunchy halos around hair. Cap texture at 15 and clarity at 10. Anything higher and you will see a glowing outline around the subject’s head.
14. Sharpen last, and understand the three controls
Radius decides how wide the sharpening reaches. Detail decides how much of that area gets sharpened. Masking tells the app to only sharpen areas of sufficient contrast, which is your defence against sharpening every pore and every speck of noise.
For portraits: radius 40 to 60, detail 20 to 25, masking 60 to 80. High masking is the difference between sharp eyes and crunchy skin. Check the result on the eyes and the hair edge only.
15. Vignette last, gently
Minus 15 to minus 25, with the midpoint set so it never reaches the face. A vignette that touches the subject reads as a mistake. If your phone shot was zoomed and already looks dark at the corners, use a positive vignette to lift them instead.
16. Inspect, then export
Look at the photo three ways: full size on the phone screen, on the actual phone at arm’s length, and as a small thumbnail. Anything that looks wrong only at thumbnail size is usually sharpening. Toggle between edited and original with a press-and-hold, which is also how you undo in Apple Photos and Snapseed.
Then export. Save as a copy, choose maximum quality, and keep full resolution. JPEG at maximum quality is the right default for sharing. PNG is worth it for a black-and-white portrait you plan to print or re-edit, and it is lossless. Skip any “optimize” or “compress” sharing option, because that is where the quality dies.
Where each control lives in each app
Menu names shift with every app release, so here is where the same control sits in each one.
- Exposure: Exposure in Apple Photos, Light then Exposure in Lightroom Mobile, Tune Image then Brightness in Snapseed.
- Highlights and shadows: Highlights and Shadows in Apple Photos, Light then Highlights and Shadows in Lightroom Mobile, Tune Image then Highlights and Shadows in Snapseed.
- Whites and blacks: Whites and Blacks in Apple Photos, Light then Whites and Blacks in Lightroom Mobile, Tune Image then Whites and Shadows in Snapseed.
- White balance: Temperature and Tint in Apple Photos, Color then Temp and Tint in Lightroom Mobile, White Balance then Temperature and Tint in Snapseed.
- Vibrance versus saturation: Vibrance and Saturation in Apple Photos, Color then Vibrance and Saturation in Lightroom Mobile, Tune Image then Saturation only in Snapseed.
- Texture and clarity: no separate sliders in Apple Photos, Effects then Texture and Clarity in Lightroom Mobile, Details then Structure in Snapseed.
- Sharpening: Sharpness in Apple Photos, Detail then Amount, Radius, Detail and Masking in Lightroom Mobile, Details then Sharpening in Snapseed.
- Local adjustment: Add Adjustment in Apple Photos, the Masking tool in Lightroom Mobile, Selective in Snapseed.
- Skin retouching: Healing Brush in Apple Photos, Healing Brush in Lightroom Mobile, Tools then Healing in Snapseed.
- Vignette: Vignette in Apple Photos, Effects then Vignette in Lightroom Mobile, Vignette in Snapseed.
- Saving without harming the original: Share then Save a Copy in Apple Photos, Export then save to Photos in Lightroom Mobile, Export then Save a copy in Snapseed.
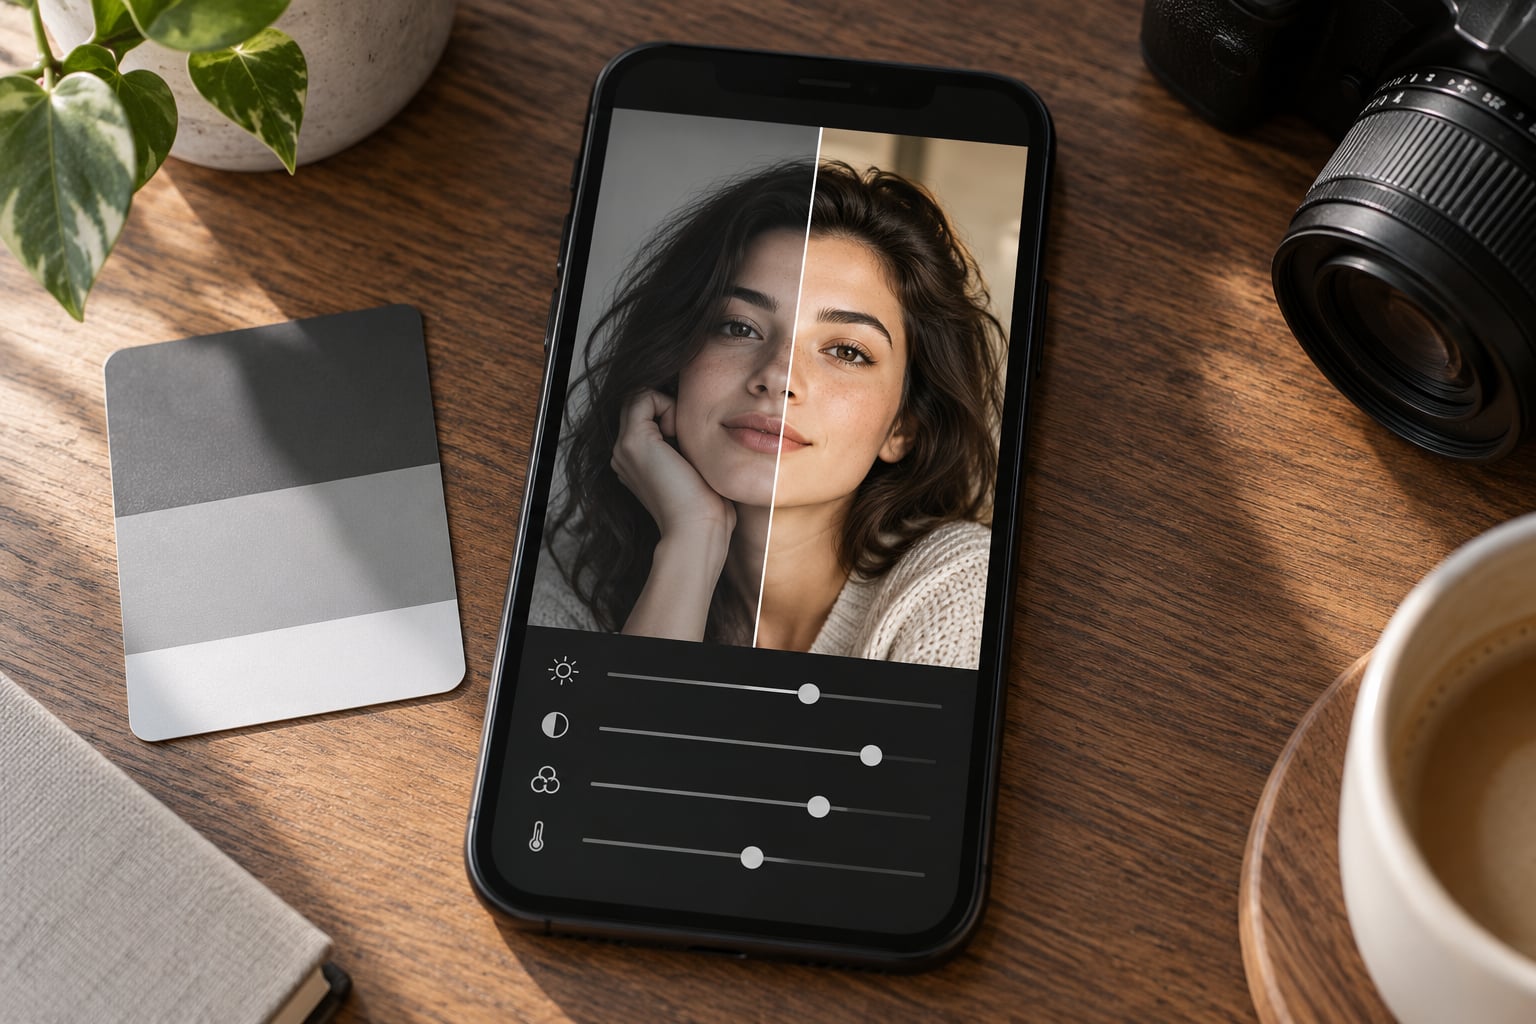
Starting values for a well-lit indoor portrait in Lightroom Mobile, if you want a starting point rather than a blank canvas: exposure plus 0.15, highlights minus 30, shadows plus 18, whites minus 12, blacks plus 8, contrast plus 8, vibrance plus 15, warmth plus 6, texture plus 8, clarity plus 5, vignette minus 18.
Common Mistakes
Almost every portrait that looks over-edited has made at least one of these nine mistakes, and each has a simple fix.
- Over-smoothing the skin. Global smoothing kills pores, then texture added afterwards looks like noise on wax. Fix: dodge and burn at 30 percent opacity, keep the healing brush for isolated spots, and accept a little texture.
- Excessive saturation. Orange skin and electric backgrounds are the signature. Fix: put vibrance back to 0, drop saturation below 10, and judge colour against a neutral surface.
- Clipped highlights. Bright foreheads and windows go pure white and no edit brings detail back. Fix: pull exposure down until the histogram separates from the right edge, then recover highlights. Shoot RAW next time.
- Muddy shadows. Lifting shadows to 50 flattens everything into grey. Fix: cap shadows around 25 and add local contrast to the face through a mask instead.
- Halos from sharpening and clarity. A glowing rim around hair gives away phone editing instantly. Fix: raise masking to 70 or higher, drop radius to 40, and check the hair edge at 100 percent.
- Aggressive vignetting. If the vignette reaches the cheek, it looks like a mistake. Fix: pull the midpoint inward until the falloff stops short of the subject.
- Editing the wrong frame. The Live Photo frame with the blink. Fix: choose the frame first, export it, then edit the still.
- Saving over the original. Fix: always export a copy. Editing apps are non-destructive, but a duplicate export file with the same name in your library is how originals get lost.
- Copying a trend formula blindly. The popular TikTok recipe uses fixed numbers tuned for one golden-hour photo, applied to every image. Fix: use it as a starting point, then bring exposure back to 0 and readjust warmth against the actual scene. Also be careful with portrait mode; its simulated depth of field often leaves hard edges around hair that sharpening makes obvious. If the edges are bad, turn the effect off and blur the background in the editor instead.
Two more habits worth building. Check the histogram before and after every major change, and shoot the same lighting situation more than once so you can learn what that light actually does. Most of what looks like an editing problem is a lighting decision made two minutes earlier.
Frequently Asked Questions
What is the best app for editing phone portraits?
For most people, Apple Photos on iPhone and Google Photos on Android. They are free, already installed, handle RAW and DNG, and include Photographic Styles, tone curves and local masks. Choose Lightroom Mobile if you shoot RAW often or retouch whole shoots, and choose Snapseed if you want a free app with no account and the best thumb-painted Selective tool.
Can I use Lightroom presets to edit phone portraits?
Yes, and they are the fastest way to make a set of photos look consistent. In Lightroom Mobile, open the edited photo, tap the three-dot menu and choose Create Preset to save your look, then apply it from the Presets panel. You can also copy edits from one photo and paste them onto others with Copy/Paste Edits, which carries sliders and masking across the shoot.
How do I make a portrait look natural in Lightroom Mobile?
Work on structure before colour. Recover highlights, lift shadows by no more than about 25, and dodge the face with a masked brush instead of raising global exposure. For skin, use the Healing Brush on individual spots and dodge and burn at low opacity rather than a global smoothing slider. Keep texture under 15 and sharpening masking above 60, and check pores at full zoom before you export.
Should I use a filter when editing a phone portrait?
Use filters as a starting point at most, not a finish. A filter sets exposure, colour and contrast at once, which means you cannot correct the parts that are wrong. The native Photographic Styles on iPhone are the exception: apply one, then dial the intensity down and fix tone and white balance by hand. Heavy one-tap filters are the fastest way to make a portrait look dated.
How do I export a phone portrait without losing quality?
Always export as a copy at full resolution with quality set to maximum, and never use a messaging app’s send-as-photo option, which recompresses. JPEG at maximum quality is right for social sharing. PNG is lossless and worth choosing for black-and-white portraits you may print or re-edit later, at the cost of a much larger file. HEIC saves space but is less portable outside Apple devices.
Conclusion
The difference between a phone portrait that looks professional and one that looks filtered is order, not software. Correct the light, the white balance and the crop first, then shape the face with local adjustments, retouch skin at low opacity, and finish with restrained contrast, texture and sharpening.
Start there on your next photo. Once the sequence feels normal, copy the edits onto the rest of the shoot and save your look as a preset.