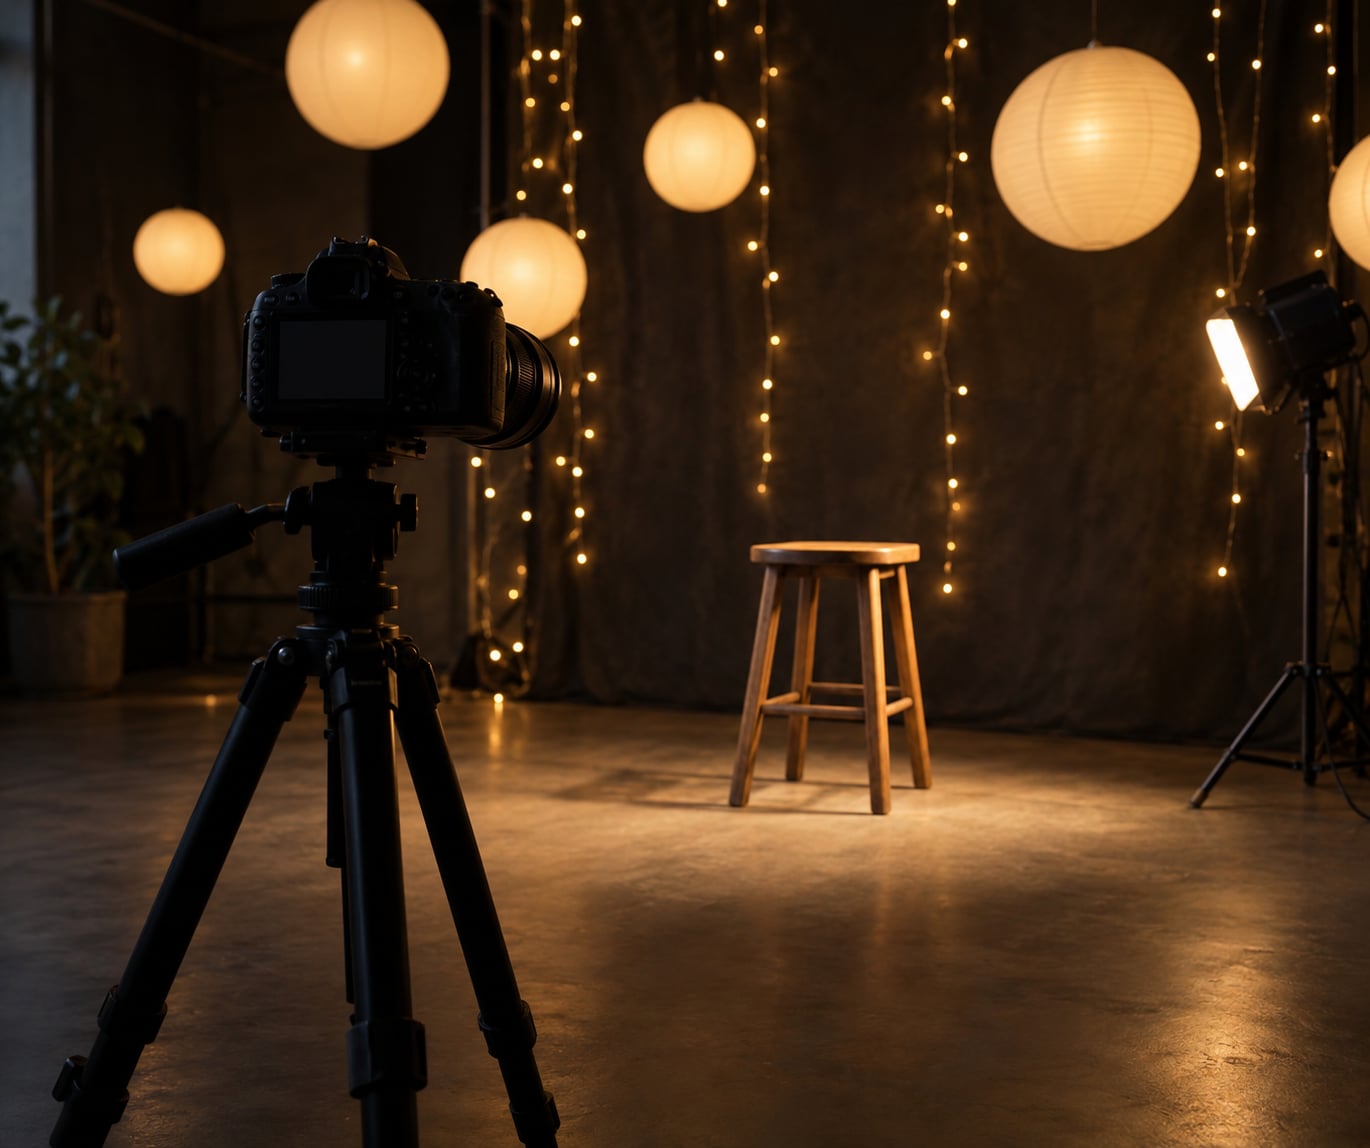
A fairy light bokeh portrait is a shot where your subject stays sharp while warm string lights dissolve into soft round orbs behind them. To get one, you need three things working together: a wide aperture, several feet of distance between your subject and the lights, and a focus point locked on the nearest eye.
If you are learning how to shoot portraits with a fairy light bokeh effect, that three-part combination is the whole trick. Everything else is refinement.
Bokeh comes from shallow depth of field. When a point of light sits far outside the zone your lens keeps sharp, it spreads into a disc, and the shape of that disc comes from the aperture blades. Photographers chase this look because it separates the subject from the background in a way no amount of editing quite fakes.
Table of Contents
- What You Need for a Fairy Light Bokeh Portrait
- Step-by-Step: How to Shoot Portraits with a Fairy Light Bokeh Effect
- Common Mistakes and How to Fix Them
- Frequently Asked Questions
- What f-stop is best for fairy light bokeh?
- Why are my fairy lights not blurry?
- How far should my subject stand from the fairy lights?
- Do I need a special lens, or will a kit lens work?
- Can you add bokeh in post if you cannot get it in camera?
- How do you light the subject without losing the bokeh background?
- Conclusion
What You Need for a Fairy Light Bokeh Portrait
The gear list for this look is short, and most of it is optional. A camera with any manual or aperture-priority mode does the job, including a phone with a portrait mode that can lock focus and exposure separately.
A lens rated f/1.4 or f/1.8 gives you the roundest, largest orbs. A kit lens at f/5.6 will still blur the lights, just into smaller, sharper-edged discs, and you will need to move further back to keep your subject sharp.
The lights themselves can be ordinary warm white LED string lights. Warm white flatters skin, cool white reads colder and more modern, and multicolour strands add a festive cast that you will correct in white balance later.
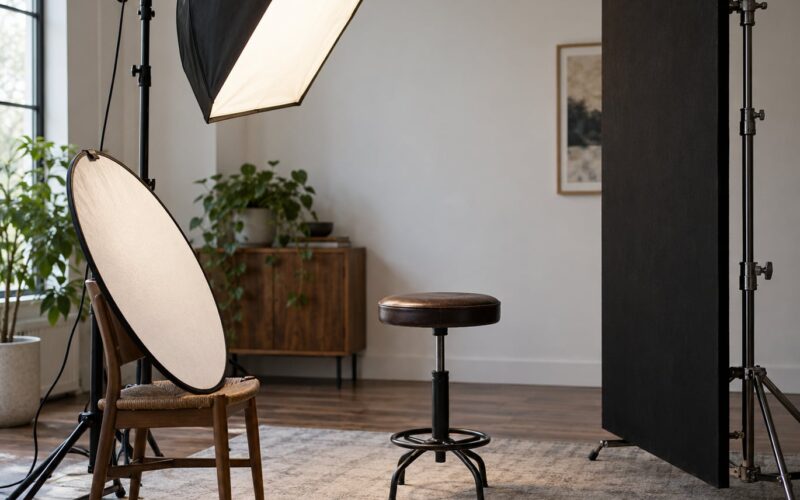
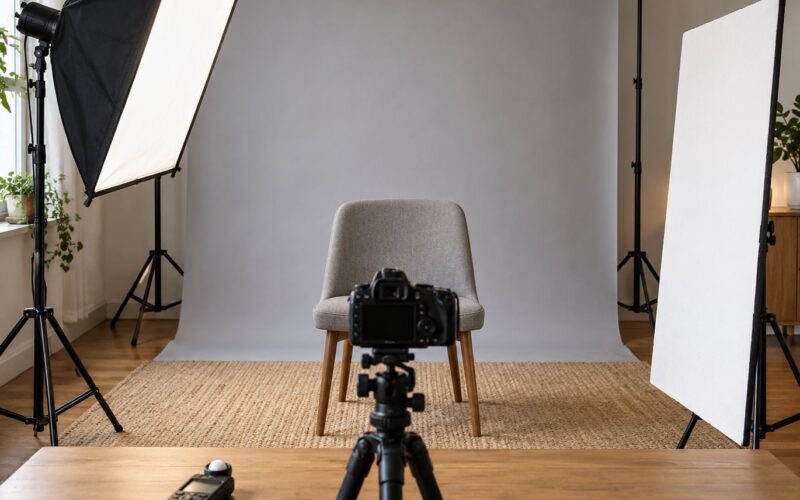
Beyond that you need a way to hang or prop the lights at least 8 to 15 feet behind your subject, something to light the subject from the front, and a tripod or solid surface, because the shutter speeds this technique requires are too slow to hand-hold reliably.
For beginners, the simplest setup that works is two or three strands of warm LED lights on a dark wall or black cloth behind your subject, one cheap continuous light or off-camera flash angled at the face from the side, and a tripod. Skip the light stands and modifiers until the framing feels right.
Step-by-Step: How to Shoot Portraits with a Fairy Light Bokeh Effect
1. Choose a Low-Light Location
The effect depends on darkness, so shoot at dusk, after sunset, or in a room you can dim. If the ambient light is bright, the fairy lights stop reading as separate points and the background turns into a flat grey wash instead of glowing orbs.
Look for a background that is already dark: an unpainted wall, a hedge at night, a sheet hung over a doorway. A dark background lets each bulb register on its own and also lets you push exposure without lifting the whole frame.
2. Place the Fairy Lights Behind the Subject
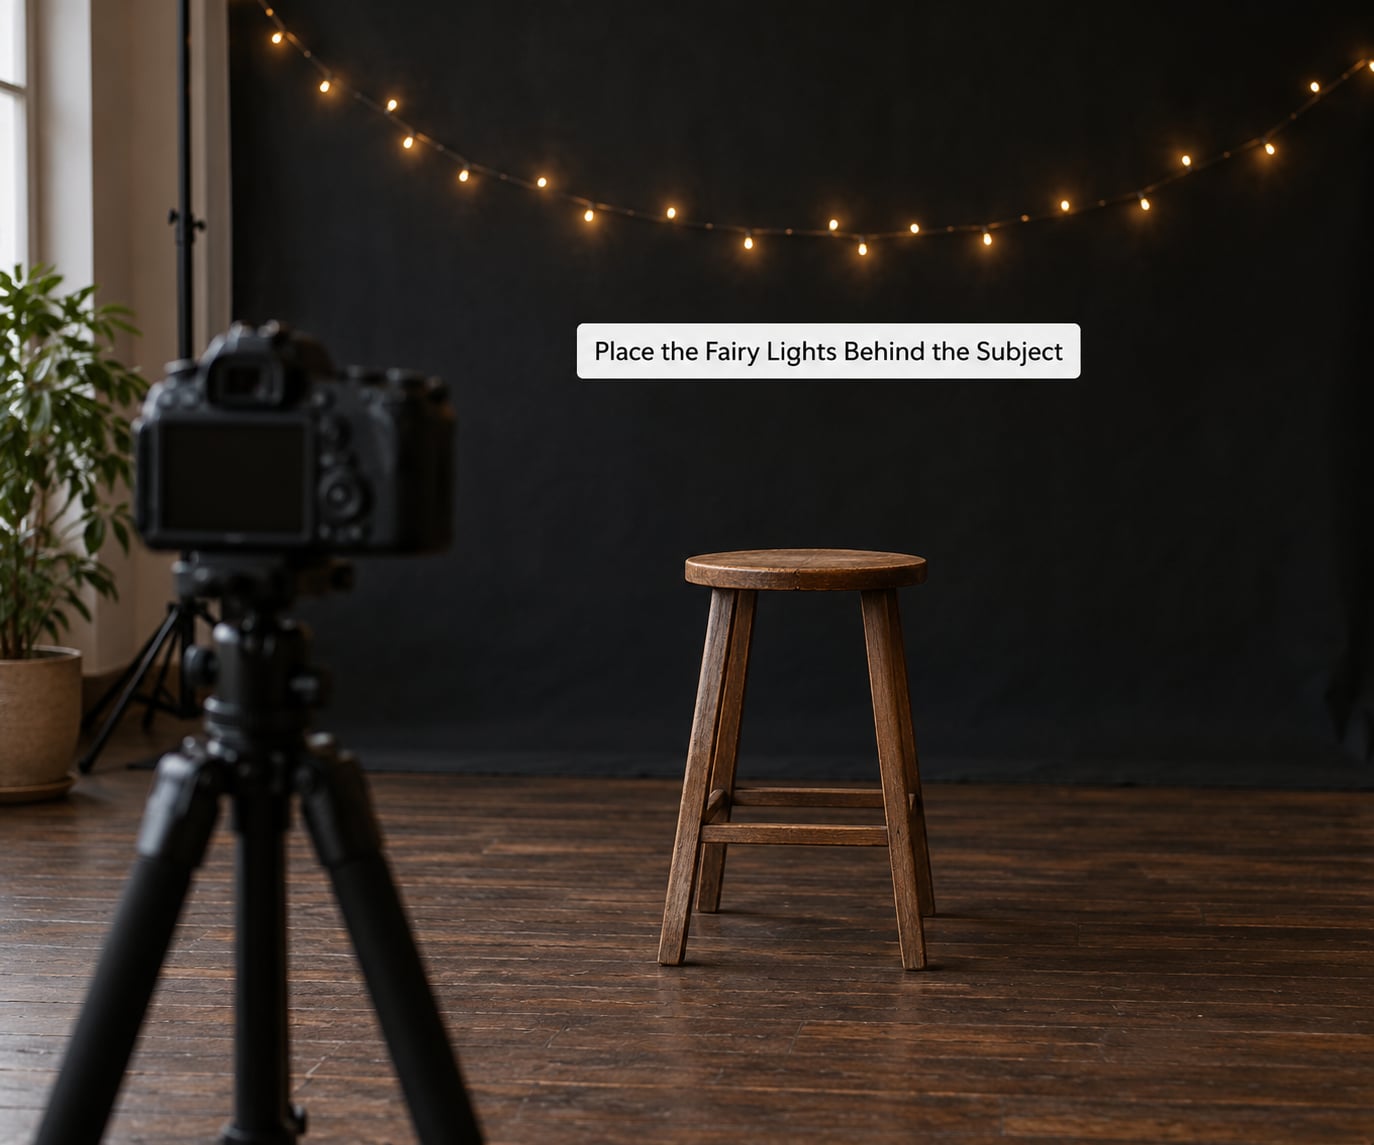
Hang the lights behind your subject and off to one side rather than in a tight row straight behind the head. The further they sit from the focus plane, the wider each orb spreads.
Keep them at least 8 feet behind the subject if you can, and bunch several strands together so the frame fills with light rather than showing a sparse grid of bulbs. Step back and check with your eyes before you lift the camera, looking for gaps that will look like nothing once they blur.
3. Set the Right Focus Mode
Use continuous autofocus with a single movable point placed on the nearest eye, or switch to eye detection if your camera has it. At wide apertures the depth of field is thin enough that a few inches of focus error moves from sharp to soft.
If your subject is moving, watch what autofocus does with the lights behind them. The camera sees two sets of contrast, and a large bright strand behind the head can pull focus onto the background. Face detection solves most of that. If focus keeps sliding, switch to manual focus, set the distance by eye, and take test frames instead of trusting the camera.
4. Use a Wide Aperture
Open the aperture as far as your lens allows, down to f/1.4 or f/1.8 if you have it. Wide aperture is what shrinks the sharp zone to a sliver around the subject and throws the lights well outside it.
Lens design matters as much as the f-number. Lenses with nine or more rounded aperture blades render near-circles; cheaper lenses with five or seven straighter blades give you polygon-shaped orbs. Both can look good, and the polygon shape is often more noticeable at edges of the frame where the aperture is used off-centre.
5. Balance ISO, Shutter Speed, and Aperture
Once the aperture is wide, the exposure triangle gets awkward fast. You are opening the lens to blur the lights, which also floods the sensor, so you have to close the shutter or drop the ISO to keep the frame from blowing out.
Start at shutter 1/50s, ISO 400, and the widest aperture. That is a workable baseline for a standing subject on a tripod with a separate key light. For a subject who cannot hold still, go to 1/125s or 1/200s and raise the ISO rather than accepting a blurred face.
Four presets cover most of what you will run into:
- Still subject on a tripod: f/1.8, 1/50s, ISO 400, one-point AF on the near eye, white balance fixed at 3200K.
- Walking or shifting subject: f/1.8, 1/125s, ISO 800, continuous AF with eye detection, white balance fixed at 3200K.
- Kit lens at f/3.5 to f/5.6: f/3.5, 1/60s, ISO 400, one-point AF, auto white balance corrected in post.
- Strand held just in front of the lens: f/1.8, 1/60s, ISO 400, manual focus set on the subject, white balance around 3000K.
Shoot RAW. Warm LEDs clip to white at their core and turn harsh in JPEG, and you will want to pull the orb edges back to something warm rather than chalky.
6. Meter for the Lights Without Losing the Subject
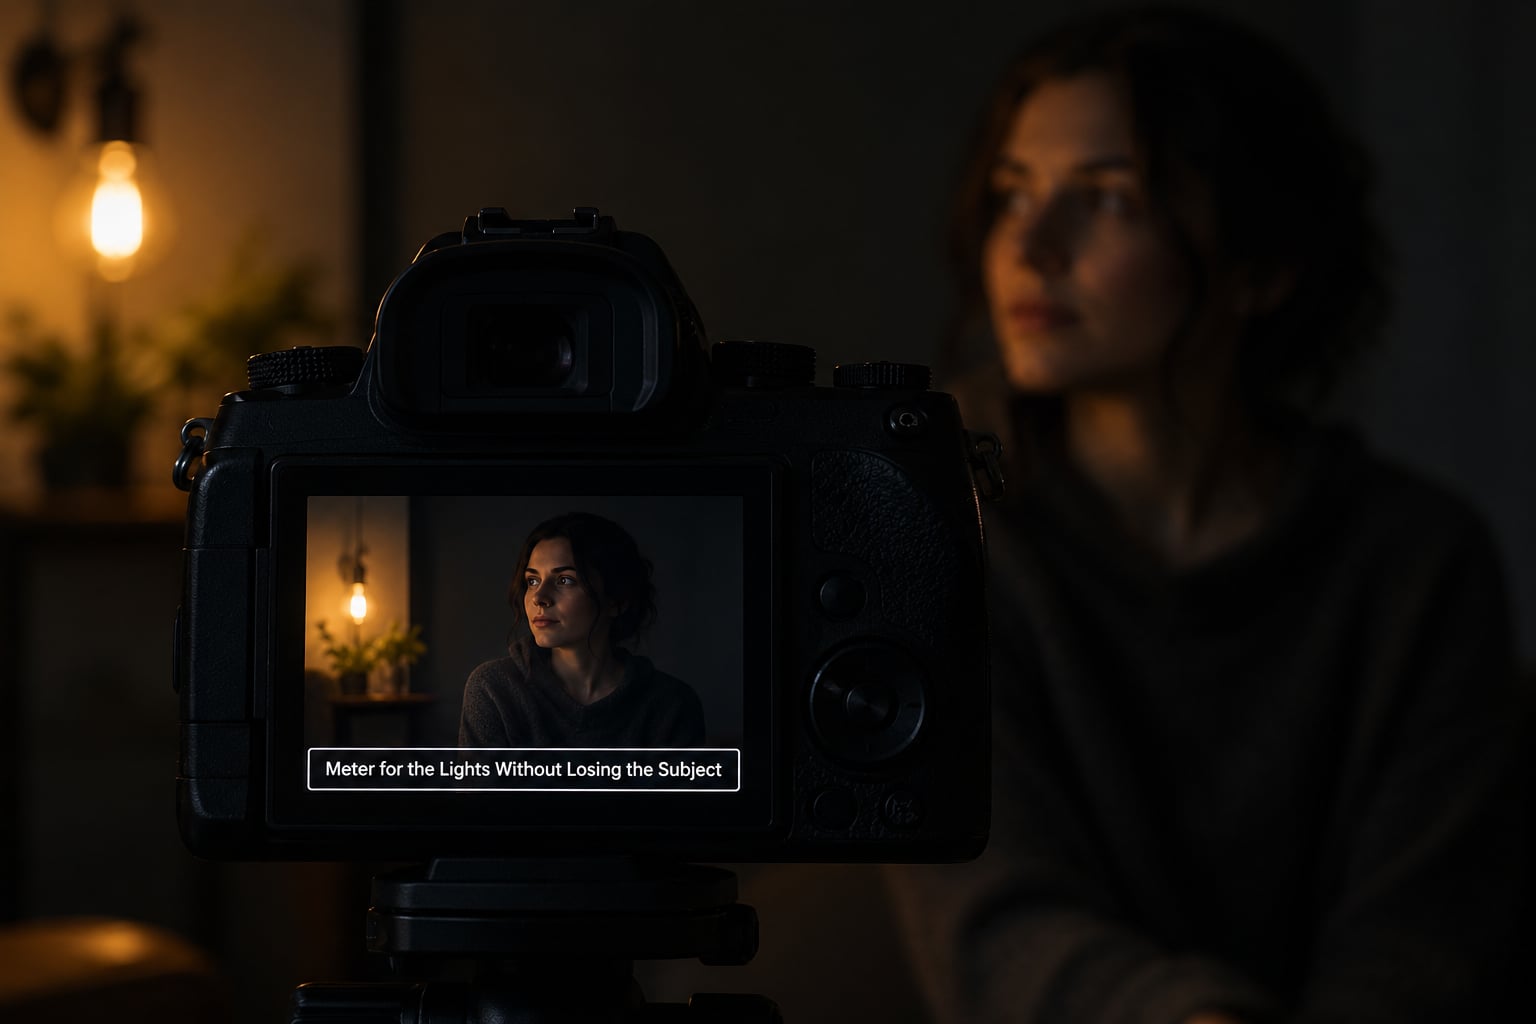
Automatic exposure fails here more than anywhere else in portrait work. The meter sees a dark frame with bright specks, assumes an underexposed scene, and opens up until the face goes flat and grey while the bulbs flatten into white discs.
Switch to spot metering and place the meter circle on your subject’s cheek, then adjust with the exposure compensation dial. This keeps the face correctly exposed and lets the lights sit wherever they land.
If you want the orbs to glow rather than clip, dial exposure down by one or two stops after metering the face. The bulbs will bloom a little larger and pick up colour from the RAW file. A separate key light aimed at the face from 45 degrees is what keeps the face readable without touching the background at all.
7. Shape the Fairy-Light Pattern
Now treat the lights as a set design. Hang them in an arc that frames the head, in a soft curtain that fills the frame, or in a circle that sits off the subject’s shoulder, and keep the pattern from bunching right behind the skull.
Distance controls density as much as it controls blur. Push the lights further from your subject and the orbs spread out and thin out; bring them closer and you get a denser, softer haze. Most portraits look better with a few large orbs near the head and a dimmer field behind them, rather than an even sheet of light.
For a stronger effect, drape a second strand between the lens and the subject, held just outside the front element. Those lights sit far closer to the glass than your subject does, which puts them nowhere near the zone your lens keeps sharp, so they defocus into very large orbs floating across the frame. It works every time, because the distance maths does not care how close the light is to the front element.
8. Check Test Frames and Refine the Effect
Look at the histogram first. Clipped highlights on the left tell you the orbs are blown; a histogram shoved hard to the right with a muddy face tells you the key light is too hot or the meter is off.
Zoom to 100 percent on the eye to confirm focus, then look at the edges of frame for stray light stands, cables, and battery packs. Check the background brightness and the orb size together, because moving the lights changes both at once.
Change one thing at a time. Shifting three settings between every frame means you never learn which control mattered, and after an hour of shooting you will still not know why the lights are sharp.
Common Mistakes and How to Fix Them
Why are my fairy lights not blurry?
Usually the lights are too close to your subject or your aperture is too narrow. Move the strand several feet further back and open up one stop. If they are sharp at f/1.8, check that you are not shooting through a window or a scrim that is forcing a smaller aperture.
Why do my lights look washed out instead of glowing?
Exposure is too high for the background. After metering the face, take two or three stops off, or underexpose by a fixed amount and lift the shadows in post. Orbs with a defined edge read as bokeh; orbs blown to flat white read as an accident.
Why is my subject too dark?
The meter got pulled by the lights. Switch to spot metering on the face and add a dedicated key light, because no amount of exposure compensation recovers a face that received no light at all.
Why is the frame full of noise?
You dropped the shutter too far to protect the ISO. Raise the shutter to 1/125s and let the ISO climb, then clean up the shadows in RAW. Noise at ISO 3200 removes itself; a subject who moved during a half-second exposure does not come back.
Why do my skin tones look green or magenta?
Cheap non-CRI LEDs are the cause. Shoot a custom white balance from a grey card lit by your key light, or set white balance to roughly 3200K and correct the residual tint with the tint slider in RAW. Colour in the frame is easy to fix; a lost highlight is not.
Why are there bright blobs where I do not want them?
Something bright is inside the frame at an awkward spot, often a bare bulb near the subject’s ear or a lamp in the far corner. Reposition the strand, or crop slightly on the side with fewer orbs. A second strand hanging a few inches in front of the lights also hides hardware.
Frequently Asked Questions
What f-stop is best for fairy light bokeh?
As wide as your lens goes. For most fairy light bokeh portraits, f/1.8 works well, and f/1.4 gives you larger, softer orbs. A kit lens at f/3.5 to f/5.6 still works but needs more subject-to-light distance and a longer lens. Open the aperture, then compensate with shutter speed and ISO so the face stays correctly exposed and the orbs keep a defined edge.
Why are my fairy lights not blurry?
The lights are almost always too close to the subject or the aperture is too narrow. Move the strand 8 to 15 feet behind your subject and open up one stop. Confirm nothing in front of the lens is forcing a smaller aperture, such as a filter or a window. If the lights stay sharp at f/1.8, check whether autofocus landed on the background instead of the nearest eye.
How far should my subject stand from the fairy lights?
At least 8 feet for a typical setup, and 15 feet gives noticeably bigger orbs. The rule is that the lights must sit well outside your depth of field, and depth of field shrinks as aperture widens and focal length grows. A longer lens at the same distances also increases blur. Test by shooting one frame and zooming to 100 percent on the light nearest the subject’s shoulder.
Do I need a special lens, or will a kit lens work?
A kit lens works fine. You will just need to compensate by moving further back, since a zoom lens at f/5.6 produces smaller orbs than a prime at f/1.8. Set the zoom to its long end, open the aperture as far as it goes, and step back until your subject stays sharp at your chosen shutter speed. Fast primes simply make the same shot easier to frame.
Can you add bokeh in post if you cannot get it in camera?
You can fake some of it, but not well. Editing software can blur a background and add light orbs as a graphic element, and the result usually looks pasted on because real out-of-focus highlights have a specific soft falloff and often a bright core. If the lights were captured sharp, no slider fully fixes it. Getting distance and aperture right in the first place takes less time than the retaking does.
How do you light the subject without losing the bokeh background?
Use a separate light aimed at the face and keep it out of frame. A small continuous LED panel, an off-camera flash bounced off a wall, or even a desk lamp 45 degrees to the side and slightly above all work. The key is that the face light and the background lights are independent, so you can set the exposure for skin and let the orbs fall where they may.
Conclusion
If you remember one thing, remember the order of operations. Get the background dark, hang the lights well behind your subject, open the aperture as far as it goes, and confirm focus on the nearest eye with one test frame.
Only then touch exposure and placement, and change one variable at a time. Learning how to shoot portraits with a fairy light bokeh effect takes a handful of sessions in a dark room, not special gear. Once focus and distance click, the rest is moving lights an inch at a time and watching the histogram.