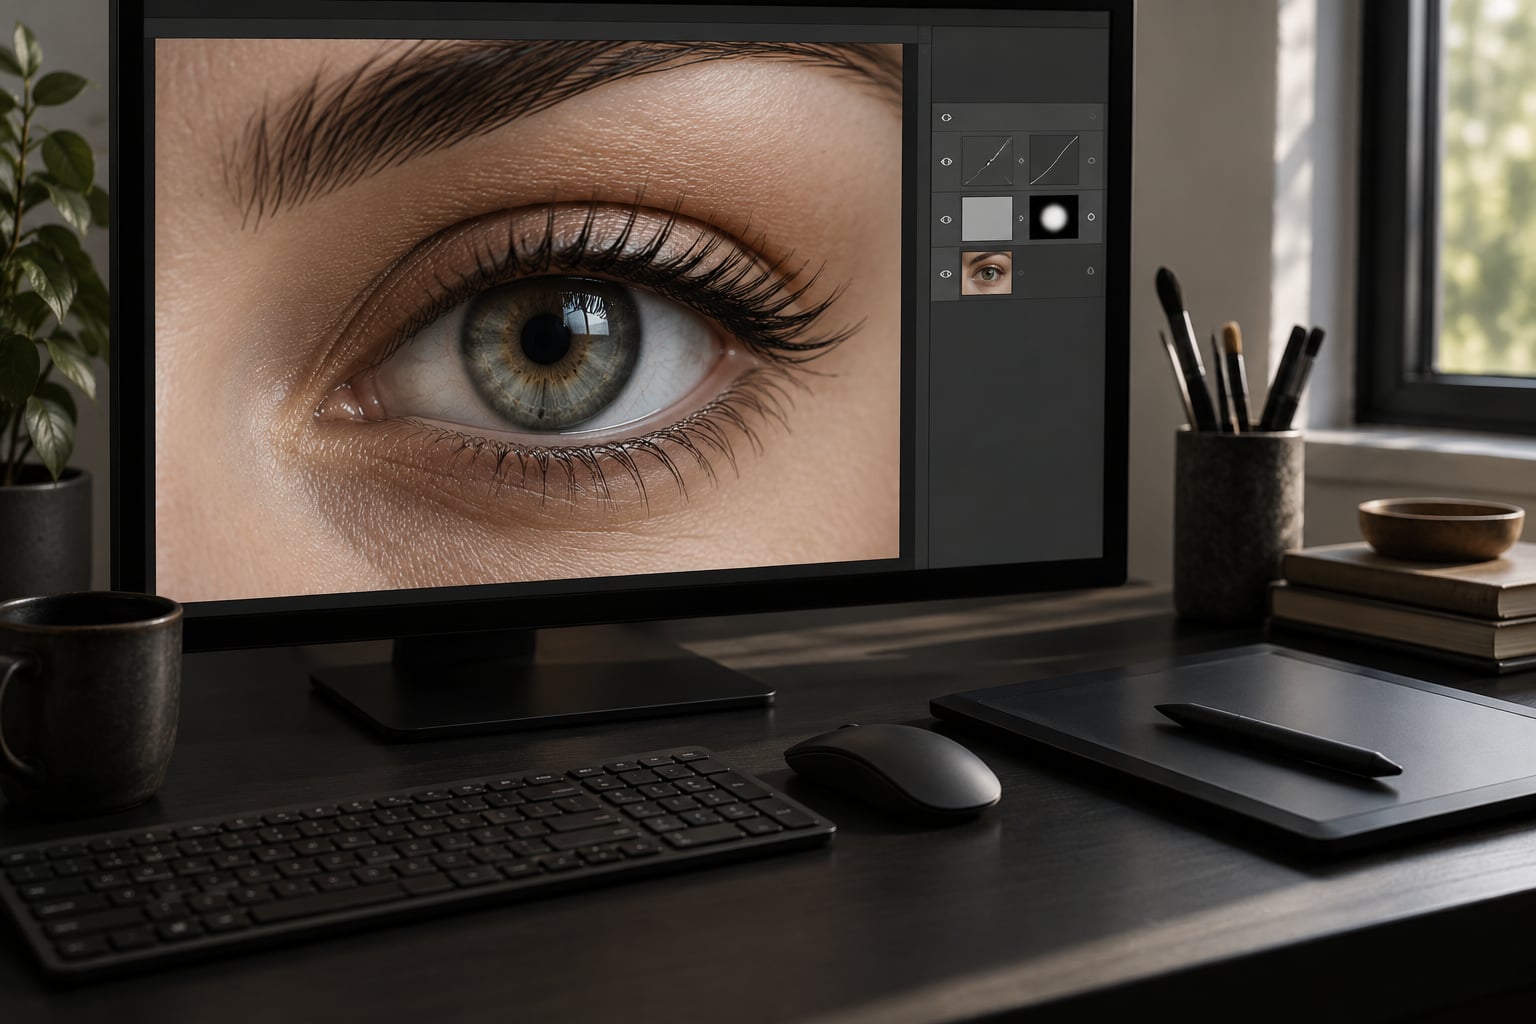
Brightening eyes in a portrait is a masking job, not a global exposure change. You lift the whites, the iris and the catchlights separately, then pull the layers back until the edit disappears into the face. In Photoshop that means a Curves or Levels adjustment layer on a soft-edged mask; in Lightroom it is a healing pass followed by an adjustment brush at roughly 15 percent. Once you have the sequence, a portrait takes two to five minutes.
- Duplicate the file and work on a non-destructive copy.
- Zoom to 100 percent and judge the eye at actual size.
- Mask the eye so the adjustment cannot touch skin or lips.
- Desaturate the whites first, then lift them slightly.
- Add +0.3 to +0.7 exposure on the iris, not the whole eye.
- Check or paint a catchlight.
- Drop layer opacity until nobody can tell you edited it.
Table of Contents
- What You Need
- Step-by-Step
- How to Brighten Eyes in a Portrait Edit Without Looking Fake
- Create a Selection That Protects the Rest of the Portrait
- Add Light With Dodge and Burn or a Local Adjustment
- Correct Color, Redness, and Uneven Tone
- Sharpen the Eyes Without Creating Harsh Texture
- Blend the Retouching and Check the Result at Several Sizes
- Common Mistakes
- Frequently Asked Questions
- Should I brighten the whites of the eyes or the iris?
- What is the best way to brighten eyes in Photoshop or Lightroom?
- How do I brighten eyes without making them look unnatural?
- Why did my catchlights disappear when I edited the eyes?
- Should both eyes be edited equally in a portrait?
- How much brightness is too much when retouching portrait eyes?
- Start Subtle and Compare With the Original
What You Need
You need four things, and only one of them costs money. Everything else is a habit.
A photo editor with layers and masks. Adobe Photoshop (the current Creative Cloud release, or Photoshop Elements for the layer basics) and Adobe Lightroom Classic both qualify. Adobe Lightroom for mobile counts too, since it ships the adjustment brush and masking on iOS and Android.
The original portrait, shot RAW if at all possible. A RAW file keeps roughly two stops more recoverable highlight and shadow data than a JPEG, which matters here because lifting a shadowed iris is exactly the move that runs out of data first.
A non-destructive working copy. In Photoshop, Smart Objects or a Curves adjustment layer with a layer mask. In Lightroom, the Adjustment Brush, which is already non-destructive by design, or a saved mask preset.
Selection and healing tools: the Pen tool or Quick Mask mode in Photoshop, and the Healing tool in Lightroom. Healing is the piece beginners skip and later wish they had, because the whites of the eye almost always carry blemishes and veins that brightening makes obvious.
Step-by-Step
The workflow below runs in the same order in both apps. Work on the iris first, the whites second, shape last.
How to Brighten Eyes in a Portrait Edit Without Looking Fake
Zoom to 100 percent before you touch anything, then target the iris and the inner corner of the eye rather than the whole eye. A single global lift brightens the lid crease, the under-eye shadow and the brow, and the face instantly looks plastic.
In Photoshop, add a Curves adjustment layer, raise the midpoint a few notches, and paint on the mask with a soft-edge brush at 15 to 25 percent flow. In Lightroom, press K for the adjustment brush and pin exposure between +0.3 and +0.7 EV with flow and density near 20 percent.
You will know it worked when the iris shows visible texture and the catchlight is still a clean bright point rather than a blown white patch. If the iris has no detail in the RAW file at all, stop and lower the shadows instead of pushing exposure. Retouching cannot invent fibre detail that was never recorded.
Create a Selection That Protects the Rest of the Portrait
Isolate the eyes first and every later adjustment becomes safe. Without a boundary, a Curves layer will happily lift the eyebrows and the teeth along with the iris.
In Photoshop, use the Pen tool to trace the eye opening, close the path, then add a Vector Mask. Add a Layer Mask by holding Alt while clicking the mask thumbnail if you want a white-on-black painting canvas instead. For softer edges, select with Quick Mask mode and feather by two to three pixels.
Do one eye at a time if you are learning the workflow, then reuse the technique on the second. A selection is non-destructive: you can shrink it, grow it or invert it later without losing anything, which is exactly what you want when the lighting on the face is uneven.
Add Light With Dodge and Burn or a Local Adjustment
Two methods work well, and both are worth having in your fingers. A local exposure adjustment is faster; dodge and burn gives you more control over shape.
For dodge and burn in Photoshop, create a new layer filled with 50 percent gray, set its blend mode to Soft Light, then choose the Dodge tool (O) and paint at 5 to 10 percent exposure per stroke. Build up in passes rather than one heavy pass. The Burn tool with a cool grey does the same job on the lid crease and the shadow side of the iris.
This technique is decades old and still the first answer on photo.net forums, where photographers describe painting gradually at roughly 15 percent opacity on a gray Soft Light layer to lighten eyes without a visible edge. In Lightroom, the equivalent is the adjustment brush with exposure up and a small amount of clarity, around +5 to +10, painted around and below the iris rather than across the whole eye.
Check both eyes side by side before moving on. An eye that is brighter than its partner by even a small amount is more noticeable than a slightly dull pair.
Correct Color, Redness, and Uneven Tone
Desaturate the whites before you brighten them, and the yellow and green cast that usually shows up next will largely disappear on its own. That single move is the difference between white sclera and something closer to a highlighter.
In Photoshop, mask the whites, drop Vibrance to around -30, and lift the level to roughly 85 to 95 on a Curves or Levels adjustment layer. A Hue/Saturation adjustment with the reds pulled toward yellow neutralises blood vessels, but go gently: the sclera is not supposed to be neutral white, it is a warm off-white.
For the iris, deepen rather than lighten if the colour is muddy. A small Curves adjustment on the lower half of the tone range adds depth without flattening. Where one eye sits in shadow, correct the mismatch by copying the settings across rather than brightening the shadowed eye twice.
Stop when the eye colour still looks like the subject’s own eyes. If a viewer would comment on the eye colour, you have gone too far.
Sharpen the Eyes Without Creating Harsh Texture
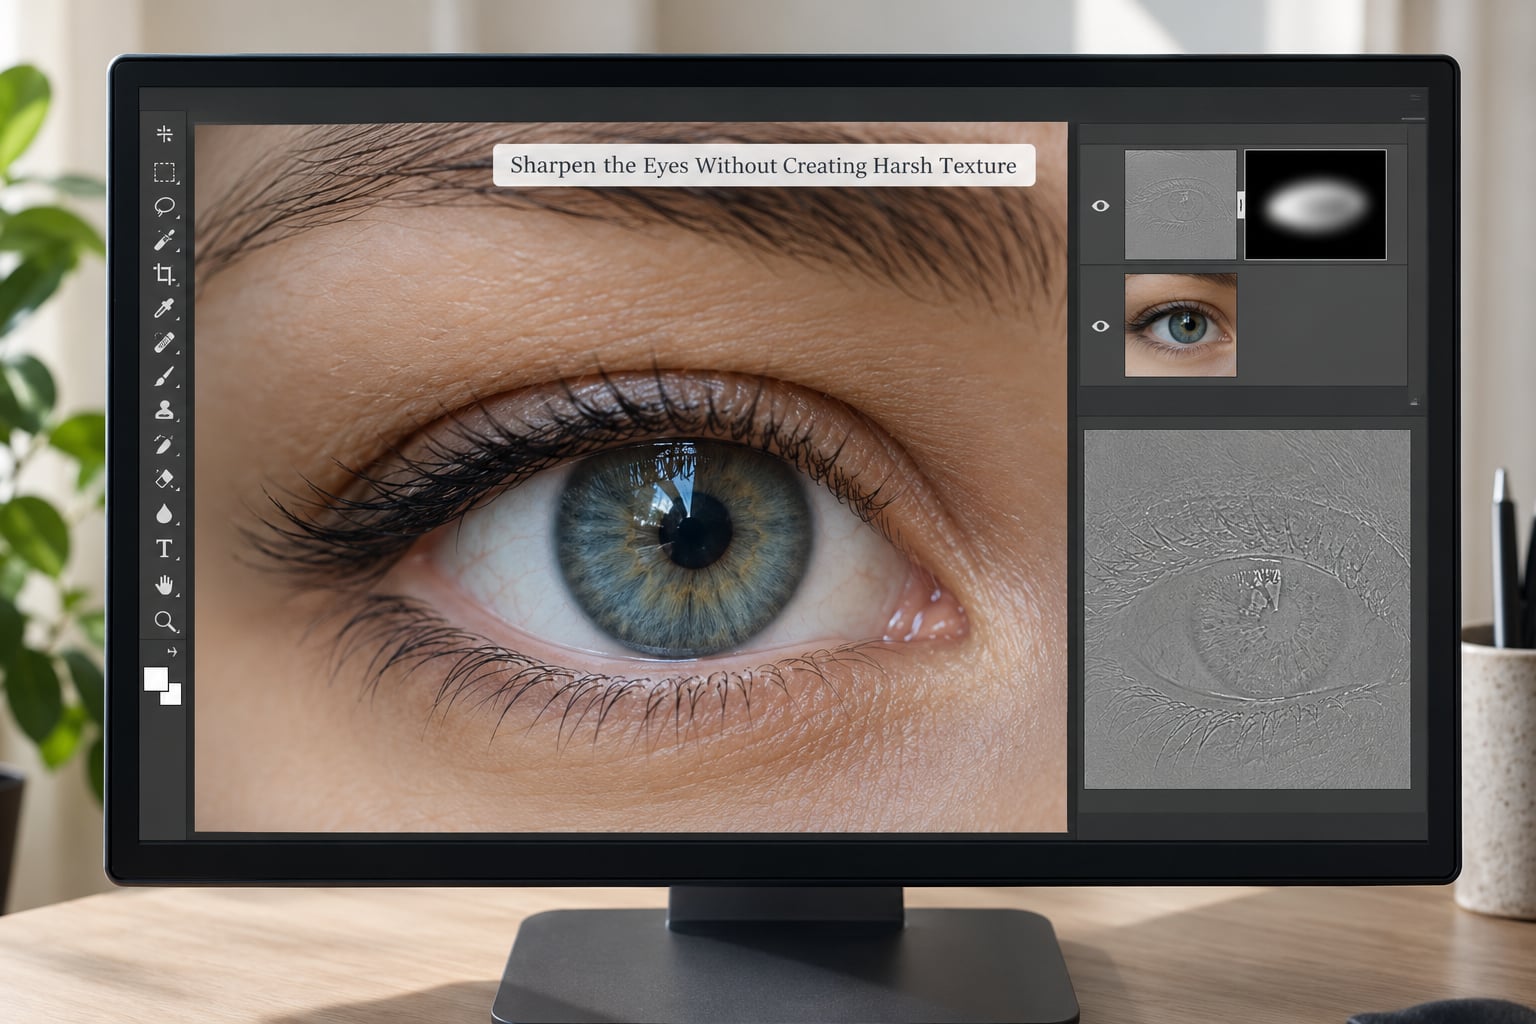
Sharpening belongs last, and restraint matters more than technique. Eyes carry fine detail, and any sharpening that is visible as crunchy texture is sharpening the wrong pixels.
Two reliable routes. In Photoshop, add a high-pass layer filtered at 2 to 3 pixels, put it in Soft Light or Overlay at 30 to 50 percent, and mask it to the eyes. In Lightroom, use the Detail panel with a masked adjustment brush, holding sharpening to Radius 1.0 or below and masking out the whites entirely, because noise in the sclera reads immediately as digital grit.
Inspect the lash line and the catchlight edge at 100 percent. If you see a dark halo around the iris or hard, chalky eyelashes, drop the amount and re-check. Eyes shot at high ISO are the usual culprit: brightening a shadowed iris lifts the noise along with it, so mask the sharpening to the iris texture and leave the surrounding whites clean.
Blend the Retouching and Check the Result at Several Sizes
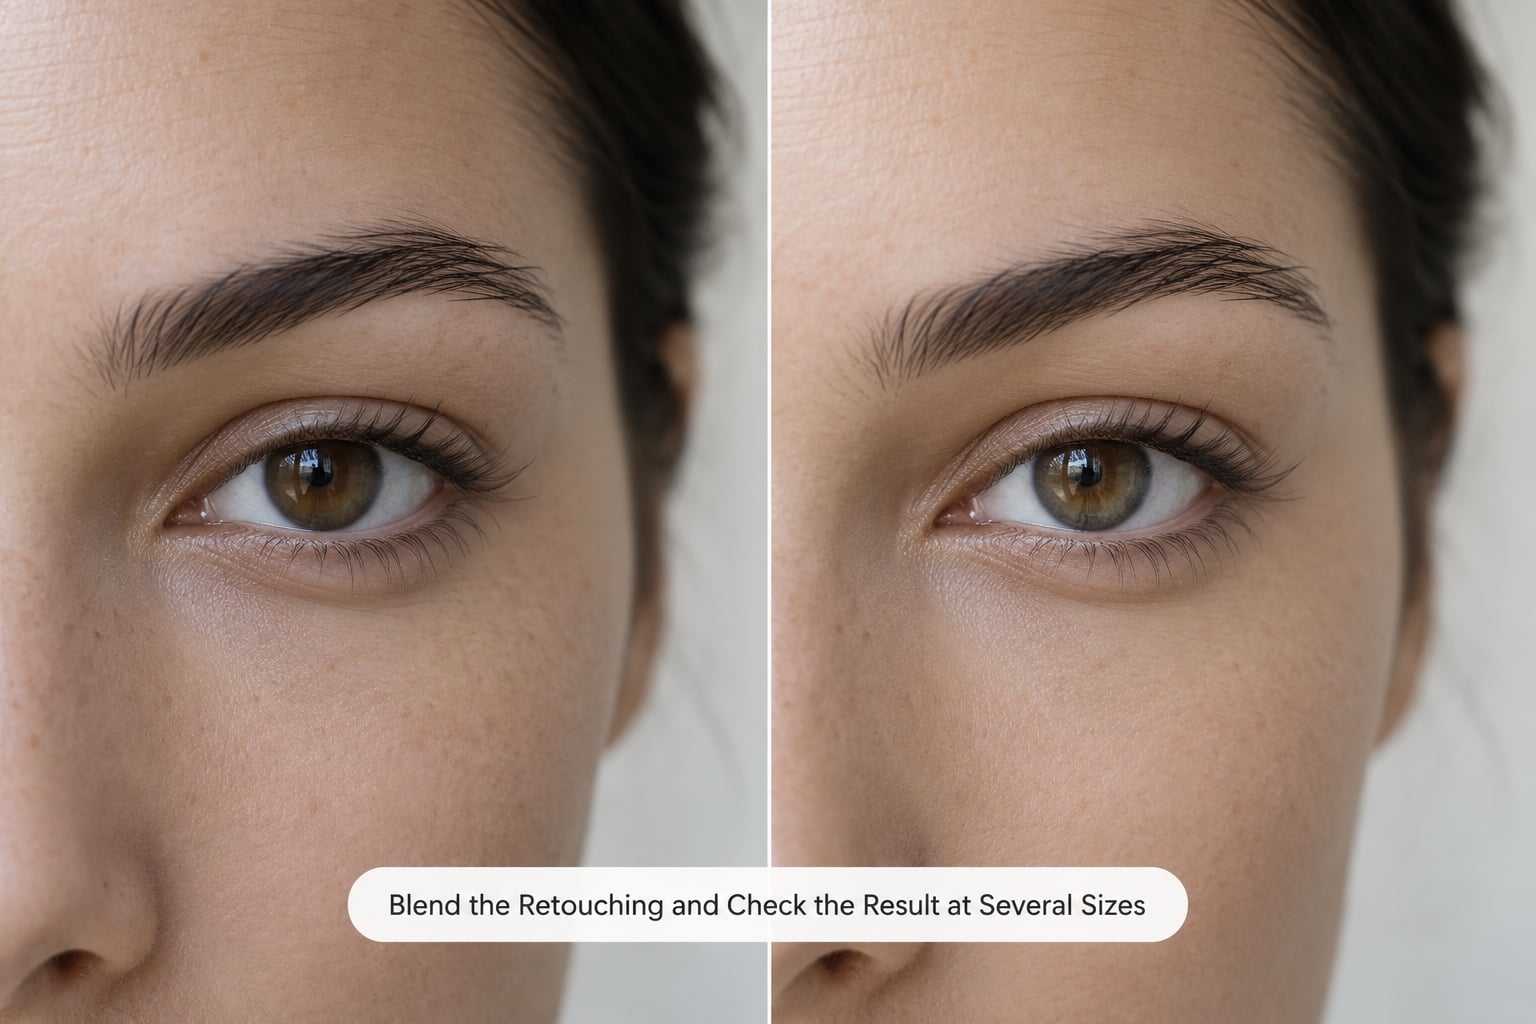
Blend every layer back and then evaluate the portrait the way other people will see it, which is at small size. Toggle the eye layers on and off at 100 percent first, fix anything that jumps, and only then zoom out.
At 50 percent and again at fit-to-screen, the test is simple: does your eye go to the eyes first, and does the skin still look like skin? If the eyes read as slightly brighter and nothing else has changed, the edit is working.
In Lightroom, save your mask as a preset so the next portrait is one click per eye. Photographers working this way regularly keep named masks for iris enhancement and catchlight, which turns a five-minute job into a thirty-second one across a whole shoot. If you are delivering client work, compare against the unedited original one last time, because the people who know the subject will spot a change in the whites long before they notice anything else.
Common Mistakes
Almost every bad eye edit traces back to one of seven habits, and each has a simple fix.
Over-brightening. Push exposure until the whites look white, and they go grey or bluish because you have clipped them. Pull back to about 85 to 95 on a Levels adjustment layer, or reduce the layer opacity until the whites sit just above the surrounding skin.
Enlarging the iris. Darkening the outer edge of the iris is a legitimate trick for making eyes look larger, but it changes the subject. If the portrait is documentary or personal branding, leave the iris shape alone and put your effort into the whites and the catchlight.
Erasing the catchlight. A missed-focus or empty-looking eye loses its spark the moment you brighten the area around it. Check the catchlight before you brighten, not after, and never paint across it with a soft brush. If the original has no catchlight, painting one in is a separate, deliberate step rather than something you discover halfway through.
Sharpening noise. The Detail panel defaults are far too strong for an iris. Mask sharpening to the iris, drop the Radius to 1.0 or below, and check the whites for grain. Lightroom users ask about this constantly: the noise was always there, brightening simply made it visible.
Oversaturation. Vibrance across the whole eye area drives the colour toward plastic. Desaturate the whites, keep saturation changes inside the iris, and leave the surrounding skin alone.
Editing one eye differently from the other. This is the most common and most obvious failure. Apply identical settings to both eyes, then correct any remaining difference by shifting exposure rather than by repainting. If the face is lit unevenly, match the result rather than the effort.
Checking only at 100 percent. Zoomed in, almost every retouch looks fine. Flip back to the full frame and the mismatch appears instantly. Always finish at fit-to-screen.
Two style rules help. Match the edit to the portrait: a high-key beauty frame can carry more correction than a documentary frame, where restraint reads as honesty. And save your settings as a preset once you like the result, because consistency across a series is what makes a retouched set look professional rather than assembled frame by frame.
Frequently Asked Questions
Should I brighten the whites of the eyes or the iris?
The iris is where brightness does the most work, because it holds the colour that draws attention. Most editors lift the iris by roughly +0.3 to +0.7 EV, then take the whites only slightly above the surrounding skin. Brightening the whites aggressively is what produces the grey, doll-like result people recognise immediately as retouched.
What is the best way to brighten eyes in Photoshop or Lightroom?
Use a masked local adjustment in both apps rather than a global exposure change. Photoshop: a Curves or Levels adjustment layer painted on a layer mask with a soft-edge brush at 15 to 25 percent flow. Lightroom: the adjustment brush with exposure at +0.3 to +0.7, healing the whites first. Both stay non-destructive, which is why they are reversible.
How do I brighten eyes without making them look unnatural?
Change less than you think you need to. Work at 100 percent, keep the catchlight crisp, and lower the layer opacity until the difference only shows when you toggle the layer off. If you would describe the result as brighter, it is probably still fine. If you would describe it as glowing or sparkling, dial it back.
Why did my catchlights disappear when I edited the eyes?
Usually the soft brush passed over them, or an exposure lift pushed them past white and clipped them to the same value as the sclera. Turn on the clipping indicator in Photoshop or zoom to the histogram in Lightroom, lower the exposure on that eye, and keep the catchlight outside the masked area whenever you build the selection.
Should both eyes be edited equally in a portrait?
Yes, the result should match even when the lighting does not. Apply the same numeric settings to both eyes, then correct any remaining difference by shifting exposure rather than repainting from scratch. A viewer spots one eye that looks different long before they notice anything else in a retouched portrait.
How much brightness is too much when retouching portrait eyes?
There is no universal number, but two limits work well in practice. Keep the whites around 85 to 95 on a Levels scale rather than clipping to 255, and keep iris exposure between +0.3 and +0.7 EV. Start far below the maximum, compare against the original, and add only what the before-and-after actually needs.
Start Subtle and Compare With the Original
If you only do one thing, duplicate the portrait, mask the iris, add a third of a stop of exposure at 20 percent opacity, then toggle the layer off and on a few times. That single comparison tells you more than any tutorial, and it teaches you where your own eye stops noticing the edit.