Skin looks plastic when you fix two different problems with one pass: you smooth the colour and you erase the pores in the same stroke. Separate the two instead. Correct tone on a low-frequency layer, correct texture on a high-frequency layer, then rebuild dimension by hand, and the face keeps reading as a real person at any zoom level.
A clean pass on a single portrait takes 20 to 40 minutes. Five minutes gets you a proof-ready version, and a beauty or editorial frame takes hours because the standard there is close inspection at full size.
What You Need
You need four things: a calibrated monitor, Photoshop or an equivalent editor with layers and blend modes, a reasonably high-resolution portrait, and a working copy you can destroy without guilt. Everything after that is technique rather than gear.
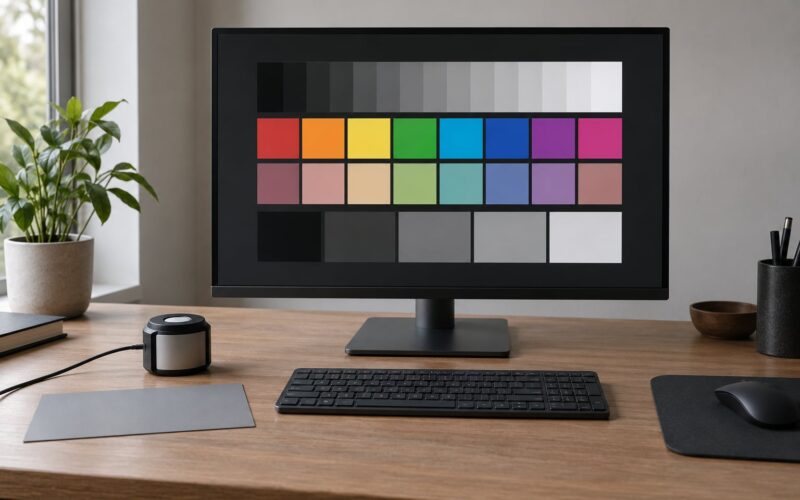
Monitor calibration matters more than the monitor itself. A skin tone you judge on an uncalibrated screen is a guess, and you end up compensating with the wrong brush strokes. A hardware colorimeter and a free calibration profile handle that in ten minutes.
Frequency separation is the core technique for learning how to retouch skin without making it look plastic, and it is optional in the sense that a dedicated retouching plugin can do it for you. Do it manually a few times first, though, because it is the only way to control exactly how much texture survives.
The other optional pieces: a healing tool for blemishes, which Photoshop already includes, and a dodge-and-burn habit on a soft-light layer, which needs nothing beyond a 50% gray fill. Set History States to 50 or more under Preferences, Performance, because the default depth will not save you from a mistake near the nose or the jawline.
Step-by-Step: How to Retouch Skin Without Making It Look Plastic
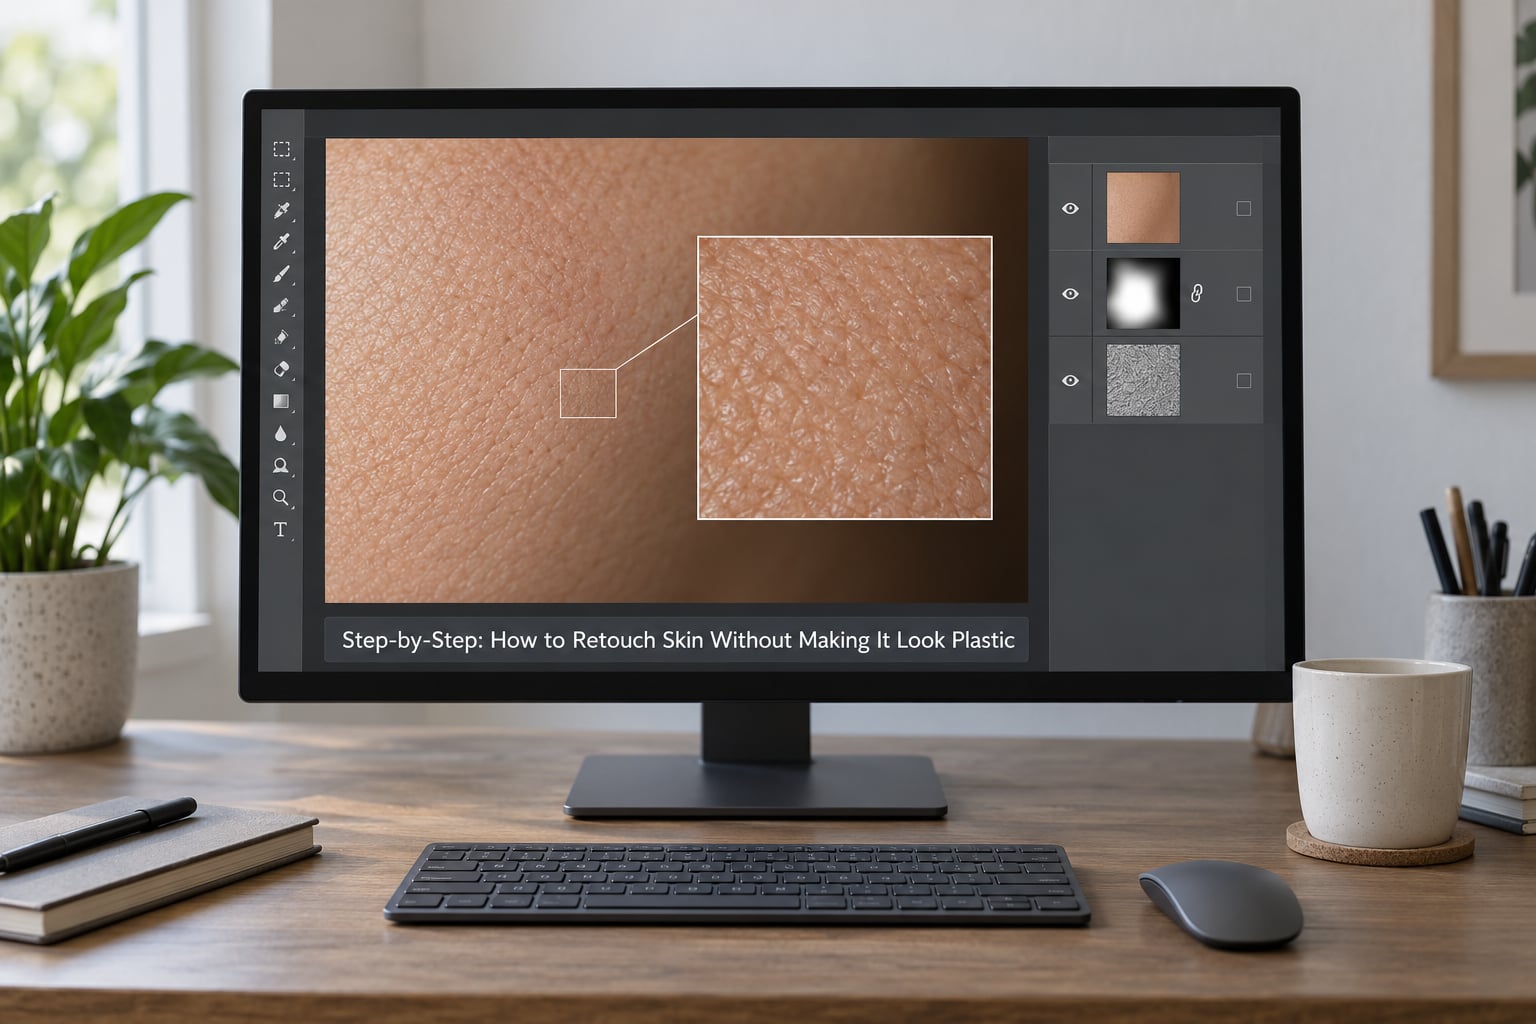
Work in this order: duplicate the layer, split tone from texture, clean up, even the tone, restore dimension, finish. Blemish cleanup happens before or after the split depending on how big the blemish is, which I cover below.
Throughout, judge every stage twice: at 100% zoom, where you can see pores and brush edges, and zoomed out to fit the window, which is how most people will actually see the image. A retouch that only works at one of those sizes will fail.
Use Frequency Separation to Retouch Skin Without Making It Look Plastic
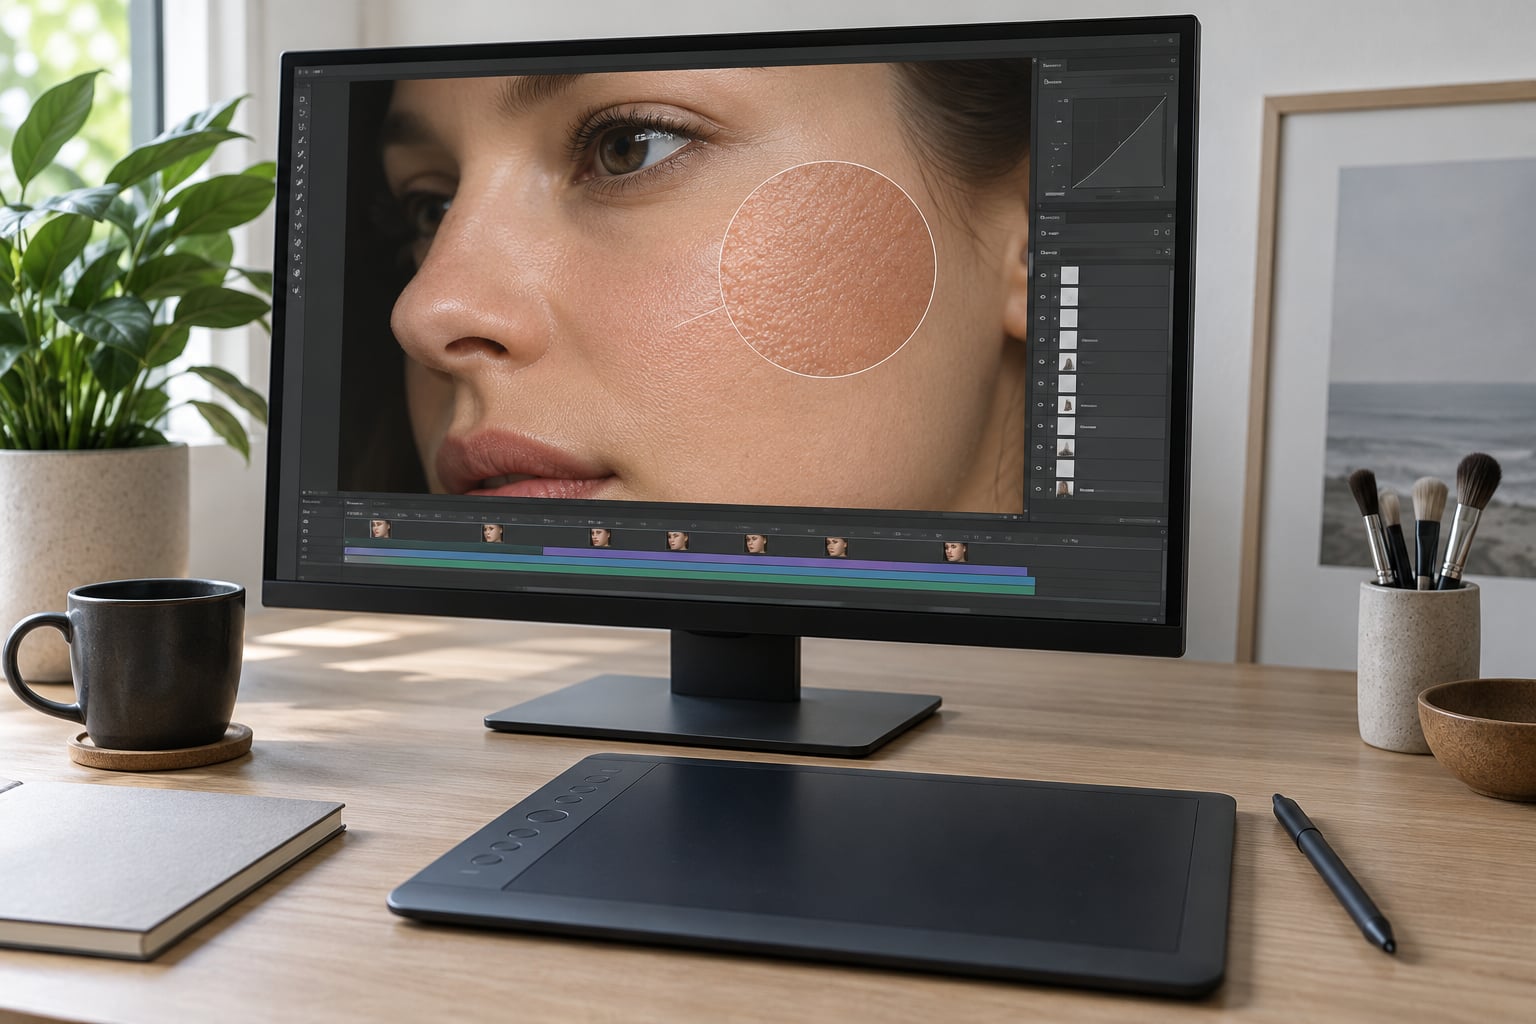
Frequency separation splits an image into a low-frequency layer that holds only tone and colour, and a high-frequency layer that holds only surface texture. That lets you smooth a patch of redness without touching a single pore, which is the whole trick behind this technique.
Duplicate the background layer with Cmd+J or Ctrl+J and name it. That is your working copy. Hide it and duplicate the visible background again, name this one Skin Low, and hide the original.
With the low layer selected, apply a Gaussian Blur. The radius has to scale with the file size, because the same pixel radius behaves differently at different resolutions.
| Image size | Use case | Blur radius |
|---|---|---|
| Under 12 MP | Web delivery, social crops | 2 to 4 px |
| 12 to 24 MP | Mirroredless, compact full frame | 4 to 6 px |
| 24 to 36 MP | Standard full-frame DSLR | 5 to 8 px |
| 45 MP and up | High resolution and medium format | 8 to 12 px |
Mature or deeply textured skin wants the upper end of that range, and heavy acne wants the lower end, since a wide blur pulls neighbouring shadows into the tone layer. Deliver at print size and blur harder than feels right at 100%.
Now open Image, Apply Image. Set the source layer to Skin Low, choose Subtract, Scale 2, Offset 128, and click OK. That output layer is your high-frequency texture layer. Rename it Skin High and set its blend mode to Linear Light, which recombines the two into something that looks like the original.
Toggle each layer’s eye icon. If hiding Skin High changes nothing visible, your blur was too wide and the tone layer already ate the texture.
Remove Blemishes Without Flattening the Skin
Small temporary spots come out with the Spot Healing Brush on the low-frequency layer, sampling All Layers, at 100% hardness and reduced flow. Work in short dabs rather than long strokes, and shrink the brush to a little under the spot.
The Healing Brush matters when a blemish is big enough to have its own shadow, such as a deeper spot or a scar. Make the brush 10 to 15% wider than the mark, hold Alt or Option to sample clean nearby skin, then stroke once. The sampled texture replaces the mark’s texture while the tone layer still carries the colour underneath.
Sample from skin that matches in tone as well as texture. Alt-sampling from the forehead across the nose drags a colour cast with it, and that mismatch is the single most common reason a technically correct heal still reads as fake.
Never heal across a structural shadow line: the nasolabial fold from nostril to mouth corner, the crease under the lower lip, and the orbital edge around the eye. Those shadows define the shape of the face, and filling them flattens it faster than any blur does.
Work in a small area at a time and flip between the healed and unhealed version. If a neighbouring detail moves with the stroke, undo and resample rather than trying to patch it afterwards.
Correct Uneven Tone with Low-Opacity Layers
Blotchy and uneven tone gets fixed with a soft round brush or the Mixer Brush at 0% hardness, 15 to 25% opacity, and 30 to 50% flow, painting only on Skin Low. Hold Alt as you move the cursor to sample the colour you want, and small repeated passes beat one decisive one.
For red patches, oily shine or a colour cast across the whole face, add a Curves or Color Balance adjustment layer with a black mask, then paint white into the mask to reveal it. Use the eyedropper to sample the surrounding skin and drag toward its colour, feather every selection generously, and keep the layer under 40% opacity.
| Tool | Hardness | Opacity | Sampling | Best used for |
|---|---|---|---|---|
| Soft round brush or Mixer Brush | 0% | 15 to 25% | Alt or Option, Current Layer | Evening tone on the low layer |
| Spot Healing Brush | 100% | 100% | All Layers | Small spots and stray hairs |
| Healing Brush | 100% | 70 to 100% | Alt or Option, Current Layer | Marks with their own shadow |
| Clone Stamp | 100% | 70 to 100% | Alt or Option, Current Layer | Stray hairs and texture cleanup on the high layer |
| Dodge and Burn | 0% | Flow 10% | Not applicable | Restoring highlights and shadows |
Every correction on this layer needs a feathered edge. A hard-edged adjustment mask is as obvious as a hard-edged brush stroke, and it flattens the face in one move.
Use Dodge and Burn to Restore Dimension
Retouching removes contrast and leaves a face without depth, so you put it back manually with a dodge-and-burn pass. Add a new layer, fill it with 50% gray using Edit, Fill, then set it to Soft Light.
Hold Alt to lighten in the Exposure blend mode, and values around 5 to 12% are enough. Above that you get chalk. For burning, add a separate layer above it, fill it with 50% gray again, and drag Exposure negative, roughly -5 to -12%.
Lighten the tops of the cheekbones, the bridge and tip of the nose, the brow ridge, the centre of the forehead, and the cupid’s bow. Darken the outer edges of the face, the eye sockets, the sides of the nose, under the lower lip, and beneath the jaw.
Check the result at 100%: a cheekbone should read as a soft gradient, never as a bright stripe. The test of a good pass is that you can still describe the face without seeing it.
Finish with Texture, Sharpening, and Colour
Sharpening on the high-frequency layer adds back the micro-contrast you softened. If sharpening makes the face look hot, sharpen a duplicate with Camera Raw Filter, Sharpen, amount 30 to 50%, and mask it to the eyes, brows, lips and hair instead.
Masking your correction layers is the final anti-plastic dial. Select the masks holding your smoothing work and fill them with white, then paint them back to 70 to 80% gray. The retouch stays present but stops being the loudest thing in the frame.
Finish the colour with a restrained correction: pull saturation down a touch on skin only if it has gone orange, and leave the rest of the frame alone. Then export with sharpening for the delivery size, not the screen size.
Inspect once more at 100% and once zoomed out. If pores have vanished at full size, or the skin looks blurred at fit-to-screen, step away for five minutes and look again. The plastic look never shows up while you are working in the mask.
Common Mistakes
Over-smoothing the texture layer is the first mistake, and it comes from blurring too wide or working on the low layer where you meant to work on the high one. Use the radius table and check the eye icons.
Working at full opacity is the second. A single 100% stroke paints a visible fingerprint of the brush, so drop to 15 to 25% and build tone with repeated passes.
Removing every pore is the third. Keep fine lines, peach fuzz and visible pores on the forehead and cheeks, and leave mild asymmetry in place, since real skin is never symmetrical. An edit that leaves normal skin looking normal is the goal.
Healing across structural shadows is the fourth, and the fix is simple: treat nasolabial folds, the under-lip crease and the orbital edge as drawing, not as blemishes.
Evening skin into one flat colour is the fifth. Match a patch to the skin two centimetres away from it, never to the palest part of the face, or the retouch goes grey and flat.
Sharpening the whole frame is the sixth. Sharpen eyes, brows, lips and hair, and leave the skin area alone or nearly alone.
Judging at the wrong size is the seventh. Check at fit-to-screen and at 100%, because each hides what the other shows.
A few quick habits keep edits believable: keep a working copy on the layer above, set your History States to 50 or more, mask rather than delete, and stop as soon as the skin reads as real at display size.
Frequently Asked Questions
What app can I use to smooth my skin?
On a phone, Snapseed has a targeted Portrait blur tool that works well on a single face. Lightroom mobile and Lightroom Classic both offer a Clear Skin slider under the masking or healing section, and Photoshop Express has a Smooth Skin control for quick cleanup. CapCut includes a beauty-style skin smoothing filter inside its adjustment panel. All of them are fine for a quick cleanup, but all of them flatten texture the same way, so use them gently.
Can CapCut smooth skin?
Yes. CapCut’s retouch section includes a smoothing or skin-blur control, and it is fast enough for short-form video where a face fills the frame for two seconds. The strength slider goes past the useful range, so keep it low and check the forehead and cheeks at full size before you export. For still images that will be printed or viewed large, a manual workflow in Photoshop holds texture far better.
Is frequency separation better than the Smooth Skin Neural Filter?
For final delivery work, manual frequency separation wins, because you decide exactly which pores survive and which patch of redness gets corrected. Neural Filters and plugins such as Portraiture, Beauty Box or the Retouch4me family are faster and give a decent starting point on a large batch. Their limit is global: they apply one strength across the whole face, so a subject with an oily T-zone and matte cheeks gets the same treatment everywhere.
How do I fix a photo that already looks plastic?
Open the file in 16-bit if you still have the original, then rebuild texture. Use Camera Raw Filter, Sharpen, or create a new high-pass layer with a 1 to 2 px radius over the plastic area and mask it in at 40 to 60%. Restore pores selectively with the Healing Brush sampling adjacent skin. Most of the damage is in the low-frequency tone, so if the smoothing is heavy, returning to the unretouched original and redoing it takes less time than repairing it.
Should I keep every pore when retouching skin?
Keep them. Pores and fine lines are the first thing viewers read as authenticity, and they are the fastest way to make an edit look like a real photograph rather than a render. You are allowed to soften the ones that catch the light badly or sit under a spot you have just healed. Everything else stays, including peach fuzz, which catches light in a way the eye accepts without noticing.
What are the different types of retouching in Photoshop?
Cleanup removes stray hairs, temporary spots and sensor dust with healing tools. Tone correction evens out colour and blotchiness on the low-frequency layer. Texture work happens on the high-frequency layer with the Clone Stamp and Healing Brush. Dodge and burn rebuilds dimension by hand. Colour grading sets the overall palette last. Difficulty retouching, sometimes called frequency separation lite, smooths the whole face at once and is the technique most likely to produce a plastic result.
Conclusion
The order is the whole method: duplicate the file, split tone from texture, correct tone on the low-frequency layer at low opacity, repair texture on the high-frequency layer with small sampled strokes, rebuild dimension with a restrained dodge and burn, then check at 100% and zoomed out.
If you are starting a portrait now, do three things first. Press Cmd+J or Ctrl+J for a working copy, set the Gaussian Blur radius to match the file size, and make one 20% opacity correction before touching anything else. Then step away and look again before you decide how much the skin needs.