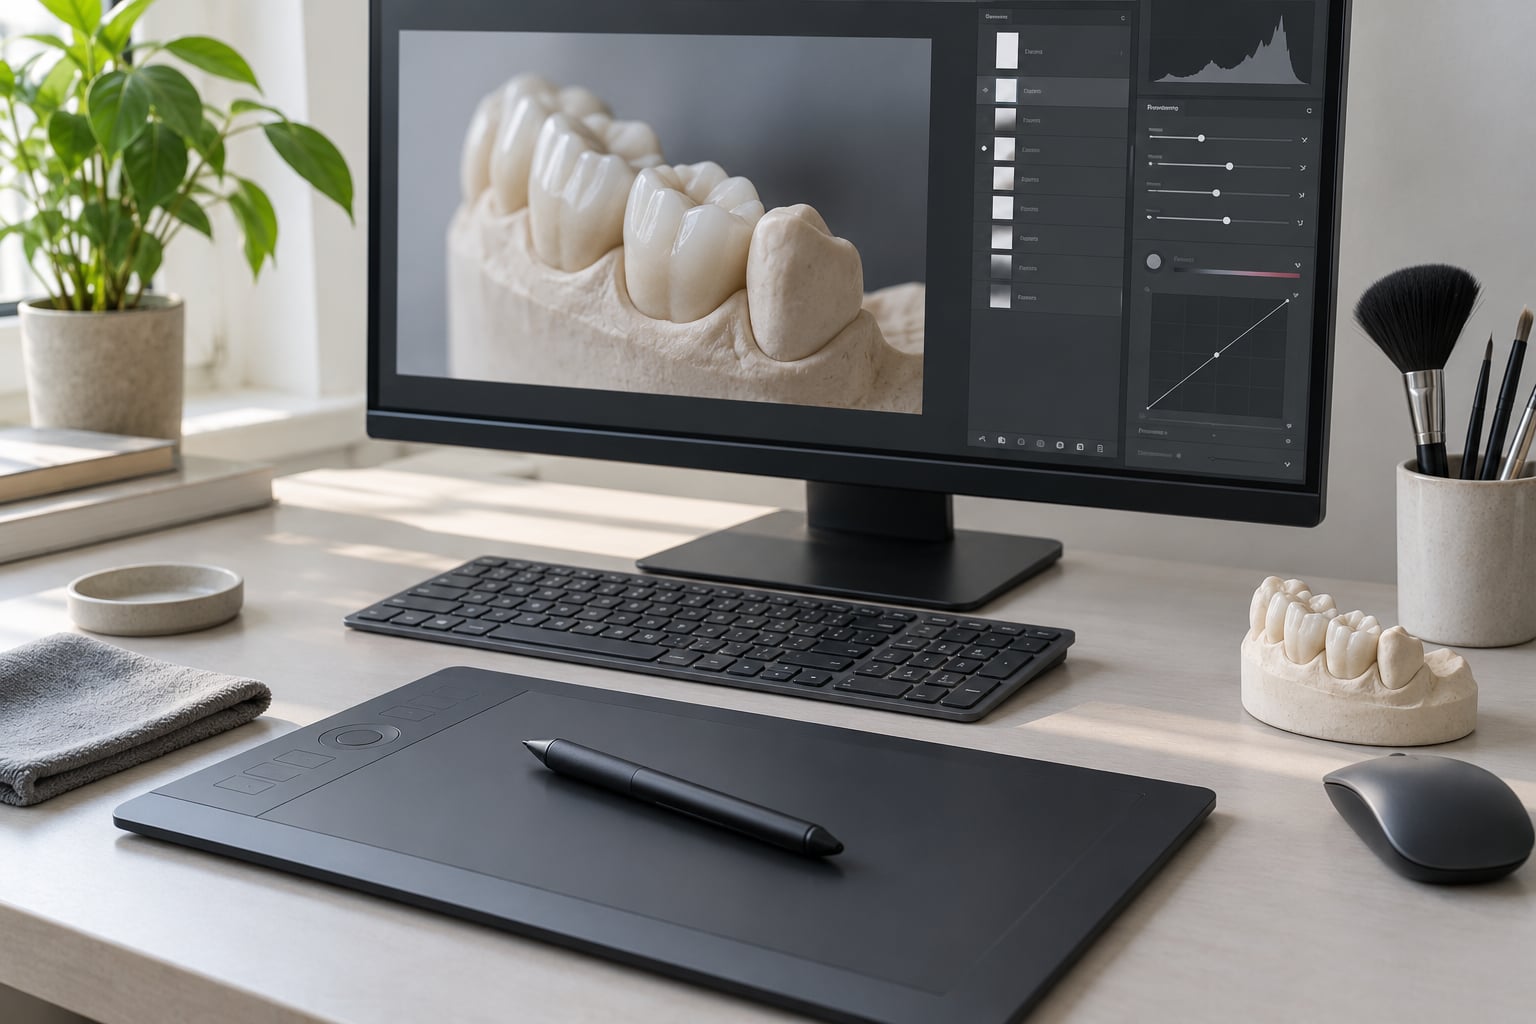
Whiten teeth in photo editing by isolating the teeth with a selection or layer mask, then dropping the yellow saturation out of that area with a Hue/Saturation or Selective Color adjustment. The brightness lift is deliberately small, and the result is exported once the teeth still read as teeth. Most people get a believable smile in about five minutes; a careful Photoshop pass on a wedding portrait takes closer to twenty.
Teeth are usually the brightest thing in a smile, so the eye locks onto them. When they carry a warm cast, everything else in the portrait starts to look dull by comparison, even if the skin, exposure and color grading are already spot on.
Table of Contents
- What You Need
- Step-by-Step: How to Whiten Teeth in Photo Editing
- Common Mistakes
- Frequently Asked Questions
- What is the best software for whitening teeth in portrait photos?
- How much should I brighten teeth in a photo?
- Can I whiten teeth in a portrait in Lightroom?
- Why do teeth look unnaturally white after editing?
- How do I whiten teeth without affecting the lips or skin?
- Should I whiten teeth before or after skin retouching?
What You Need
You do not need a particular program. What you do need is somewhere to mask. That is the only hard requirement, and it is the reason some tools can whiten teeth well and others cannot.
- A photo editor. Photoshop has the most control. Lightroom, Lightroom Mobile and Snapseed handle a masked correction well. The built-in iPhone and Google Photos editors work for a quick pass.
- A soft brush and a mask. If your tool has brushes but no masks, you can still work, but the edge control will be rougher.
- An adjustment of some kind. Hue/Saturation, Selective Color, Curves, Vibrance or a Brightness control on a masked area.
- A calibrated display at moderate brightness. Judging white on an over-bright screen is the fastest way to overshoot, and a good screen is cheaper than re-shooting a headshot session.
Here is how the main options compare. No single tool wins everything, and the right one depends mostly on how precise your mask needs to be.
| Tool | Control | Best for | Masking precision |
|---|---|---|---|
| Photoshop | Full | Client portraits, wedding work, anything print | Pixel-level, curves and dodge and burn |
| Lightroom Classic | High | RAW shoots, catalog-wide consistency | Brush-based, good on open smiles |
| Lightroom Mobile | Medium | Same edit on a phone, on location | Brush plus Color Range, solid |
| Snapseed | Medium | Free mobile edit, social posts | Selective tool, decent |
| iPhone Photos editor | Low | A quick fix before posting | Region based, no brush |
| Online AI editors | Low to medium | Speed, batch social content | Automatic detection, uneven |
Step-by-Step: How to Whiten Teeth in Photo Editing
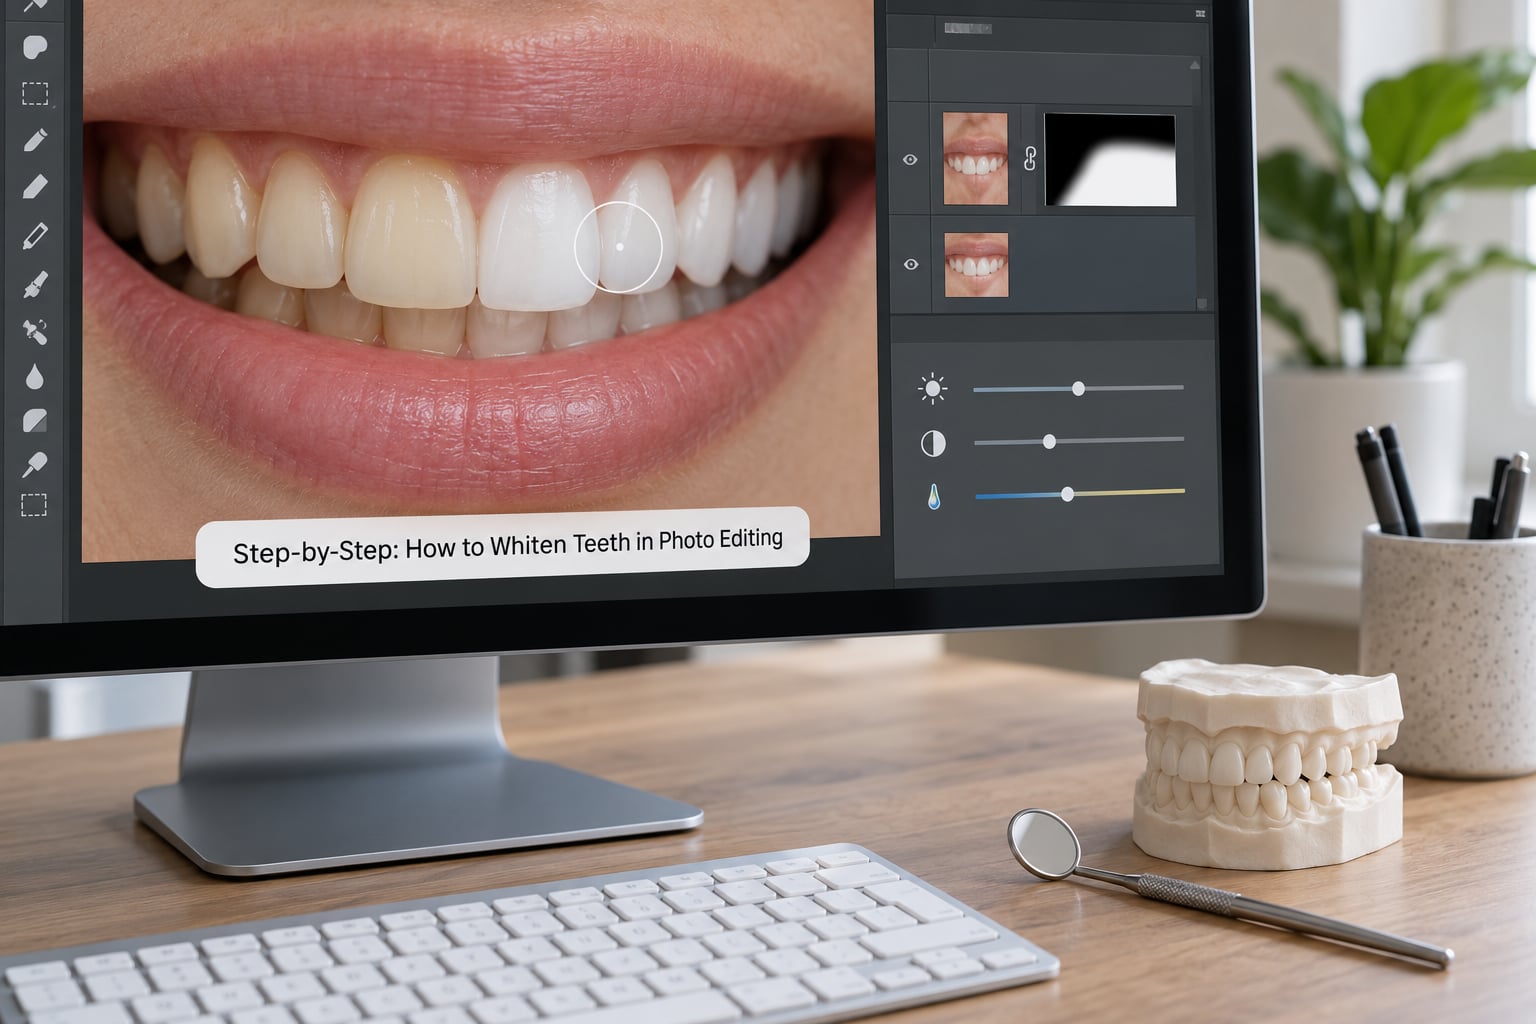
How to Whiten Teeth in Photo Editing Without Making Them Look Fake
Start on a duplicate of your original, never on pixels. In Photoshop that means Background to Layer, or a Smart Object if the file is large. Name the layers so you can still find them in an hour.
Add a Hue/Saturation adjustment layer and switch on Targeted Adjustment, then click a tooth. Photoshop builds a color range from the pixels you click, which gets you most of the way before you have touched a brush.
Now the important part. Pull the saturation down into negative values, somewhere around minus 20 to minus 40, and watch what happens to the lips. Lipstick sits in the same red family as the staining on teeth, so a wide selection will quietly take color out of the mouth. That is the moment the edit stops looking like a correction and starts looking like a mask.
Then feather the mask by 1 to 2 pixels and drop the layer opacity to roughly 80 percent. Those two moves are most of the difference between a subtle fix and a fake one.
Select the Teeth Carefully
The selection is the hardest part of the job, and it is where most visible errors come from. The tools you have are a Quick Selection or Object Selection tool for a fast first pass, a Lasso tool for control, and Color Range for color-driven selection. The Pen tool is precise but rarely worth the time on a small mouth area.
Work in a few passes rather than one. Zoom to 100 percent, paint inside the teeth, then zoom out and check what you caught. Front teeth overlap lower teeth, and the inner edges near the gums are where a lasso selection usually slips onto gum tissue.
Subtract anything that does not belong. In Photoshop, hold Alt while painting with the Quick Selection tool to remove from the selection. On a soft smile, the mask should include the teeth, the thin enamel edge, and nothing else.
If teeth sit in shadow because of backlighting or a flash angle, whitening them alone will look wrong no matter how clean the mask is. Deal with the light first, then whiten.
Reduce Yellow and Beige Tones
Yellow is a hue problem before it is a brightness problem, which is why desaturating works better than lightening. Beige sits lower on the saturation scale and needs a little more than a standard Yellows range will remove.
In Hue/Saturation, click Targeted Adjustment and shift-click a second, more saturated tooth color so the range widens. If the teeth still read warm, drop saturation further on that range rather than reaching for a white brush. Selective Color gives a different handle: reducing the yellows and the reds inside the teeth range often neutralizes beige without flattening the enamel.
Lightroom uses the same logic under Masking. Paint the teeth, then add a Color Range inside the mask and dial the range narrow. Adjust the Color Mixer Saturation panel on that range and drop the orange and yellow sliders.
Curves offer a subtler route. On a Curves adjustment masked to the teeth, pull the composite curve gently upward, then reduce the blue channel by a hair. Teeth with a warm cast almost always have blue missing rather than red too high, and taking blue out fixes the tone without draining the color.
Add Brightness Without Losing Detail
Open the shadows of that idea immediately: natural teeth are never uniformly lit. The upper front teeth catch more light than the lower ones, and the teeth at the edge of the mouth fall off into shadow. A correction that flattens that gradient is why one-tap AI whitening reads as fake.
Raise brightness in small increments and stop as soon as the yellow is gone. If you are reaching for a big number, the problem is usually tone, not brightness. Keep an eye on the histogram: when the brightest teeth push into clipping, texture disappears and the smile turns into a row of featureless shapes.
Compare at normal viewing size, not at 400 percent. A correction that looks timid zoomed in often looks right in the frame, and the reverse is also true. Toggle the layer on and off with the eye icon a few times rather than judging a single view.
Blend the Correction Into the Portrait
Refine the mask with a large soft brush at low flow. Short gentle strokes along the gum line and the inner edges of the teeth do more than any global setting, and a black brush on the mask removes whatever the selection tool grabbed.
Check color consistency against the surrounding skin. Teeth that read cooler than the lips look pasted in; teeth that match a warm skin tone exactly can look stained. Aim for teeth that are slightly brighter and slightly less warm than the skin around them.
Sharpen last, and only lightly. Any mask edge softness gets amplified by sharpening, and a sharpened halo around the teeth is the classic giveaway. If your workflow has a texture or clarity step, run it after whitening rather than before.
For advanced work, dodge and burn solves uneven lighting. Add a new layer filled with 50 percent gray, set the blend mode to Soft Light, and use a low-flow white brush to brighten individual teeth that sit in shadow. Switch the brush to black to pull back the ones that are now too bright. It takes longer, and it is the version that survives a print.
On mobile, Lightroom Mobile follows the same logic: Mask, then brush the teeth, then add a Color Range inside the mask and reduce saturation. Snapseed’s Selective tool offers Saturation and Brightness on a single region and works well for a quick pass.
The iPhone Photos editor has no teeth tool, but it does have Selective edits on portraits. Open the photo, choose Edit, then Selective, tap the face, and use Saturation and Highlights on that region. It is region based rather than brush based, so the edge is softer and easier to overshoot. Google Photos has no masking at all, so use it only when the warmth is mild.
Online tools such as Fotor, Airbrush, Facetune, Pixelbin and Picsart detect teeth automatically and are genuinely fast. The catch is consistency. Automatic detection smooths the variation between teeth, and most of them put export quality or the watermark behind a subscription after the first free try.
When you have 50 or more frames from the same shoot, stop whitening one photo at a time. Build the correction on one file, record it as an action, then batch it across the set. The selection still takes time, and most people working at that volume report it as the step that never gets faster. The brightness and tone settings, which is where the real time goes, do batch cleanly.
Common Mistakes
Pure white teeth. Real enamel sits well below paper white, with soft gradients across the arch. Push to pure white and the smile reads as a costume. The rule of thumb is off-white, and if in doubt, pull back.
Teeth that have gone gray. This is saturation pushed too far rather than too little. Removing all the color drains the warmth that makes teeth look alive, and a gray tooth is worse than a yellow one. Back the saturation off until some color returns, then fix the remaining yellow with a small blue reduction in Curves instead.
Harsh mask edges. A visible line around the teeth comes from a hard selection or zero feather. Soften the mask edge by 1 to 2 pixels and paint at low flow. A dark rim usually means the mask includes the shadow at the lip line, so subtract it.
Lipstick that loses its color. Red stains and red lipstick live in the same range. Use a narrower color range, subtract the lips on the mask, or clone over the stain before whitening rather than desaturating it away.
Whitened gums. Gums sit next to teeth and are easy to include by accident. A slightly pink gum next to bright teeth looks more obviously edited than yellow teeth do.
Even brightness across every tooth. This is the AI failure mode and the most common forum complaint about one-tap whitening. Per-tooth variation is what makes a smile look real, and it is the first thing that disappears when an algorithm detects teeth automatically.
Working only at high zoom. Zooming in to 400 percent for the whole correction changes your sense of the image. Zoom in for the mask, zoom out for the judgment.
One more worth naming, because it is not really an editing mistake. Retouching someone else’s teeth changes how they looked. For a commercial headshot, a retouch agreement that covers skin and teeth is standard and worth having in writing. For candid photos of friends, it is a conversation, not a default.
Frequently Asked Questions
What is the best software for whitening teeth in portrait photos?
Photoshop is the best choice for client and print work because a layer mask, Curves and dodge and burn give you control over edges and uneven lighting. Lightroom and Lightroom Mobile suit RAW shoots and on-location edits. Snapseed and the iPhone editor handle quick social work. Online AI editors are fastest but least consistent.
How much should I brighten teeth in a photo?
Enough to remove the yellow cast and no more. In Hue/Saturation that usually means taking the targeted range to about minus 20 to minus 40 saturation and adding only a small lift in Lightness or Curves. If you need to go past that, the yellow was better fixed by removing blue in the blue channel than by brightening.
Can I whiten teeth in a portrait in Lightroom?
Yes. Use the Adjustment Brush or the Brush tool with masking, paint the teeth, then add a Color Range inside the mask so the effect is limited to tooth color. Lower the yellow and orange values in the Color Mixer Saturation panel while the range is active. The same steps work in Lightroom Mobile.
Why do teeth look unnaturally white after editing?
Three things cause it: pushing brightness too far, desaturating the yellow so completely that the teeth turn gray, and flattening the natural shadow between teeth. Real enamel keeps soft gradients across the arch, so a correction that makes every tooth equally bright reads as fake. Back the intensity off and restore some variation.
How do I whiten teeth without affecting the lips or skin?
Mask the teeth first and keep the adjustment inside the mask. Use a narrower color range, or subtract the lips and gums on the mask with a black brush. Lipstick falls in the same red range as tooth staining, so a wide desaturated selection will quietly drain color from the mouth along with the yellow.
Should I whiten teeth before or after skin retouching?
Whiten last. Skin work usually includes dodge and burn, sharpening and texture steps that can shift color slightly, and whitening after those steps keeps the teeth consistent with the finished portrait. If teeth sit in shadow from the lighting, fix the lighting balance first, since whitening cannot rescue a tooth that was never properly exposed.
Open the photo, mask the teeth, and pull the yellow saturation down until the warmth is gone. Add brightness only after the tone is right, feather the mask, and check the result at normal size. If it still looks edited, take the intensity down by half and look again.