To back up photos without a cloud subscription, copy them from your camera or phone to your computer, duplicate that copy onto an external drive, then keep a third copy in a different physical location. That is the 3-2-1 rule, and it costs nothing monthly.
The whole job takes an afternoon to set up and about an hour a month to maintain. What makes it work is not the copying, it is the proving — opening files from the backup and restoring a sample folder, so you know the copies are real.
Updated for October 2026.
Table of Contents
- What You Need
- How to Back Up Photos Without a Cloud Subscription: Step-by-Step
- Frequently Asked Questions
- Is it safe to delete photos from a memory card after one backup?
- What is the best no-cloud backup setup for photographers?
- How many external drives do I need to back up my photos safely?
- How do I verify that my photo backup is complete and usable?
- Can I back up photos from my phone or camera without cloud storage?
- Conclusion
What You Need
You need a working drive that holds your current library, plus two more places to put copies of it. Everything else is detail.
- A computer or camera with a reliable internal drive. This is your working copy — the files you edit from every day.
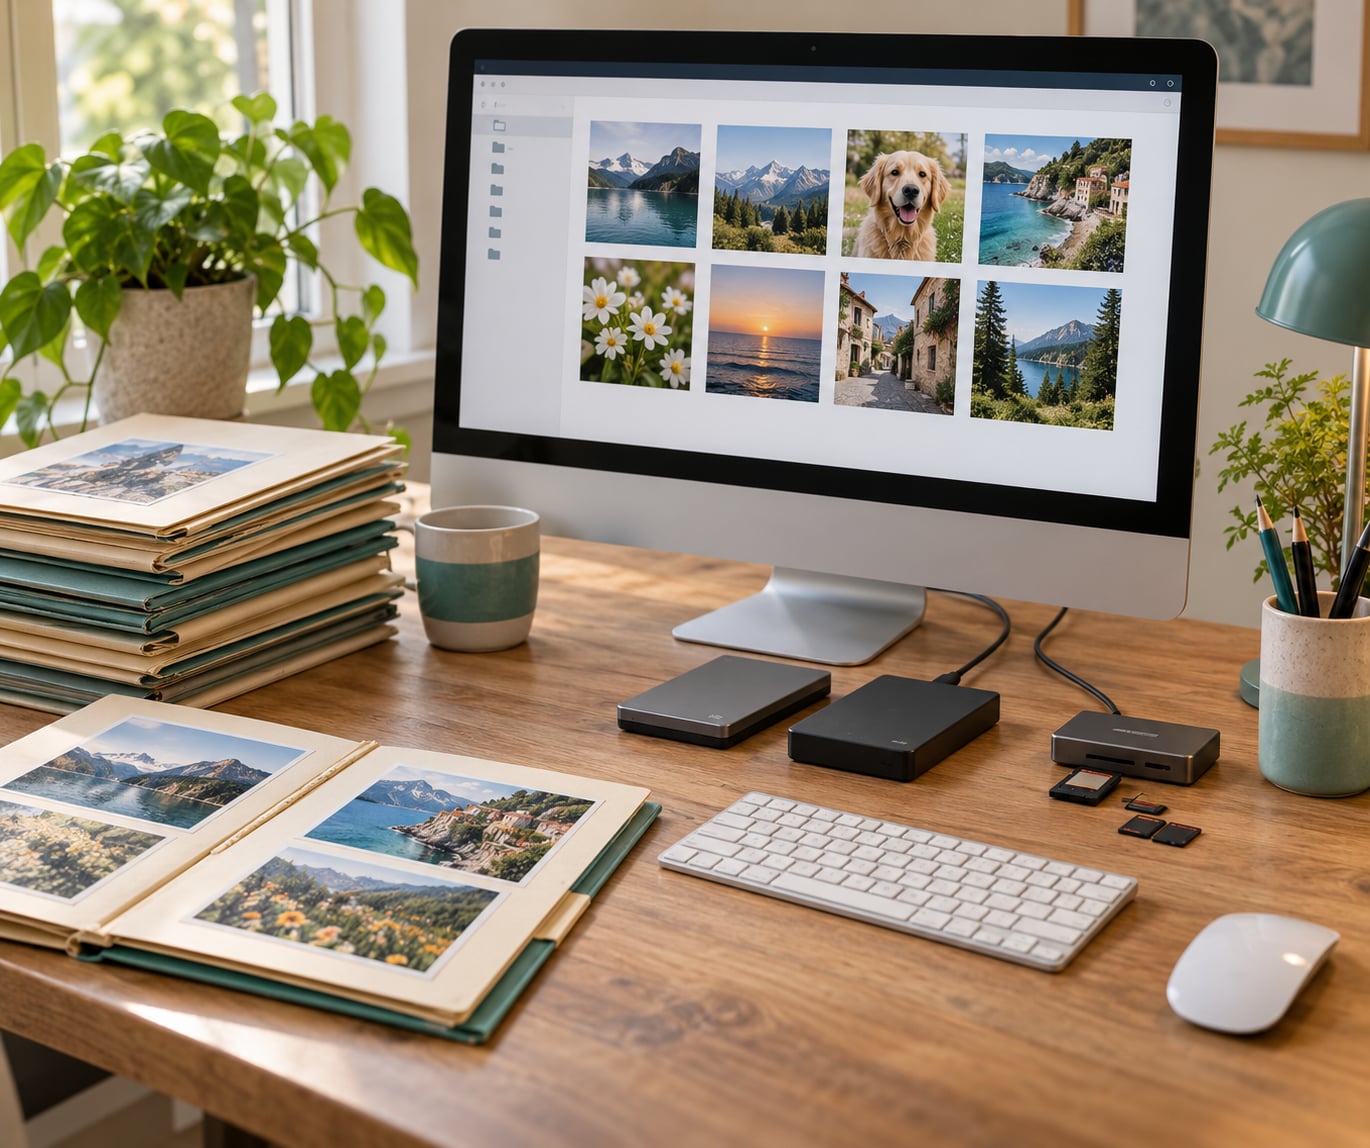
- Two external drives. One lives with the computer, one lives somewhere else entirely. Buy them matched if you can, and never use the off-site drive for anything but backups.
- A card reader. A USB-C card reader is faster and more reliable than camera cable transfers, especially for large RAW files.
- A USB-C hub or a surge protector with battery backup. Cheap insurance against a power event writing to both your working drive and your backup at the same time.
- Backup software. macOS has Time Machine built in. Windows 10 and 11 have File History. Third-party tools like Duplicati handle version history and encrypted archives across both platforms.
Size the drives against your library, not against your camera. A photographer shooting 24MP RAW plus JPEG ends up around 90 to 110 MB per frame, so 50,000 frames is roughly 5 TB of working files. Rule of thumb: buy about twice the capacity of your current library, because incremental copies and older projects drift upward.
How to Back Up Photos Without a Cloud Subscription: Step-by-Step
Step 1: Plan how to back up photos without a cloud subscription
Start by measuring what you have. Open your photo folder, select everything, and read the total size in the folder properties. Do the same for your camera card. Now decide which copy plays which role.
The 3-2-1 rule means three copies of every file, on two different types of storage, with one copy stored off-site. Your laptop is copy one. The external drive in the same room is copy two. The drive at your sister’s house, your dad’s office, or a safe deposit box is copy three.
Two folders on the same internal drive are not two copies. A mirrored pair of drives in the same cabinet is not two copies either. RAID, which people ask about constantly on photography forums, is mirroring — it survives a single drive dying and nothing else. A corrupted file, a mistaken delete, ransomware, a fire, or a stolen laptop all take out both sides of a mirror at once.
Write the plan down before you move a single file. Three lines: where the working copy lives, where the local backup lives, where the off-site copy lives and when it gets updated.
Step 2: Protect the working files during import
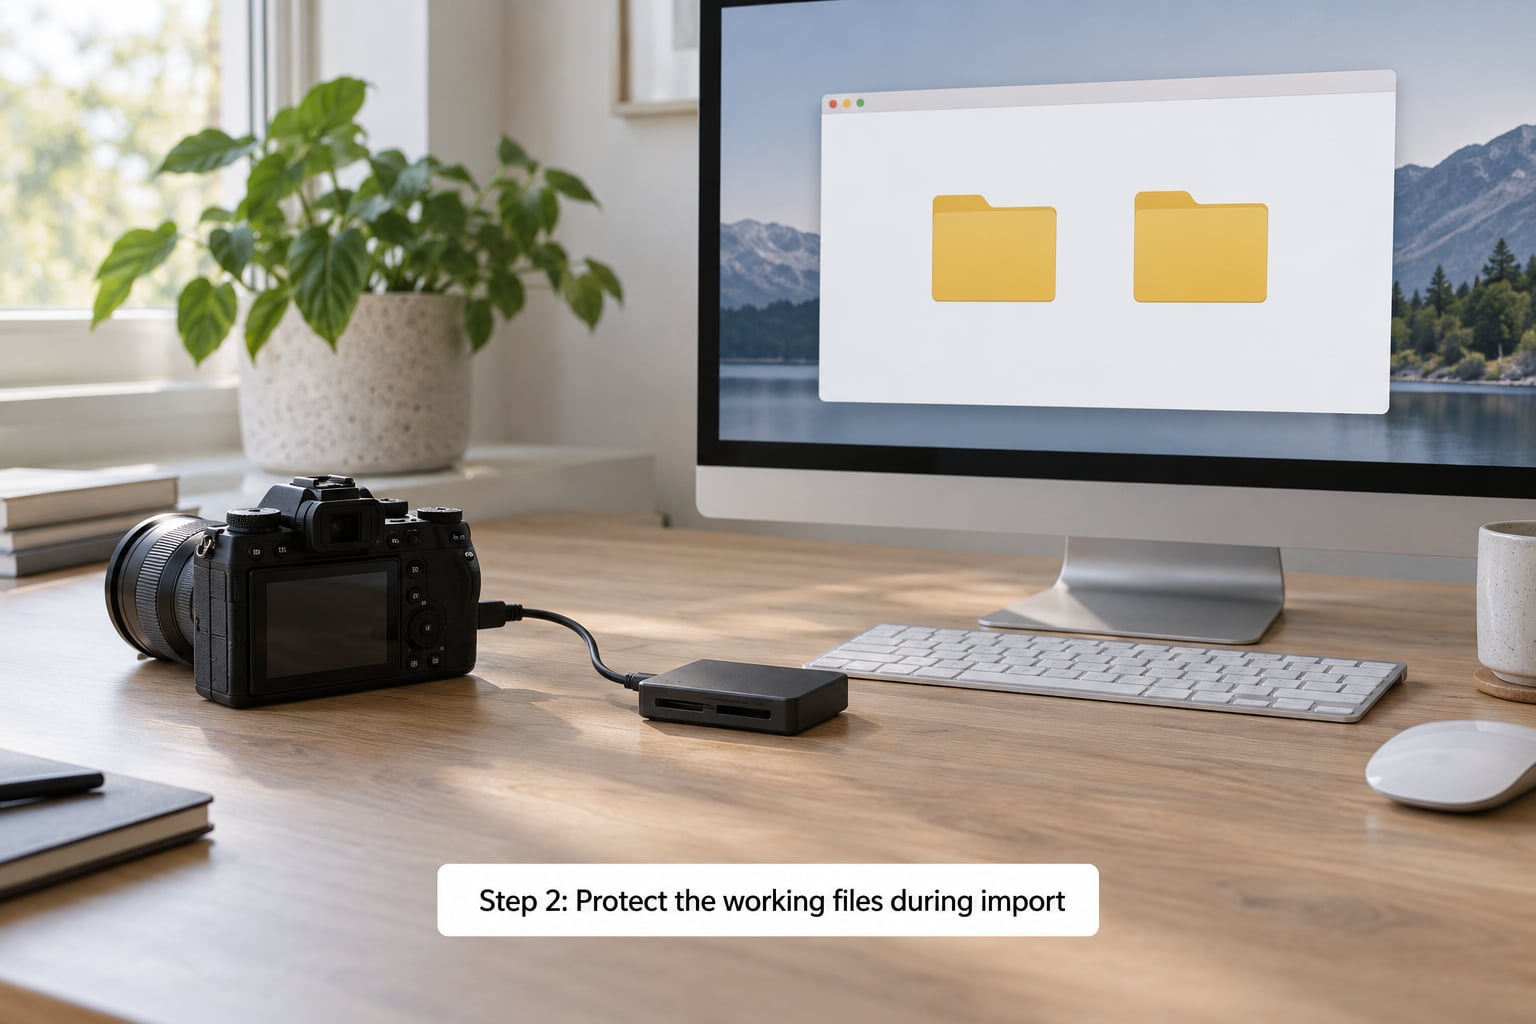
Import by copying, never by moving or formatting. In Lightroom use Copy rather than Move in the import dialog, or in Finder or File Explorer use the copy command rather than drag-and-drop between windows, which can silently move on some setups.
Keep your camera’s folder structure. If the camera writes a card as DCIM/100CANON, do not flatten it into one folder on import — the structure is part of what keeps two copies identical and comparable.
Mind the files that are not photographs. XMP sidecar files sit next to your RAW files and carry edits. Lightroom catalogs and Capture One catalogs hold the index that ties your RAW files to ratings and edits. Copy those too, and treat the catalog as its own backup job.
Check the import before you touch the card. Compare the frame count the camera reports against the number of files that arrived. A truncated transfer shows up as a short count long before it shows up as a missing photo.
Step 3: Create the first local backup
Plug in the local backup drive and make one clearly named top-level folder for the library, plus one folder per shoot or per month inside it. Dated folders beat clever names — 2026-05-14-lisbon sorts itself and tells you where a missing file should be.
On macOS, open Finder, connect the drive, and drag the photo folder onto the drive icon in the sidebar. Hold Option while the copy runs so Finder shows progress per file instead of a single grey bar. When it finishes, eject the drive from the Finder sidebar, not by unplugging it mid-write.
On Windows, open File Explorer, find your photo folder, click the drive in This PC, and copy across. Windows will show a progress dialog per file. Wait for the dialog to report completed and then close it before ejecting from the notification area.
Verify two things. Compare total file counts between source and destination, and compare total bytes. Then run a checksum tool — shasum -a 256 on macOS or a graphical verifier on Windows — over a sample folder so you know the bytes match, not just the filenames.
Step 4: Make a separate off-site copy
The off-site copy is the one people skip, and it is the one that saves you when your house burns or gets flooded. Two portable drives in rotation is the simplest arrangement: one drive is always plugged in at home holding the current copy, the other sits off-site and comes back on a schedule.
A monthly rotation works for most shooting. Every month, swap the drives and run the same copy routine. If you shoot weddings or travel weeks where a month of unrecoverable work is unthinkable, rotate weekly.
A drive in a drawer two metres from the computer is not off-site. Neither is a NAS sitting on the same shelf, or a cloud mirror that syncs to a server you never chose. Off-site means a different building, ideally a different part of town.
Some photographers keep a second small NAS or a plain hard drive at a family member’s place and sync to it over a secure tunnel rather than swapping physical media. That works, and it automates the update, but it still shares one site with your main machine — so treat it as copy three, never as copy two.
Step 5: Test, restore, and maintain the backups
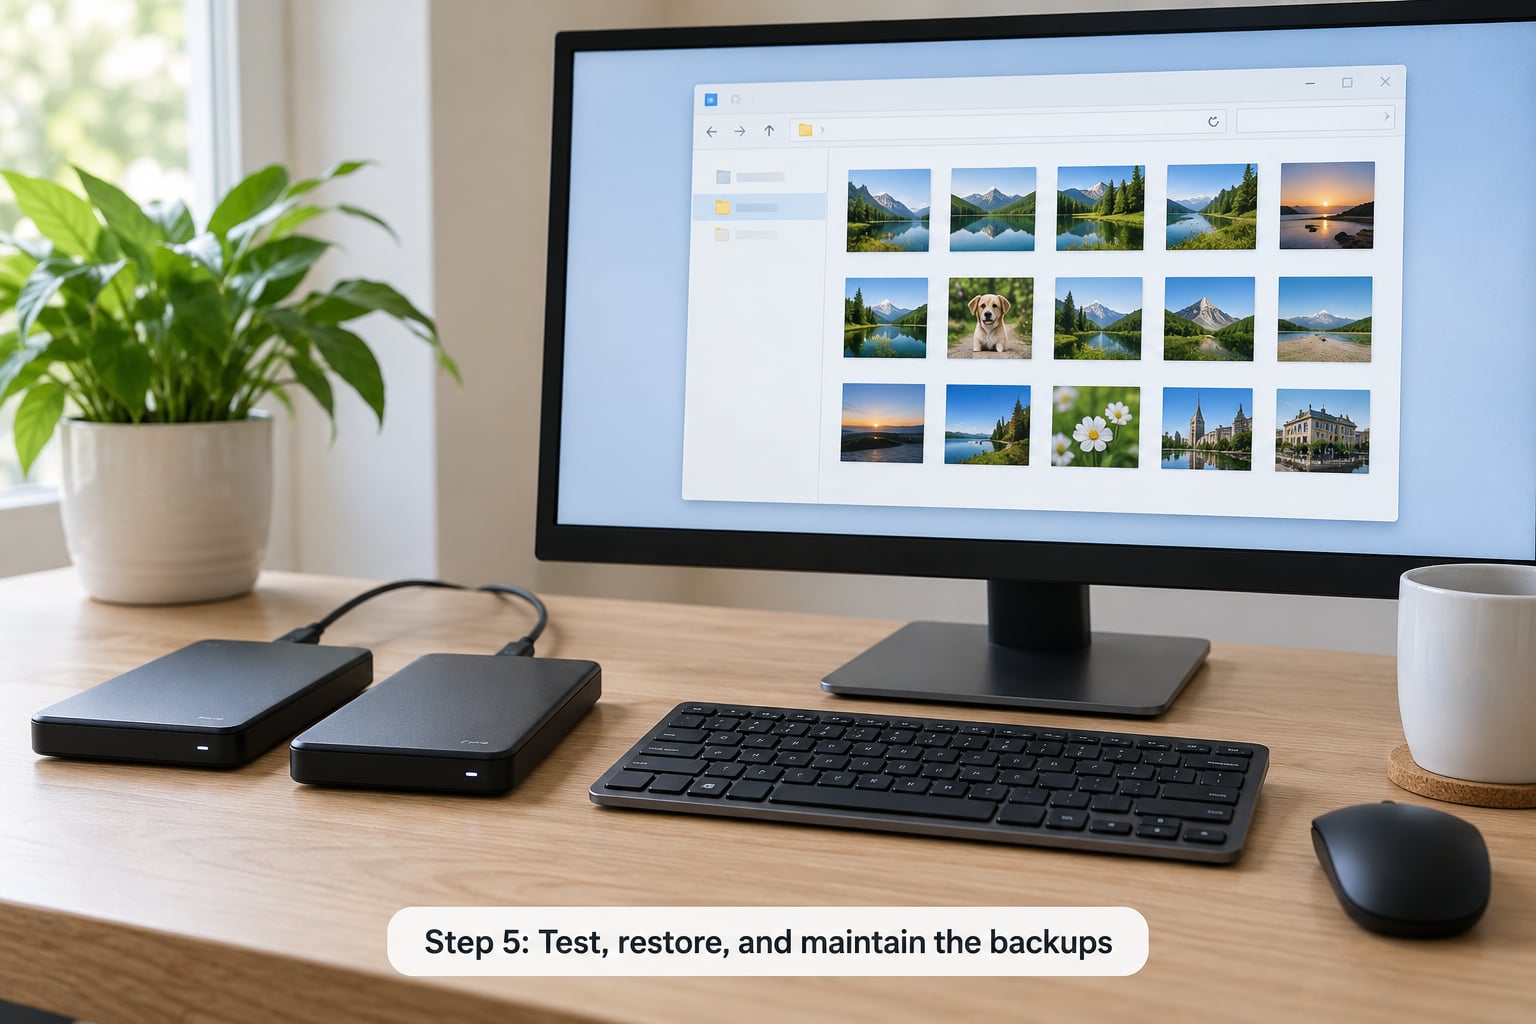
A backup you have never restored from is a hope, not a backup. Ten minutes a month proves otherwise.
- Compare counts. File count on the working drive versus the backup drive, and total size. A mismatch means the copy stopped early.
- Open ten random files. Pick across different dates, open a mix of RAW and JPEG, and confirm they are not zero-byte or unreadable.
- Restore a sample folder. Pull one shoot onto a scratch drive or a second folder, open several images at full size, and check for bit rot or silent corruption.
- Check drive health. Every drive ships with SMART data. Read it quarterly; a failing drive often reports trouble before it stops.
- Rehearse the off-site copy. Twice a year, retrieve the off-site drive and confirm it mounts and holds what you think it holds.
Then automate the boring parts. Schedule Time Machine or File History to run nightly to the local backup drive, and keep the off-site copy on whatever manual schedule you wrote down in Step 1.
Common Mistakes
- Keeping one copy. One drive dies or gets stolen and the library is gone. The fix is boring: buy the second drive.
- Counting the same drive twice. Folders, mirrored drives, or a NAS mirror all fail together on a fire, a flood, or a ransomware event. Fix: put copy three in another building.
- Deleting originals before verification. Formatting the card after import feels productive and destroys your recovery path if the copy was incomplete. Fix: keep the card until counts and spot checks pass.
- Forgetting sidecars and catalogs. RAW files without XMP sidecars lose every edit the catalog held. Back the catalog folder up on its own schedule.
- One backup drive used continuously. That is one copy, not two. Fix: rotation, so one drive is always somewhere else.
- Treating a matching file count as proof. A count proves names arrived. It does not prove bytes match, so spot-check and checksum.
- Leaving everything on the phone. Phone storage is not a backup. After you verify, delete originals to free space — knowing you have three copies.
Frequently Asked Questions
Is it safe to delete photos from a memory card after one backup?
Not after one backup — after two verified ones. A single copy can be silently truncated, and some transfer tools report success on files that never fully wrote. Compare file count and total size against the camera, then open several RAW files from the backup before you format the card. Once the local backup and the off-site copy both pass a spot check, the card becomes scratch space.
What is the best no-cloud backup setup for photographers?
For most shooters: the internal drive of a laptop or desktop as the working copy, one external SSD as the nightly local backup, and a second external drive rotated monthly to a different address. Add a card reader so imports are fast and reliable. Photographers with large RAW libraries or business clients usually add a NAS for the archive, while keeping the catalog local for speed.
How many external drives do I need to back up my photos safely?
Two external drives are the practical minimum for a 3-2-1 setup: one for the local backup and one for the off-site copy. Three becomes worthwhile once a second location has its own machine or NAS, because then you can update the third copy automatically instead of swapping media by hand. Buy the second drive before you buy a faster one, and size both well above your current library.
How do I verify that my photo backup is complete and usable?
Compare total file count and total bytes between your working copy and the backup, then open ten random files across different dates, mixing RAW and JPEG. Once a month, restore one shoot folder to a scratch location and open several images at full size. Also read SMART drive health quarterly and retrieve the off-site drive twice a year to confirm it still mounts.
Can I back up photos from my phone or camera without cloud storage?
Yes. For an iPhone, connect it by USB and trust the computer, then in Finder use the iPhone entry under Locations and drag DCIM across, or in Windows use the Apple Devices app and copy the DCIM folder. For Android, plug in the cable, unlock the phone, and pull down the notification shade to switch the USB mode from charging to file transfer, then copy the DCIM folder in File Explorer.
Conclusion
Do this today: leave your working files exactly where they are, buy or borrow one external drive, and copy the entire photo folder onto it using dated folders and a count check. That alone removes the most common single point of failure.
Then get a second drive into a different building on a monthly rotation, schedule Time Machine or File History so the local copy updates itself, and spend ten minutes a month restoring a sample folder so you know the copies open. Once that routine holds for three months, how to back up photos without a cloud subscription stops being a question.