
How to cull photos faster after a shoot comes down to removing friction, not rushing: build previews so nothing stalls, clear the obvious rejects first, then build a keeper list to a target number and check it in context. On a 300-frame portrait session that turns an evening of second-guessing into about 40 minutes of focused work.
Most slow culling isn’t hesitation. It’s waiting. The thumbnail takes a second to render, the software reloads the same frame four times, the star you pressed didn’t register because you were in the wrong module. Fix the machine side and your hands can move at the speed your eyes already work.
This workflow suits portrait, family, event and documentary shooters, and it scales to a 3,000-frame wedding if you stick to the two-pass order. If you want the shortcut version first, here are the six moves that do most of the work.
What You Need

You need less than most people buy. The tools matter far less than the order you click things in.
- A review copy or a synchronized catalog. Never cull on the card, and never on your only copy. Working from a second drive or a synced catalog means a mis-click costs nothing.
- Previews already built. In Lightroom Classic, that’s Smart Previews or standard 1:1 previews. Elsewhere, embedded JPEG previews. This single setting is usually the difference between a cull that flows and one that stutters.
- A keyboard you can use without looking. Flagging, rating and stepping forward all need to be single keys. Ten minutes remapping pays for itself in the first session.
- A backup. Two copies before you touch anything, on two separate media.
- One rating system, chosen in advance. P and X flags, or star ratings, or color labels. Mixing systems is why second passes contradict the first.
- A target number. A portrait session rarely needs more than 20 to 40 finals. A wedding gallery might need 400. Write the number down before you start; it turns a vague search into a bounded task.
If you want the reasoning behind why most photographers stall, the decision-fatigue section under Common Mistakes is the one I’d read.
Step-by-Step: How to Cull Photos Faster After a Shoot
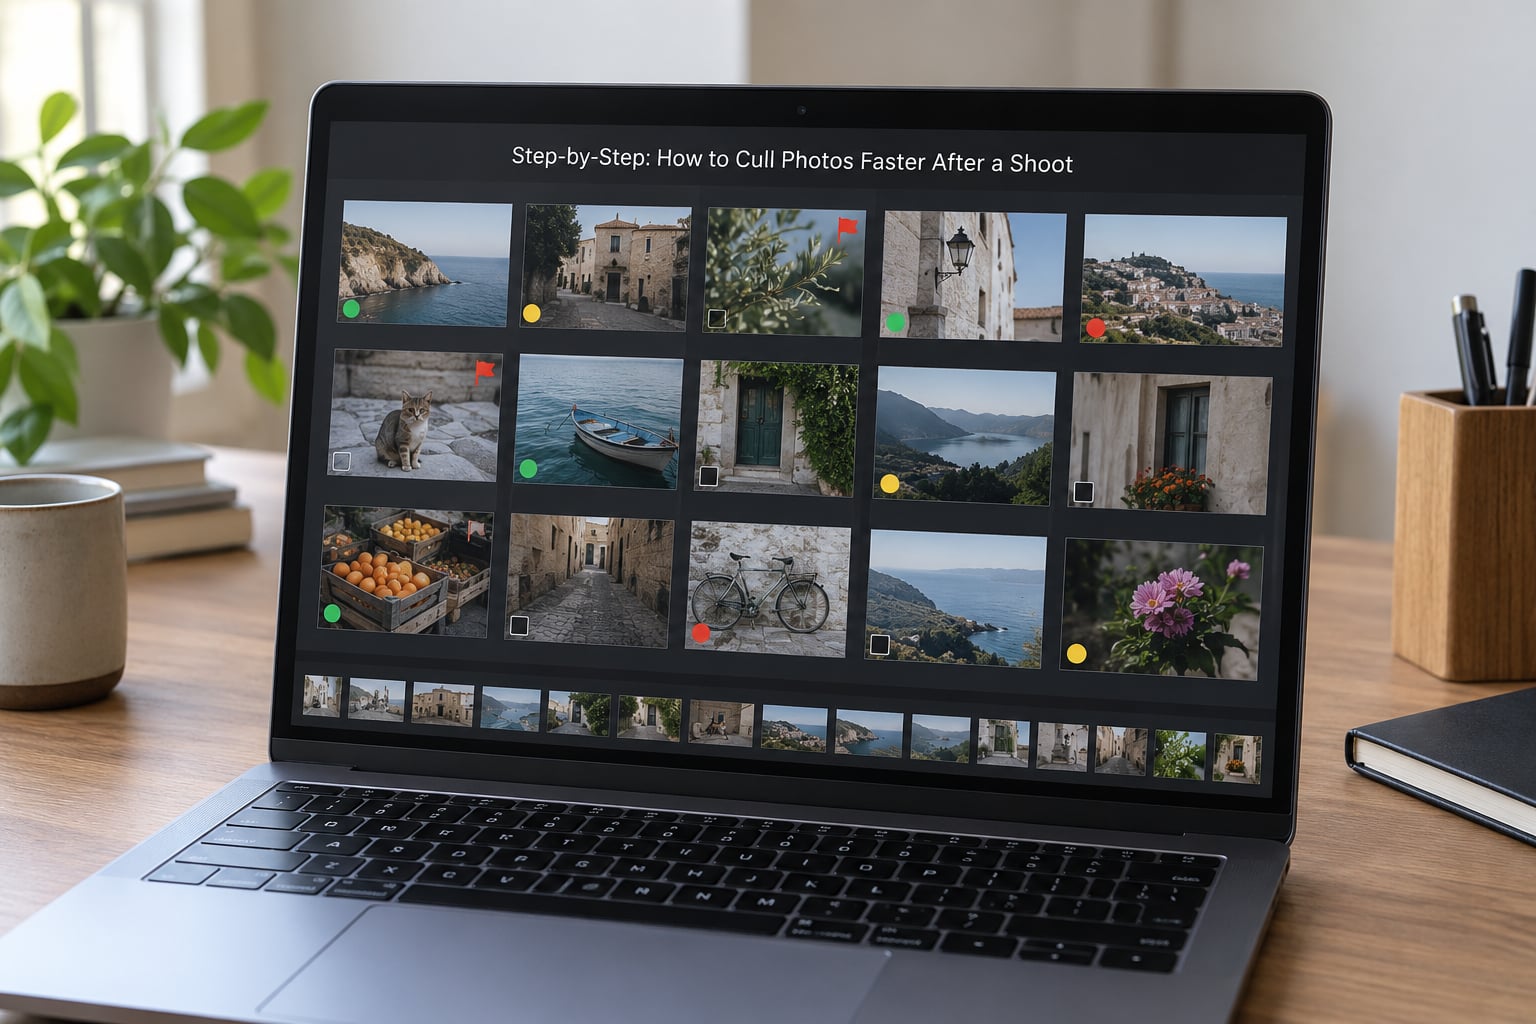
- Back up the shoot, then work on a review copy with previews already built.
- Sweep for technical rejects: blur, blinks, missed focus, blown or blocked frames.
- Zoom out to a contact sheet and mark the sequences worth a second look.
- Group near-identical frames so you judge one per burst, not ten.
- Rate your strongest frames with a three-step scale and stay on the keyboard.
- Compare the shortlist at full size, check focus, then save a keep list before editing.
1. Back Up and create a review copy
Copy the shoot to two separate drives before anything else. Then work on one of those copies, or on a catalog that references files you are not about to change.
During the cull itself, delete nothing from disk. Mark it instead. Flags and ratings are non-destructive, they write to the sidecar, and you can reverse any decision in a second. A hard delete cannot be reversed at all, and a cull made while you are tired is exactly when you will regret it.
Build previews as part of the import, not as a later chore. In Lightroom Classic, the Import dialog has Build Previews set to Smart Previews or Standard Previews. Smart Previews are the standard build for most working files; 1:1 previews are sharper and larger, which matters if you are checking focus on a wide-open lens. If disk space is tight, Standard Previews will do.
Skipping this is expensive. Every frame you open without a preview available renders on the spot, and a two-second wait times eight hundred frames is most of an evening gone.
2. Remove obvious duplicates and unusable frames
This first pass is binary and fast. Blur, closed eyes, missed focus, a finger over the lens, an accidental frame at full stop. You are not choosing between good images yet, you are clearing the ones that can never be anything.
Turn on similar-image grouping so bursts of ten nearly identical frames appear as a stack you can expand. Your job drops from judging ten frames to judging one, and the nine you reject by association are almost always correct. Grouping is where a huge speed gain hides, especially on action and event work.
In Lightroom Classic, the toggle is Metadata, then Group Similar Images, with the Similarity Threshold slider in the Library panel. Photo Mechanic does similar grouping natively and is the long-standing default for sports and photojournalism work precisely because it never waits on a preview.
Work with one hand on the keys. Flag as reject, right arrow to advance, repeat. If you have to reach for the mouse, your pace collapses.
3. Build a contact sheet and identify visual sequences
Now zoom out until the grid is dense enough to read as a whole. At that scale you stop evaluating single photographs and start seeing rhythm: the run of gestures in a portrait session, the arc of a ceremony, the way a light falls across the same wall four times.
Mark those sequences with a color label, a second star, or a collection. You are tagging sections of the story, not individual frames, and tagging them while you can see them all means the second pass knows exactly where to go.
This is the step people skip, and it is the one that turns a pile of favorites into a set. Six individually strong frames that all happen to be similar make a flat gallery. Six frames that cover anticipation, action, release and quiet make a story someone can read in sequence.
4. Rate the strongest frames
Use three levels and nothing more: P for a keeper you would deliver, X for a reject, and one middle mark for a maybe that deserves a second look. Star ratings from one to five sound reasonable and behave badly, because they ask you to make fine distinctions on a tired brain.
The middle mark is where the two passes meet. It costs you one keystroke and it stops the reflex of promoting anything that looks fine in the moment.
| Action | Lightroom Classic | Photo Mechanic |
|---|---|---|
| Mark pick | P | U |
| Mark reject | X | X |
| Rate star | 1 to 5 | 0 to 5 |
| Colour label | 6 to 9 | Assigned in the browser |
| Next image | Right arrow with Auto-Advance on | Right arrow |
| Previous image | Left arrow | Left arrow |
| Move to grid | E | Tab |
| Compare with neighbour | Compare view, C in some layouts | Compare mode |
Check that Auto-Advance is on in the Lightroom preferences before you begin. It is a small box and it changes the entire feel of a pass, because you can stop looking at the keyboard entirely.
Time-box this pass. Twenty or thirty minutes, then a break away from the screen. A cull is a visual task, and the error rate climbs sharply once your eye starts drifting and your decisions start repeating the ones you already made.
5. Make the final shortlist
Bring your P-marked frames up at full size in Compare view, two or four at a time. Compare view is the fastest way to catch a duplicate: two frames of the same moment usually differ far less than you remember, and seeing them together settles it in under a second.
Check focus on the ones that matter. In Capture One, Focus Mask in Gallery View highlights the sharp areas and removes a lot of the zoom-in checking. In Lightroom, zooming to 1:1 with the loupe held down is the same job in three keystrokes.
How long this should take depends on volume. These are realistic figures for a single-pass manual cull on a well-configured machine, including the import:
| Shoot size | Typical frame | Time for a manual cull |
|---|---|---|
| Portrait or family session, 250 to 400 frames | One subject, one location | 30 to 60 minutes |
| Event or half-day wedding, 800 to 1,500 frames | Several sequences | 1.5 to 3 hours |
| Full wedding day, 2,500 to 4,000 frames | Long, high volume | 4 to 8 hours, so plan two sessions |
| Sports or photojournalism, 500 to 3,000 frames | Deadline pressure | 1 to 2 hours with fast raw viewers and grouping |
If your numbers are far worse, the bottleneck is almost always preview speed or working in the wrong module. Fix those before blaming your judgement.
6. Do a story and consistency review
Lay the shortlist out in order and ask four questions. Does the set cover the whole event or session? Does the emotion progress rather than repeat? Do you have variety in framing, or ten mid-length portraits? Does anything look out of place against the rest?
Add the missing beats here. A sequence with no establishing wide, or no quiet moment, will feel strange in the final gallery no matter how good the individual frames are.
Save a keep list. Export the selects as a catalog or a collection, copy them to a working folder, and leave everything else on disk, untouched, in case a client asks for something you rejected. Unselected frames sitting on a drive cost nothing, and they are the reason you can cull fast without fear.
If you do most of your editing with a consistent look, copy a develop preset onto the shortlist and check it in Develop afterwards. Preview-quality processing of the picks only is a useful middle stage: batch white balance and contrast, then review the set as it will be delivered, while still in editing mode.
Common Mistakes
Culling before the shoot is safely backed up
It feels fine because nothing usually goes wrong. Once, on a card reader that failed mid-transfer, it cost a client session and a lot of goodwill. Back up first, every time, no exceptions.
Choosing one image at a time
Judging frames in isolation makes you keep five versions of the same moment and drop the frame that actually completes the sequence. Work at grid level first, then open only the sequences worth opening.
Treating technical defects as creative choices
A soft frame is soft. A closed eye is closed. Mixing these judgements with expression and timing is what turns a two-hour cull into an all-nighter. Clear defects mechanically, then spend your attention on the creative decision.
How to cull photos faster when your judgement goes soft
Decision fatigue is the real bottleneck in long culls. By the second hour you start rejecting frames you actually like, and you cannot tell a tired decision from a bad one.
Three habits fix most of it. Break every 500 frames, and take the break away from the screen. Set a target number so the job has an end rather than a mood. And cull the brutal rejects while your energy is highest, then edit afterwards, rather than making every creative call while you’re already depleted.
Overusing favourites
If everything is a favourite, nothing is ranked. A flat list of 400 keepers is just the original shoot with extra steps, and you’ll redo the whole thing when you start editing.
Deleting during the cull
Flag and label instead. Non-destructive marking is what makes a fast cull safe, and it lets you change your mind without hunting through a trash folder or, worse, a card you already formatted.
Treating every shoot as the same size
A 3,000-frame wedding and a 200-frame portrait do not get the same process. Match the depth of the review to what the shoot actually needs and to how you will use the images.
Frequently Asked Questions
How long does it take to cull photos after a shoot?
Expect 30 to 60 minutes for a portrait or family session of 250 to 400 frames, 1.5 to 3 hours for an event of 800 to 1,500 frames, and 4 to 8 hours for a full wedding day of 2,500 to 4,000 frames. Grouping similar frames and having previews built cuts those numbers substantially. If a cull runs far longer than this, the bottleneck is usually preview speed rather than the number of photographs.
What is the fastest way to sort through photos?
The fastest method is two passes with a target number. First clear every technical reject and group near-identical frames so you judge one per burst. Then work from the grouped sequences, rate the strongest frames with a simple pick flag, and stop when you reach your target count rather than when the folder is empty. Backing up and building previews before starting removes most of the waiting that makes culling slow.
Should I cull before or after importing into Lightroom?
Either order works, and both have defenders. Culling on the card with a fast raw viewer such as Photo Mechanic keeps rejects out of your catalog entirely, which is appealing if you shoot thousands of frames. Importing first and culling in Lightroom gives you better previews and keeps your metadata in one place. Whichever you pick, back up first and flag rather than delete.
Do I delete rejected photos or just flag them?
Flag them. Reject flags, star ratings and colour labels are non-destructive, cost nothing to store, and can be reversed instantly. Deleting during the cull only saves space you probably have and removes your ability to change your mind when a client asks for a variation you rejected. Keep unselected files on disk, and tidy later if the drive fills up.
Can AI cull photos for me?
AI culling tools such as Aftershoot and Imagen are genuinely fast at grouping similar frames, flagging closed eyes and surfacing the sharpest shot in a burst, and they are worth using as a first pass on high-volume work. They are not reliable judges of expression, timing or story. Check every group they create and always make the final calls yourself, because their picks miss emotional frames that carry the shoot.
How do I cull fast without skipping the good shots?
Work in two passes and keep everything on disk. The first pass clears only technical rejects, which is fast and low risk. The second builds keepers to a target number from your grouped sequences. Because your rejects are still on disk and nothing was deleted, a great frame you missed costs you a second look rather than the whole session. Grouping similar frames also removes the risk of rejecting a burst by association without checking it.
Conclusion
Four moves, in this order. Back up the shoot and build previews. Clear the technical rejects and group the near-identical frames. Review the sequences in context rather than frame by frame. Save a separate keep list before you open a single image in Develop.
Everything else in this workflow is a refinement of those four. Do them the same way every shoot and the cull stops being the part of post-production you dread.