To document a day in the life photo story, you follow one subject from the first hour of waking to the last, shoot wide and close at the same time, then cut hundreds of frames down to a sequence that reads like a real day. That is the whole method: plan the arc, work the moments, edit into a beginning, middle and end. Give it a single day of shooting and two evenings of editing.
I have shot this kind of set for years, mostly with my own family, and the mistake almost everyone makes is treating it as a photo shoot instead of a day. You do not pose a day. You show up, notice what repeats, and keep the frames that explain where the person was and what changed.
Photography projects like this build a skill most people never get: observing without interrupting. That skill transfers to everything else you shoot, and the workflow below is what turns a folder of images into a story rather than an archive.
Table of Contents
- What You Need
- Step-by-Step: Build the Story Before the Day Begins
- Step-by-Step: How to Document a Day in the Life Photo Story
- Step-by-Step: Edit the Photos Into One Story
- Common Mistakes
- Frequently Asked Questions
- How do you make a photo story?
- How many photos should I keep from a day in the life shoot?
- How do I document my own life when I am always the one holding the camera?
- What camera settings work for photographing a whole day?
- Do I need permission before photographing people in my story?
- What is the 20-60-20 rule and does it apply to a photo sequence?
- Conclusion
What You Need
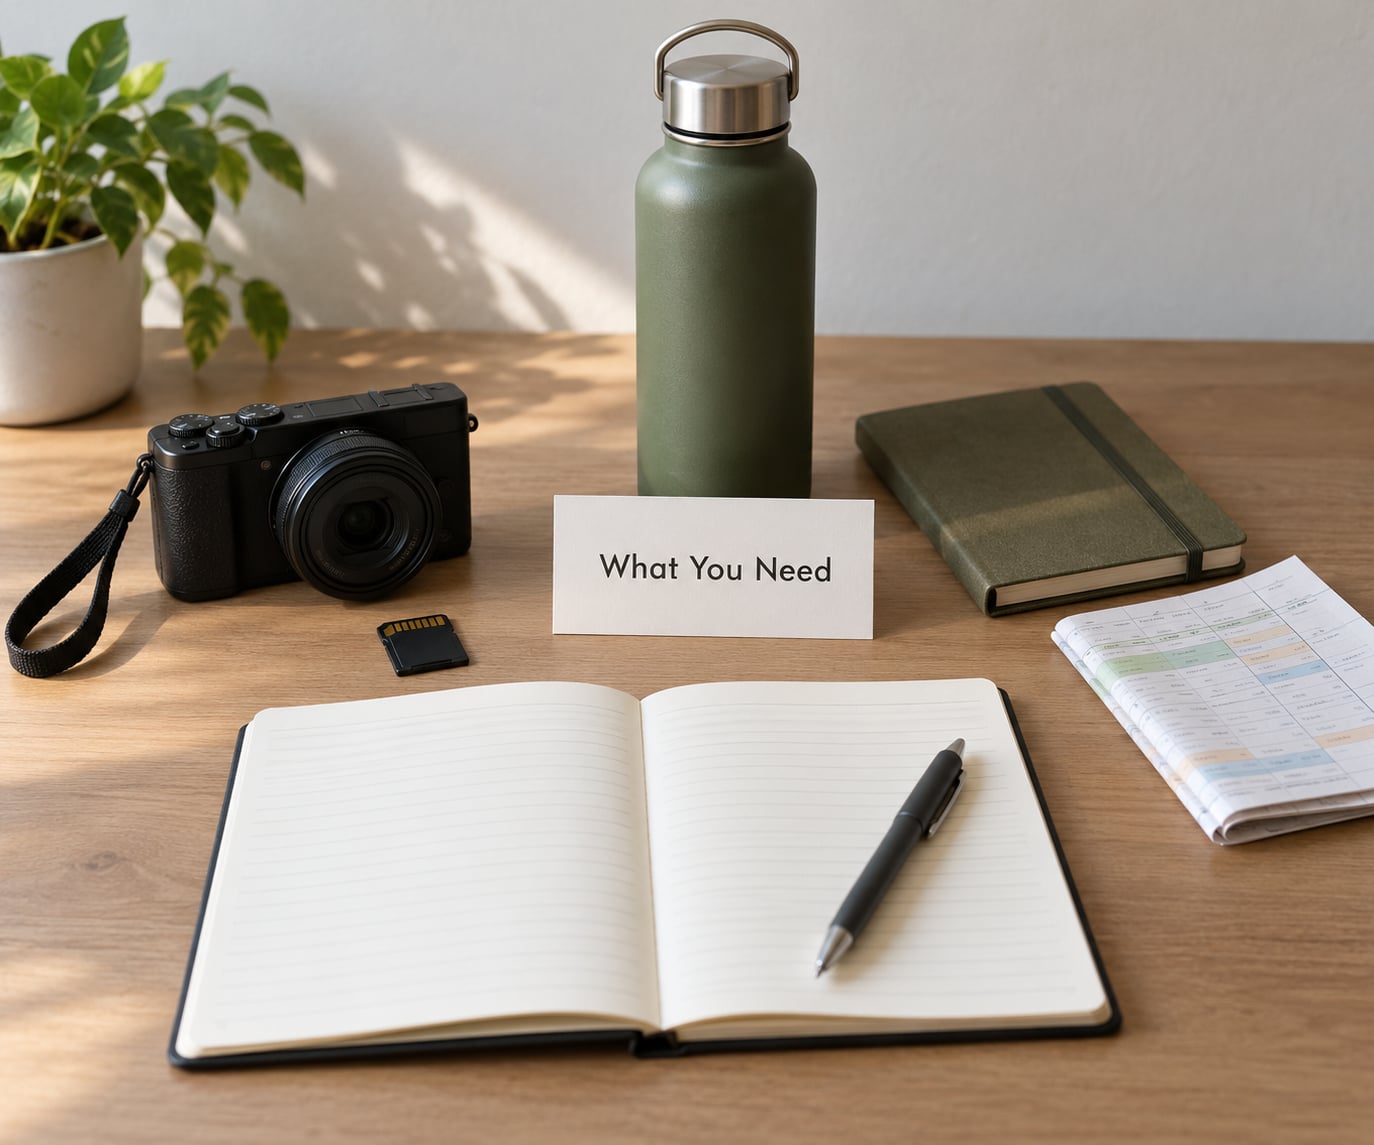
A day-in-the-life project needs less kit than people assume. The list below is what actually matters on the day.
- One camera you can carry all day. A small mirrorless body, a compact, or a phone. Weight decides whether you bring it, so pick the lightest thing that shoots RAW if your camera can.
- Two memory cards and a backup. One in the camera, one spare in a pocket, plus a laptop or tablet you can reach that evening, or a drive you can swap in.
- A second battery. Turn GPS and screen brightness down and you will usually get through a day, but a dead battery at hour ten is the one failure you cannot recover from.
- A lens that changes character. A wide for rooms and a short telephoto for details and expressions gives you visual variety without swapping bodies. If you have one lens, shoot it wide most of the time and step closer instead of zooming.
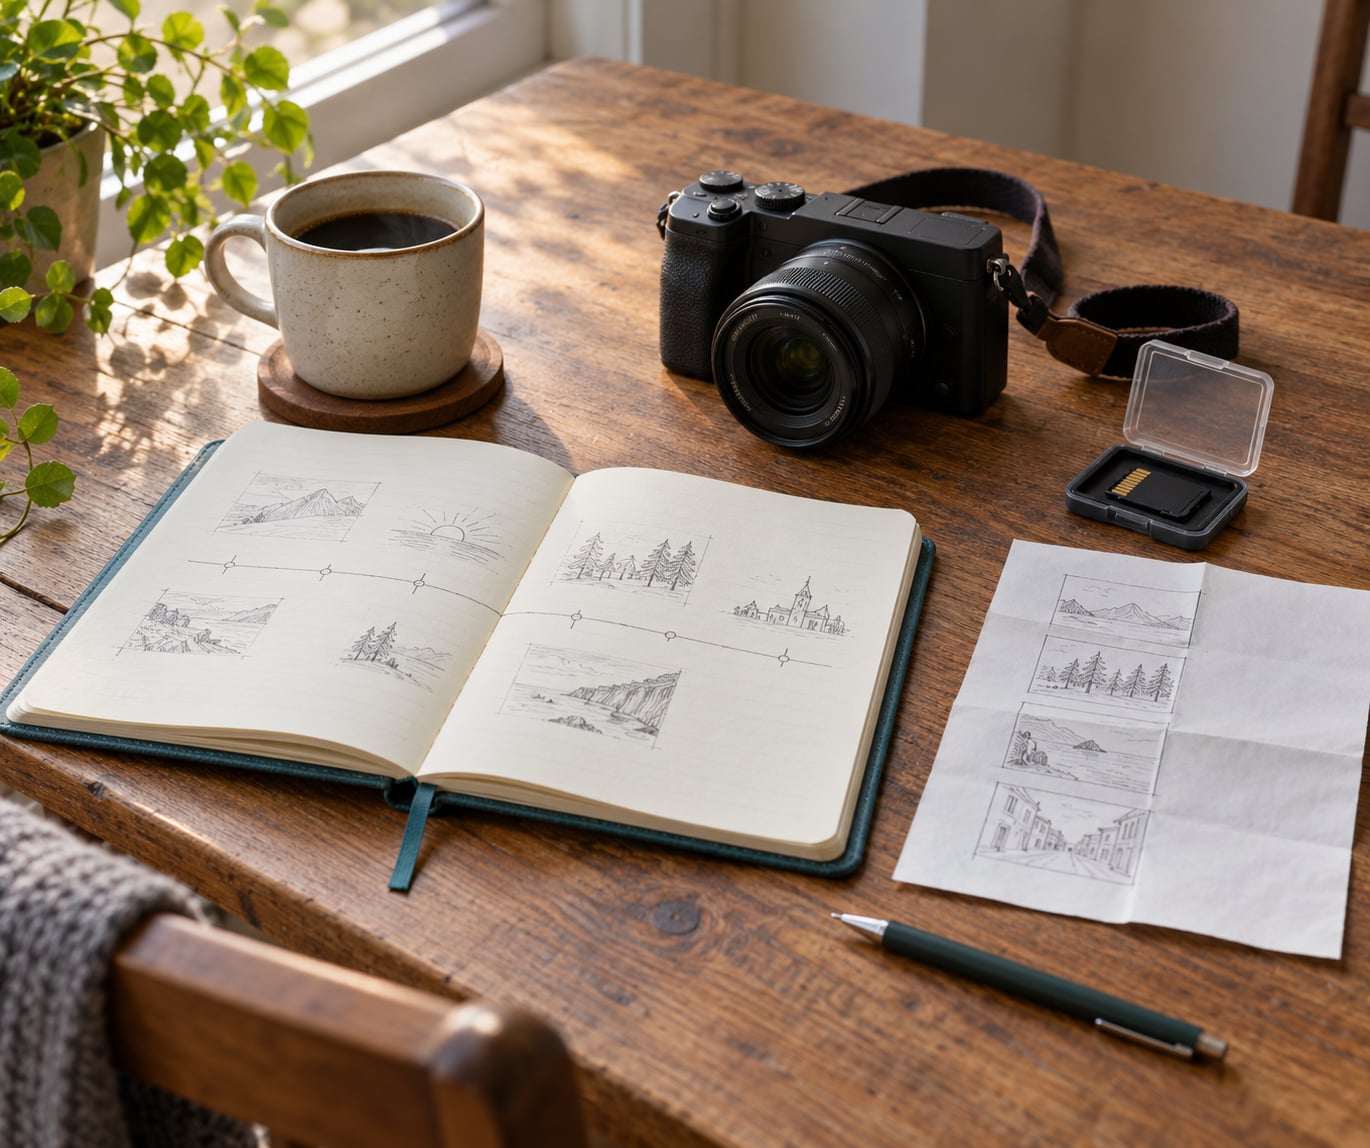
- A shot list on paper. One page, six or seven time blocks, one line each. Paper works better than a phone note because you are not tempted to check it.
- Clothes that do not make you think about the camera. If you are photographing your own family, wear a pocketed jacket and shoes you can stand in for two hours.
- Water, a snack, and permission to sit down. The day will last longer than you plan, and tired frames show up in the edit.
- Time. A full waking-to-sleep day, or about six focused hours if the subject is a working adult. Partial days produce nice collections, not stories.
One more thing: ask the subject before you arrive. A ten-minute conversation about where the day starts, who will be around, and which places matter to them takes less time than it takes to recover from a set built on wrong assumptions.
Step-by-Step: Build the Story Before the Day Begins
Most weak sets start the night before with no decision about what the day is about. Build the story first, and the shooting becomes obvious.
Step 1: Define the central story of the day
Write one sentence about who the day belongs to and what makes it worth following. Not “a day with the kids” but “the last morning in the old house before we move” or “how my partner actually builds a working day, hour by hour.”
That sentence is your filter. Every frame either supports it or it does not, and the second question is what changes between morning and night. Something shifts in nearly every real day: energy drops, weather turns, a conversation happens, a project finishes. Find that shift before you shoot and you have your arc.
If you cannot write that sentence, the honest answer is that a single-day project may not be the right shape yet. Try a week of ordinary days and pick the one that carries the most change.
Step 2: Plan around moments, not a rigid schedule
A rigid schedule fights the thing you are trying to capture. Plan the likely transitions instead: wake-up, the leaving, the commute or school run, work, the meal, the wind-down. Transitions are repeatable and predictable, which makes them safe to plan.
Leave the rest open. The strongest frames usually come from the unplanned thing: a friend arriving early, a recipe going wrong, rain that ruins the walk. Put those in your plan as a category rather than a time.
Step 3: Prepare your camera and backup system
Shoot RAW. You will need the latitude on a set that runs from dim kitchen light to bright window light, and JPEG files do not hold up after a full day of mixed lighting.
Set up so you are not adjusting while it matters. Start in aperture priority or one of your manual modes and adjust as light changes, roughly once per location rather than once per frame. For moving subjects, keep shutter speed around 1/250 second or faster and let ISO climb before blur.
Use back-button focus with a single autofocus point once you are used to it. One point lets you place the frame exactly where the action will be, and it stops the hunting focus that ruins candid frames indoors.
Decide where the backup happens before you leave. If you can only shoot to one card, take a second camera or swap cards mid-day. A single copy of a full day is not a backup, and laptops die exactly when a project matters most.
Step-by-Step: How to Document a Day in the Life Photo Story
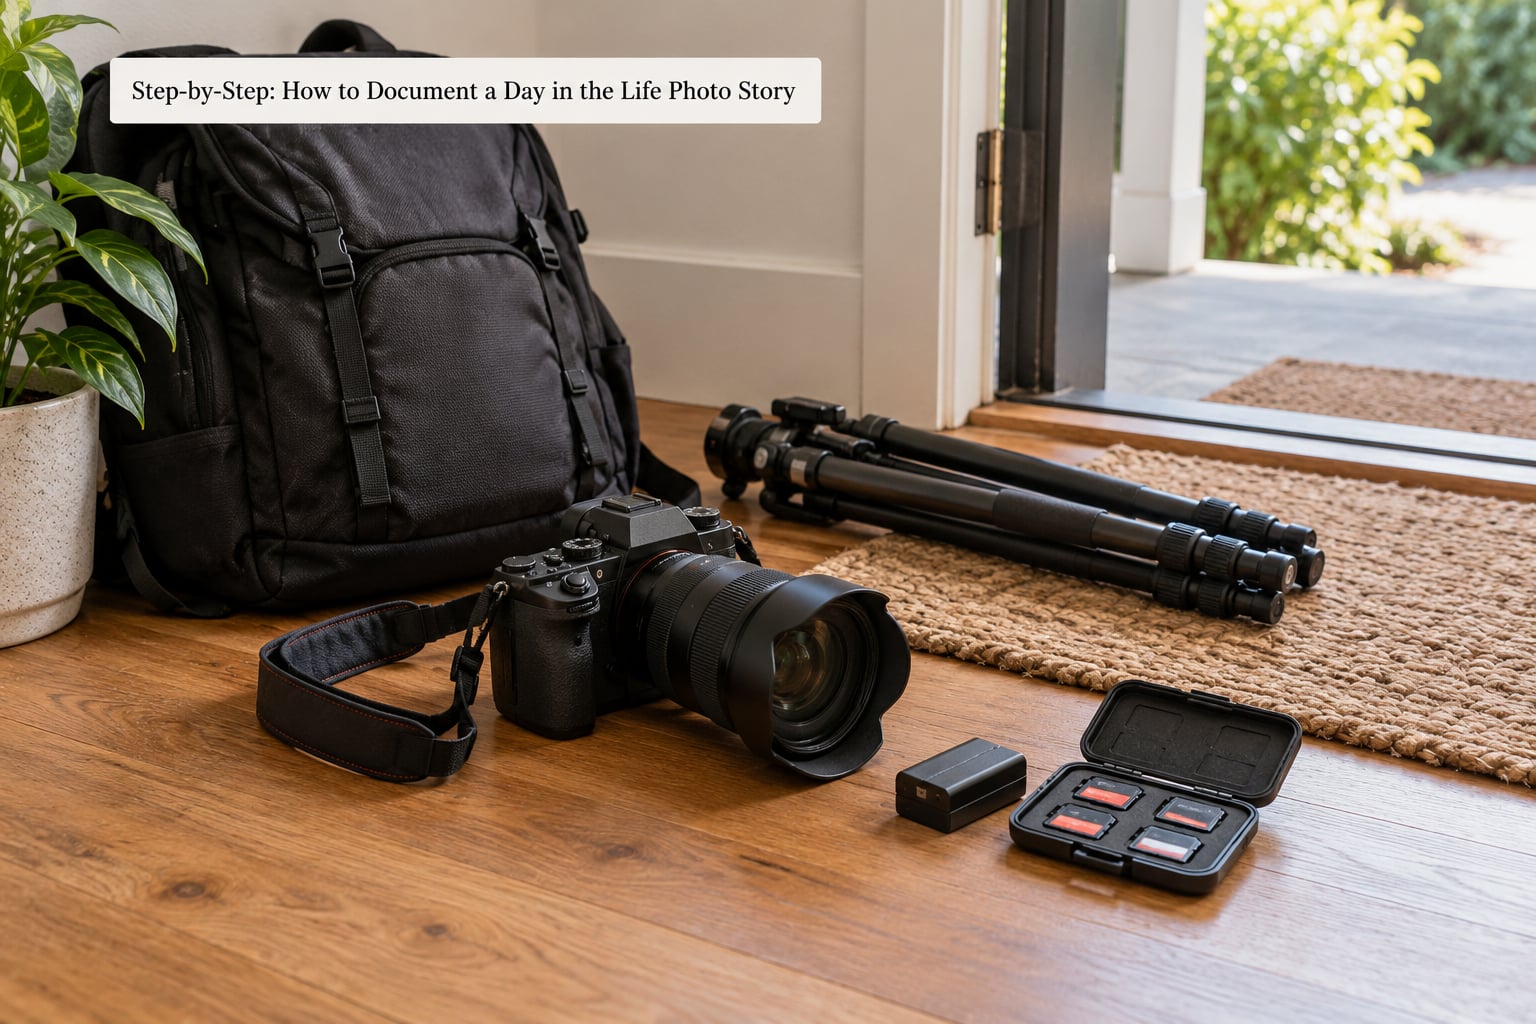
Working through the day is less about perfect frames than about coverage: every time block represented, every scale, and at least one moment that nobody was expecting you to catch.
Step 4: Start with an establishing image
Open with a wide frame that shows where this day is happening, before you go anywhere near the subject’s face. A kitchen in early light, a workbench with tools mid-task, a school corridor at drop-off.
It gives the viewer a map. Without it, the second image is just a person and the third is a hand, and the set has no place in it.
Step 5: Look for actions and relationships
Hands tell the story better than posed portraits. Photograph the stirring, the fastening, the passing, the pouring. Photograph how two people position themselves around each other without either of them noticing.
Objects in use work the same way. A half-finished notebook, a work apron with a chalk mark on it, the same mug three hours later. Repetition across the day becomes a thread the viewer can follow, and it costs you nothing to notice.
For candid frames, stay a little further back than feels comfortable and use your short telephoto to keep distance. Long lenses compress, so a busy room reads calmer than it looked, and nobody adjusts their posture because of you.
Step 6: Vary scale and viewpoint
Alternate deliberately. After a wide, move in for a detail. After three similar mid-distance frames, drop to a low angle or look down from above. The alternation is what stops a set reading as a hundred near-identical photographs.
A quick test I use: spread ten frames on a table and check whether any two feel like the same photograph. If they do, that scale or angle is over-represented.
| Time block | What to capture | Framing | Notes |
|---|---|---|---|
| First light | The room before anyone moves, curtains, breakfast starting | Wide establishing, then details of hands and surfaces | Soft light, slower shutter is fine, no flash |
| Departure | Getting ready, bags packed, the doorway | Medium from behind plus one frontal frame | Busy, chaotic, expect missed focus |
| Midday work | Task in progress, environment around the subject | Alternating medium and close detail | Back-button focus, 1/250 second or faster |
| Meal | Preparation and eating together | Close on hands and faces, one wide | Best natural light of the day, use windows |
| Transition | Travel, waiting, the change of place | Silhouette or backlit wide | Good place for a silhouette frame |
| Evening | Quieter frames, lamps coming on, the day winding down | Low light, second establishing frame | Raise ISO before lowering shutter speed |
| Last light | The room settled, one final detail | Wide closing frame | Makes the ending feel earned |
Step 7: Capture transitions and pauses
The quiet stretches between activities do more work than the highlights. A person sitting with coffee before anyone speaks, shoes by the door, a car seat empty on the way home. These are the narrative bridges.
They are also the frames you will not think to shoot. When nothing is happening, that is usually the moment worth one more frame, and it is where most sets gain their ending.
Step-by-Step: Edit the Photos Into One Story
The edit is where a day of photographs becomes a story, and it is the part nobody covers. Expect to shoot several hundred frames and finish with somewhere between 10 and 20.
Step 8: Edit for consistency, not sameness
Cull first, adjust second. On the first pass, remove anything that does not support the story, regardless of how good the photograph is on its own. A beautiful frame of a street you passed through belongs to a different project.
Then apply one base treatment across the whole set: a white balance pass to stop the colour jumping between frames, matching contrast and blacks, and a light curve. Consistency is what makes a series feel made on purpose.
Resist flattening the differences that matter. Keep the dim morning darker and the midday frame brighter. A set with perfectly matched frames feels flat and slightly clinical, while a set with consistent grade but varied light feels real.
Step 9: Build a sequence with narrative flow
Arrange by time of day first, then adjust. Lay everything out in order and read the set straight through without stopping. Where the order feels wrong, it is wrong.
A workable set of twelve runs something like this: opening establishing wide, a detail, a moment with two people, a mid-day work frame, a close detail, the meal, a transition silhouette, a quiet pause, an evening frame with lamps, another detail, a portrait near the end, and a closing wide of the settled room.
Look for variety in shape too. Alternate a wide with two or three tight frames so the page or carousel has rhythm, and put your sharpest emotional frame near the end rather than in the middle, where it competes with everything around it.
Step 10: Present the final photo story
Give it a title that says something specific. “Last Morning at the Old House” beats “Day in the Life,” because the specific title is what makes someone stop scrolling.
Write a short introduction, two or three sentences, then one caption per frame that adds something the photograph cannot show: the time, the place, or one line of context. If a frame needs no caption, leave it uncaptioned rather than writing filler.
Then pick the format. A blog post suits 15 to 25 frames with captions and reads well on desktop. A carousel needs nine to twelve, tight crops, and short captions that survive a phone screen. A printed photo book suits 30 to 50 and feels closest to how the day actually felt, since you can hold it.
For a personal project, I like the archive: keep the full chronological set in one folder and publish only the edited story. The full set stays as your memory of the day, and the twelve frames are what other people get.
Common Mistakes
Over-photographing one block. The morning gets forty frames and the evening gets three, so the story collapses toward the start. Check your counts by time block at the end of the day and shoot more where the set is thin.
Collecting technically identical frames. Ten versions of the same composition with the same focal length reads as one photograph repeated. Change scale between frames.
Leaving out context. Details are lovely in isolation and meaningless in a sequence. Follow every close frame with a frame that tells you where it was taken.
Chasing shutter speeds that cost you the frame. Blur from a slow shutter ruins more candid photographs than high ISO noise. Raise ISO first.
Relying on one backup. Cards fail, batteries die, and laptops disappear. Two copies in two places, ideally in different physical locations.
Editing the personality out. The blurred hands, the overexposed window, the frame where the subject looks away: those are the ones people recognise later. Keep some imperfection.
Being absent from your own story. This is the most common complaint from people documenting their families, and it has easy fixes. Hand the camera to someone else for a stretch, set a ten-second timer for frames you can compose yourself, or carry a small tripod and take a few frames of your own hands at work.
Forgetting consent. Adults in your own home can ask you to delete a frame and you should. Children need a parent’s yes. Strangers in public spaces deserve a nod, and in some places a published image needs more than that. Check the law where you live and when in doubt, leave the frame out.
Frequently Asked Questions
How do you make a photo story?
You make a photo story by choosing one subject, following it through real time, and cutting the results into an order that has a beginning, middle and end. Shoot wide establishing frames, close details, and moments of action across the whole period you are covering. Then cull hard, keep roughly 10 to 20 frames, grade them consistently, and sequence them chronologically so the viewer moves through the period rather than seeing a random set.
How many photos should I keep from a day in the life shoot?
For a published story, 10 to 20 frames is the useful range. A blog post handles 15 to 25 with captions, a carousel works best at 9 to 12, and a printed photo book can carry 30 to 50. Keep the full uncropped set in your archive and edit a smaller story from it. If you cannot remove a frame, ask whether it adds something the rest of the set does not already say.
How do I document my own life when I am always the one holding the camera?
Split the day with someone else. Ask a partner, friend or older child to shoot 20 to 30 minutes of your own routine while you work, and give them three things to look for: hands, wide room views, and one detail. A ten-second self-timer covers composed frames, and a small tripod by the coffee pot gets your hands into the picture. Plan two short blocks rather than trying to be both subject and photographer all day.
What camera settings work for photographing a whole day?
Shoot RAW and adjust as the light changes, roughly once per location rather than per frame. For people in motion, keep shutter speed at 1/250 second or faster and let ISO climb rather than risk blur. Aperture around f/2.8 to f/4 keeps enough depth of field for a room while staying usable in dim light. A single autofocus point with back-button focus avoids the hunting focus that spoils indoor candid frames.
Do I need permission before photographing people in my story?
Yes for anyone identifiable who has not already agreed, and always for children, where a parent’s yes is what you need. People in your own home are guests in your archive, so agree early that anything can be removed on request. Strangers in public places deserve a nod and, depending on where you live, more than that for commercial use. When unsure, leave the frame out and keep shooting.
What is the 20-60-20 rule and does it apply to a photo sequence?
The 20-60-20 rule is a variety check: roughly 20 percent of your frames at one scale, 60 percent at a middle distance, and 20 percent going close. It is usually taught for galleries and social grids, but it works well as a self-check on a day-in-the-life sequence. Lay out ten frames, count how many feel like the same photograph, and adjust where the gaps are.
Conclusion
Start tonight, not on the day. Write one sentence about whose day it is and what changes between morning and night, pick six time blocks on a single sheet of paper, and set up your backup so losing the files stops being a possibility.
Then photograph the day in scales rather than in bursts: one wide to open, details and hands all day long, and a quiet frame when nothing seems to be happening. When you sit down to edit, keep 10 to 20 frames, put them in time order, and let the ending be the settled room rather than the loudest moment. That sequence is how you document a day in the life photo story, and it is worth revisiting 2026 every season.