To shoot a photo essay about a neighborhood, you pick one theme, scout the block and map what you will photograph before you lift the camera, return at three different times of day, then arrange your strongest frames into a beginning, a middle, and an end with captions attached. Almost nobody fails at this project because of bad photographs, which is why the planning and sequencing steps decide whether the result reads as a story or a folder of snaps.
A photo essay about a neighborhood is a themed series of photographs that documents one place as a connected story rather than a loose collection. It combines subject variety, varied shot distances, and varied light, then orders the images so they mean something together.
Budget three or four weeks of short walks, most of them 45 minutes long, before you start editing. It is a beginner-friendly project because you already know the streets and you can keep returning, and it is a hard one for beginners because familiarity makes everything look obvious. Here is how I would run it.
Table of Contents
- How to Shoot a Photo Essay About a Neighborhood: What You Need
- Step-by-Step: How to Shoot a Photo Essay About a Neighborhood
- 1. Define the story you want to tell
- 2. Research the neighborhood before arriving
- 3. Plan access and ethical boundaries
- 4. Create a flexible shooting schedule
- 5. Photograph people and places as connected moments
- 6. Record context with notes and interviews
- 7. Edit for a coherent visual voice
- 8. Write captions and publish responsibly
- Common Mistakes and How to Fix Them
- Frequently Asked Questions
- How long should a neighborhood photo essay take?
- Do I need interviews to create a neighborhood photo essay?
- What is the best camera setup for a neighborhood photo essay?
- How many photographs should be included in a neighborhood photo essay?
- Is it okay to photograph people in their neighborhood without asking permission?
- How do I edit a neighborhood photo essay so it feels cohesive?
- Conclusion: Start With One Street and One Question
How to Shoot a Photo Essay About a Neighborhood: What You Need
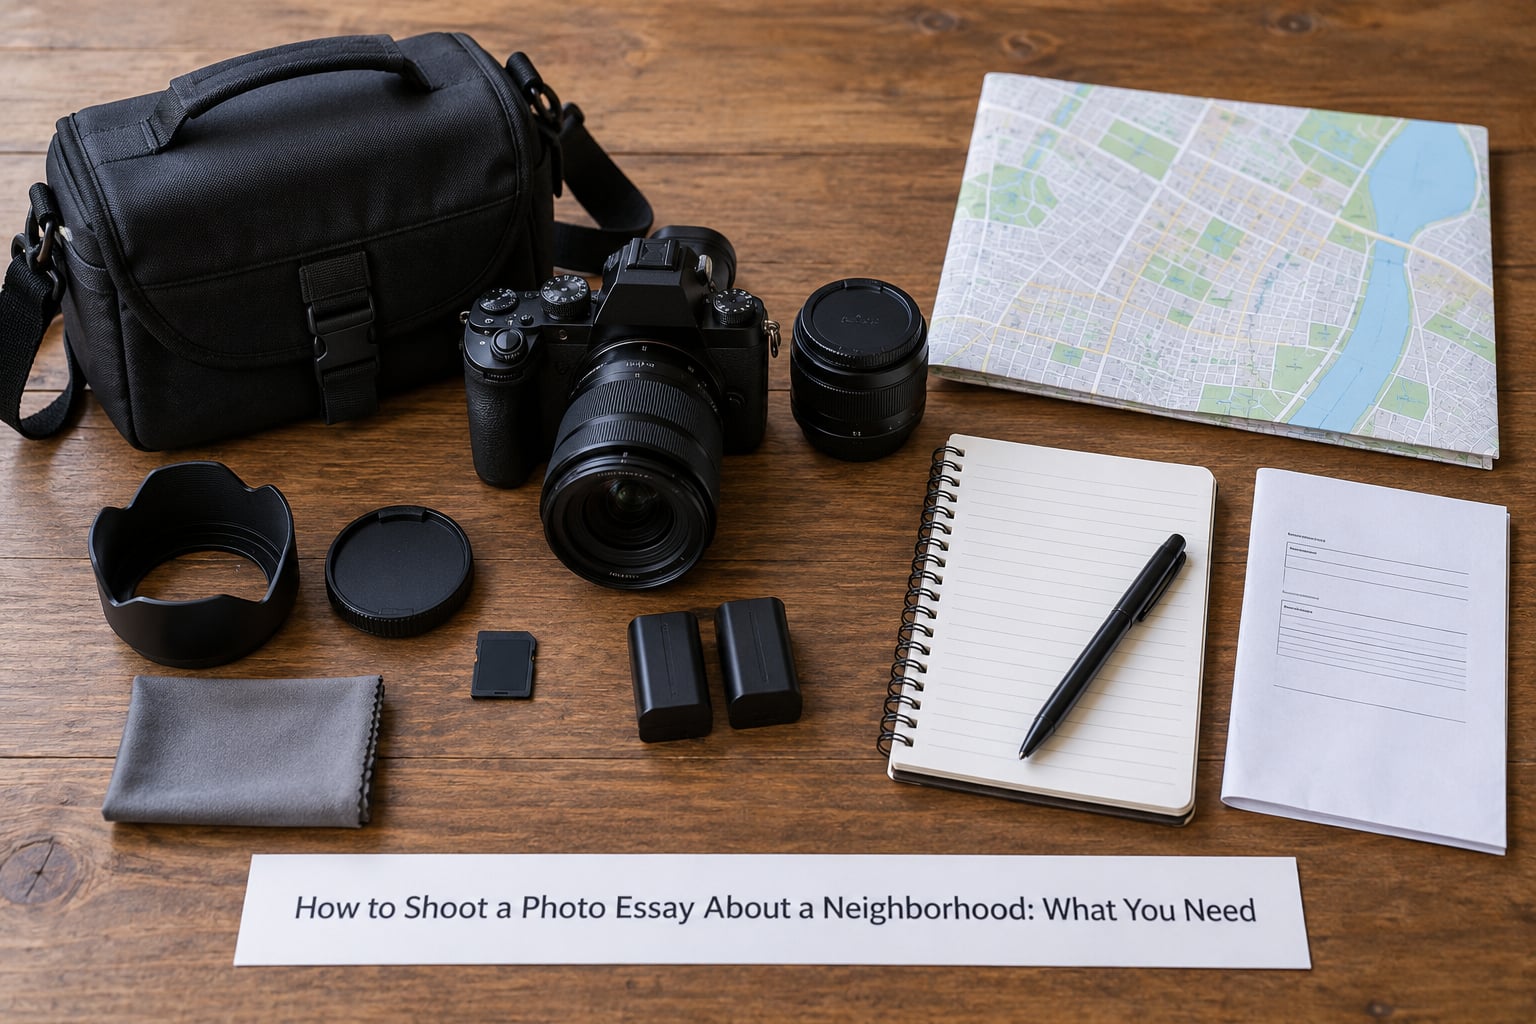
A photo essay about a neighborhood needs far less equipment than most people imagine, and far more preparation. You need a camera you can walk with for two hours, one lens you already know, a spare battery, and a notebook. The notebook matters more than the second lens.
Research the block before the first walk
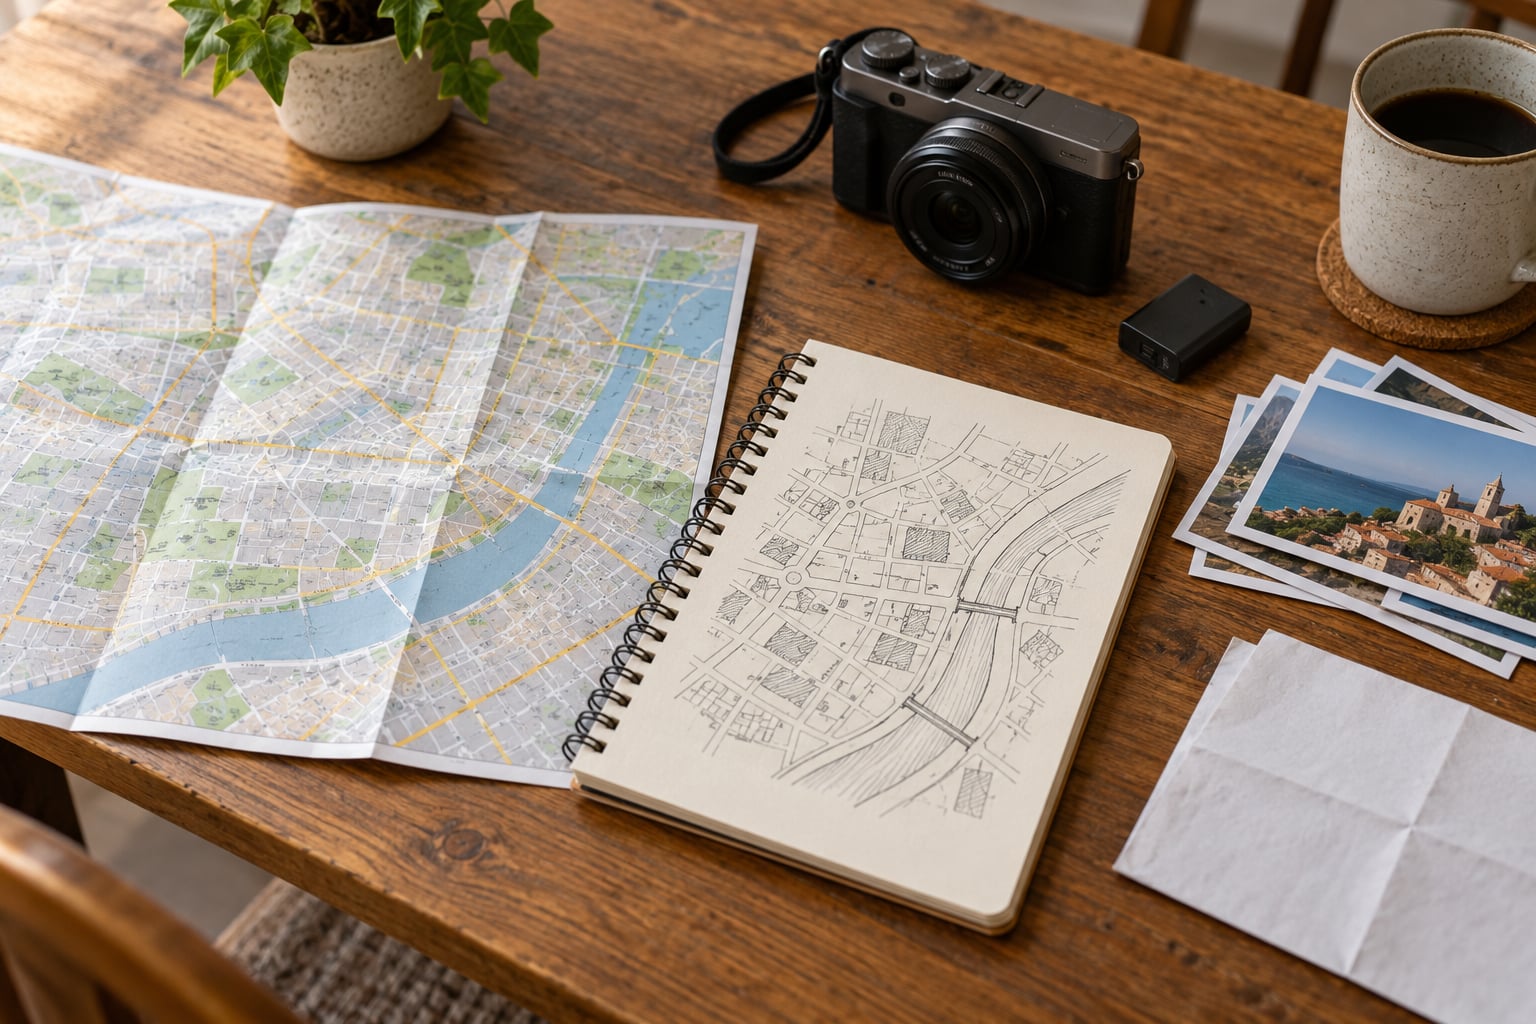
Ten minutes with a map and a local news archive tells you more than an afternoon of wandering. Look for the street’s history, the year the buildings went up, which businesses have been there longest, and what public projects are planned. Any of that becomes a caption later, and it turns a snapshot into a fact.
Local groups and neighborhood association pages are where you find out how long the corner bakery has stayed in the same family, and whether the two buildings on the north side were originally workers’ housing. That single fact decides whether your theme is storefronts or small family businesses, and those two themes produce completely different photo essays.
Decide what access you need, and ask for it early
If you plan to photograph inside a shop, stand in a private yard, or make a recognizable environmental portrait, ask before the shoot, not during it. A phone call or a five-minute conversation at the door costs nothing and saves the whole project. Keep a simple one-paragraph model release on your phone for the portraits where you need one.
Bring less gear than you think
One body, one lens, one spare battery, a lens cloth, and no tripod. A tripod on a residential sidewalk announces itself in a way a small camera does not. The smallest kit you can carry without thinking about it wins, too: a camera that stays in your pocket all afternoon gets used, and a bag you resent carrying does not.
Write your story questions before you go
Three questions are enough. How long has this person been here? What changed on this street since you moved in? What does a normal Tuesday look like from their doorway? Questions are what separate a photo essay from a stock of neighborhood images, and they cost nothing to carry.
Schedule the walks, not the outcome
Block four or five sessions on a calendar before you start: one scouting walk, then returns at morning, midday, and dusk on different days, then one weekday-evening walk for the after-dark storefronts. Fixed times beat waiting for inspiration, and they stop you from photographing the same corner in the same light five times.
Step-by-Step: How to Shoot a Photo Essay About a Neighborhood
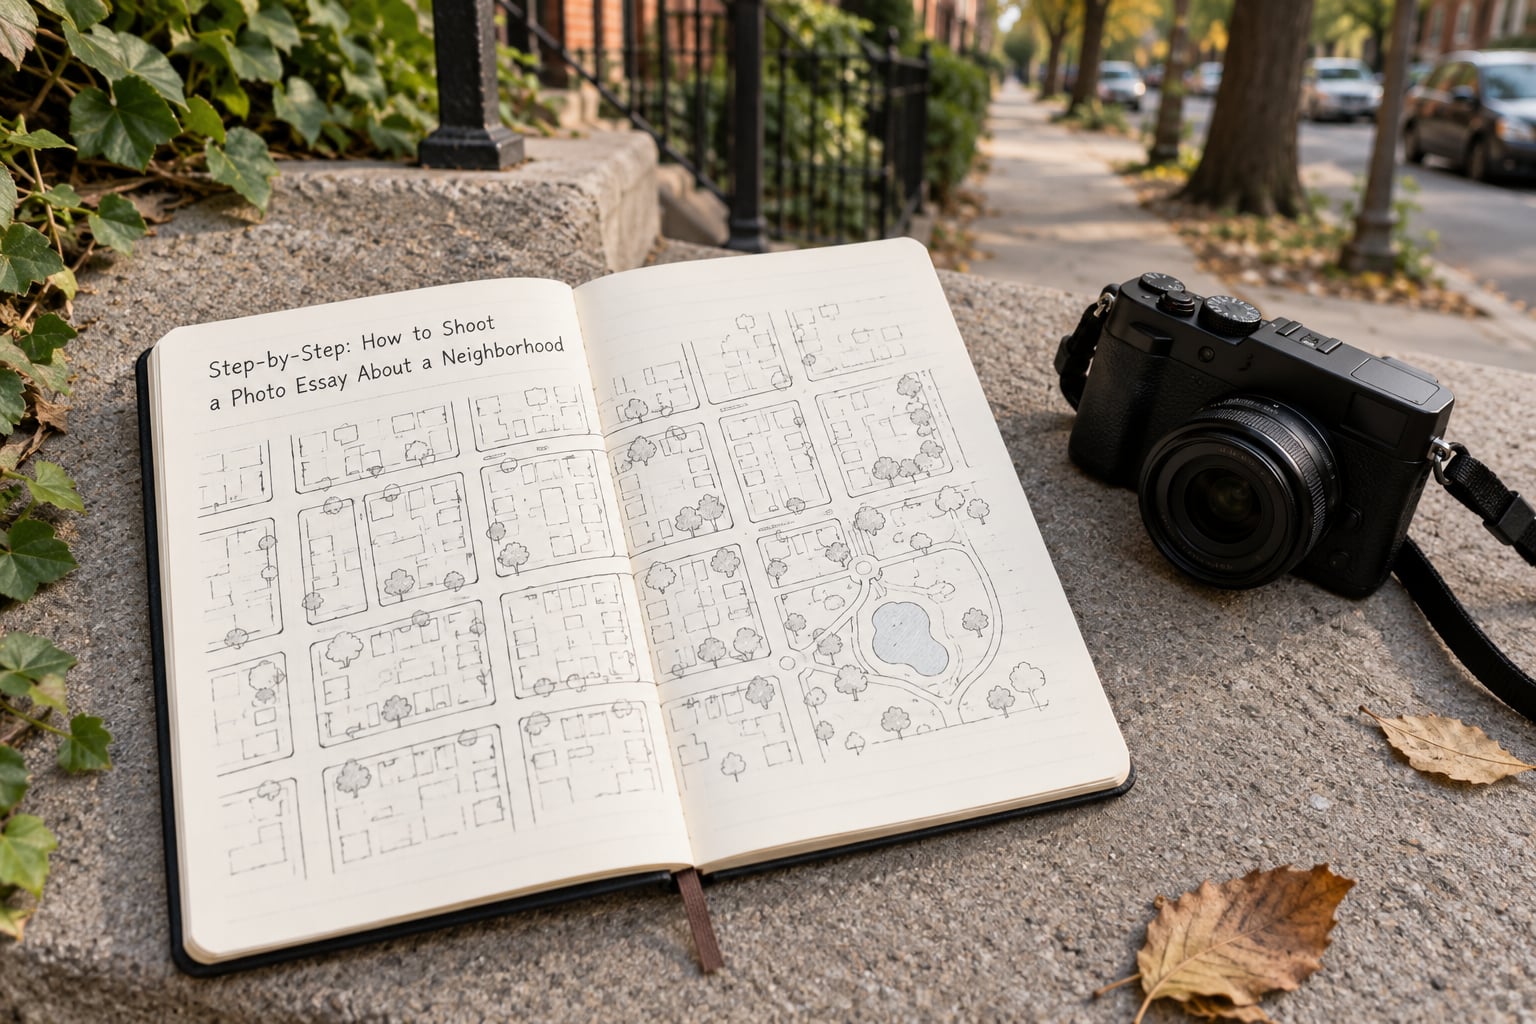
Here is the sequence I follow. Eight steps, each one feeding the next, and each one short enough to finish in a single walk.
1. Define the story you want to tell
Narrow a broad assignment into one specific question or theme. My neighborhood is not a theme; what people do here between 6am and 8am is. Themes that work well include shared spaces, changing businesses, everyday routines, the relationship between generations, and the same doorway photographed in four seasons.
Write your theme as a single sentence with a verb in it. If you cannot finish the sentence, you are not ready to shoot, and no amount of walking will fix it.
2. Research the neighborhood before arriving
Study maps, public records, local publications, and the neighborhood association’s own posts. You are hunting for three things: the places that matter, the people who hold the story, and the patterns of light that will repeat all season.
Do one full walk with no camera. Just look. Most photographers find two or three strong subjects in the first twenty minutes and then spend the rest of the walk taking variations of what they already found.
3. Plan access and ethical boundaries
Decide now which locations need permission, which faces need a conversation, and which are off limits entirely. Private porches, backyards behind gates, apartment interiors, and anyone at home through a window stay off limits without an explicit yes.
Public sidewalks are different, and the line matters more in a neighborhood than in an airport because people will see you again next week. Assume recognition, assume your neighbor will know your name by the third visit, and plan for that from the start rather than after the fact.
4. Create a flexible shooting schedule
Balance street observation, repeat visits, interviews, and seasonal conditions. Morning gives you long soft shadows and empty streets, midday gives you hard graphic shapes and the most activity, and the hour after sunset gives you lit windows and neon against dark brick.
Keep the schedule loose enough to follow something interesting. The best frame in most neighborhood essays comes from a detour nobody put on the coverage map.
5. Photograph people and places as connected moments
Combine environmental portraits, details, gestures, transitions, and wide establishing views so the essay communicates relationships rather than isolated pictures. A wide shot of the corner, a medium frame of someone waiting at the bus, and a close-up of the ticket they check are one idea in three frames.
When something holds your attention, work the scene instead of walking on. The common failure is one frame and onward. Take the same subject from three angles, take your time, and return later to see whether the light changed the picture.
6. Record context with notes and interviews
Write down the name, the date, the location, and one line about why the frame matters the moment you take it. Not later that night, from memory. The note is what lets you build a caption, credit a person correctly, and skip an image you cannot explain.
A short interview, five questions and a voice memo, is often enough. People answer a neighbor with a notebook far more readily than a stranger with a long lens.
7. Edit for a coherent visual voice
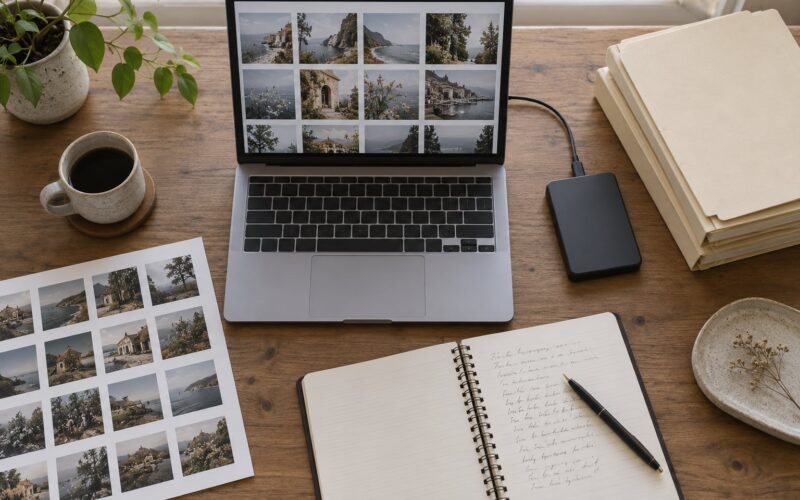
Build a contact sheet first and cull ruthlessly. A finished neighborhood essay usually runs eight to fifteen frames from several hundred candidates. Keep one treatment across the set: similar white balance, similar contrast, similar grade, so the eye moves between images instead of tripping over them.
Sequence wide to close, vary your viewpoint and scale, and let exactly one hero image carry the essay. If everything is a hero image, nothing is.
8. Write captions and publish responsibly
Connect each caption to the larger story rather than describing what is in the frame. Credit everyone who appears, protect anyone who asked not to be named, and be honest about edits that changed a scene. Then publish the sequence somewhere people can scroll in order, with the narrative text above and the captions attached.
A gallery of unrelated photographs is a portfolio sample. A gallery with an order, a caption, and a name on it is an essay.
Common Mistakes and How to Fix Them
Starting without a theme. You end up with 400 interchangeable images and no reason to keep any of them. Fix it by writing the one-sentence version of your story before the first shoot, and by cutting every frame that does not serve it.
Photographing only landmarks. The church, the mural, the famous corner. Those frames belong in the first and last image of the essay and nowhere else. Fill the middle with doorways, receipts, pets, repairs, hand-painted signs, and the laundry on a third-floor balcony.
Ignoring consent. The single most damaging mistake in this genre, because your subjects are not anonymous and they will see you again. Ask, explain, honor a no, and offer to blur or leave out a frame. One refused photo costs nothing; a neighbor who feels ambushed costs the project and the relationship.
Staying at one viewpoint. Most of your essay is shot from standing height in the middle of the street. Drop to a step, move to the far curb, look up, crouch, work from inside a doorway, and try the same corner from three different angles before moving on.
Leaving out context. A face with no name and no place reads as generic. Capture the background deliberately and note the details: what is written on the sign, what year the building went up, which bus route just pulled away.
Over-editing. When every image has heavy contrast, crushed shadows, and a different mood, the set fights itself. Pick one treatment and hold it. Consistency reads as intention; variety reads as indecision.
Ending with a disconnected gallery. Sequence in order, on paper, before you upload anything. Ask a friend to look at your first three frames in order and tell you what street they think they are on. If they cannot say, the opening needs work.
Frequently Asked Questions
How long should a neighborhood photo essay take?
Three to four weeks of short walks works for most people. That means one scouting walk, three or four returns at different times of day, and a week for culling, sequencing, and writing. Rushing it into a single afternoon produces a set of similar frames with no sense of place.
Do I need interviews to create a neighborhood photo essay?
No, but almost every strong one has some. Even ten minutes with a shopkeeper or a regular at the counter tells you what a street actually does, and that detail belongs in a caption. Without it, you are guessing at the meaning of your own photographs.
What is the best camera setup for a neighborhood photo essay?
Any camera you will actually carry. A small body with a normal or short zoom, silent shutter on, and RAW capture covers almost everything. A 35mm or 50mm prime is plenty for wides and details; a wider lens helps inside small spaces. Skip the tripod on public sidewalks.
How many photographs should be included in a neighborhood photo essay?
Between eight and fifteen is the useful range. Fewer than eight rarely builds an arc, and more than fifteen rarely gets read. The right number is however many frames you can order into a beginning, a middle, and an end without padding the middle.
Is it okay to photograph people in their neighborhood without asking permission?
In most places you may photograph people in public space without permission, and you usually do not need a release for editorial work. Rules differ by country and by how you plan to use the images, so check locally. Recognizable faces in commercial use, private property, and children deserve a conversation first.
How do I edit a neighborhood photo essay so it feels cohesive?
Culling is the main tool. Build a contact sheet, keep the frames that serve your theme, and hold one consistent treatment across the set so white balance, contrast, and color behave the same way in every image. Then vary shot distance and viewpoint so the sequence has rhythm.
Conclusion: Start With One Street and One Question
Pick a single street or corner, write one human-centered question about it, and return three times before you decide whether you like the photographs. Most of the work in a photo essay about a neighborhood happens before and after the camera comes out: choosing the theme, earning permission, writing down who each person is, and ordering the frames so the last one lands.
Go and look at the same corner at 7am tomorrow. You are probably standing next to the story already.